Your Cart is Empty


Rhino 3D Tip: Precision Rectangular Repetitions with Rhino Array
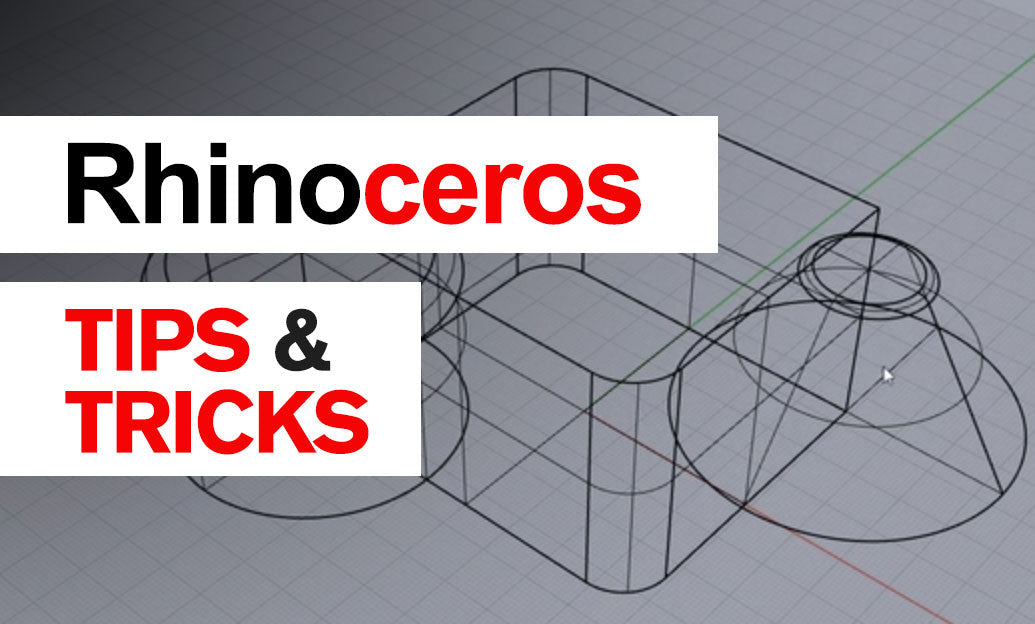

Use Rhino’s Array command to create precise rectangular repetitions of an object without manually copying and positioning each instance. It is ideal for patterns such as perforations, shelving layouts, façade panels, seating grids, fasteners, tiles, and product components.
Start with a clean source object. This may be a curve, surface, polysurface, block instance, or a group of objects. Before arraying, confirm that the object is oriented correctly relative to the active Construction Plane (CPlane). A rectangular array follows the CPlane’s X and Y directions, so an unexpected CPlane can produce unexpected results.
- Select the geometry to repeat.
- Run the
Arraycommand. - Choose the number of items in the X direction.
- Specify the spacing between items in X.
- Set the number of items and spacing in the Y direction.
- Add Z-direction rows when creating stacked or volumetric arrangements.
One important distinction is that Rhino asks for the number of items, not the number of gaps. If you need five objects across a 100 mm-wide layout, calculate the spacing based on four gaps: 100 / 4 = 25. Entering 25 as the X spacing with five items places the first and last objects exactly 100 mm apart.
For accurate results, use direct numerical entry instead of relying only on viewport clicks. You can enter values such as 12, 25.4, or simple expressions such as 300/7 directly in Rhino’s command line. This is particularly useful when creating manufacturing-ready patterns where equal spacing matters.
Consider these workflow practices:
- Array a block instance when the repeated element may need later revision. Edit the block definition once, and every instance updates automatically.
- Use a group if several independent objects must remain together during array creation.
- Use history carefully when the original geometry is expected to change. History can preserve a relationship in suitable commands and workflows, but always test it before depending on it in production.
- Check spacing in multiple views when using Z-direction rows. A Front or Right viewport can quickly reveal accidental depth offsets.
- Use object snaps to locate the original object accurately before building the array.
For arrays that must fit inside a defined boundary, first create construction geometry representing the usable width and height. Then calculate the spacing from the overall dimensions and desired object count. This avoids the common mistake of building a visually regular pattern that does not align with surrounding edges, margins, or fabrication constraints.
After creating the array, use SelLast if you need to immediately select the new copies, or use layer organization to keep repeated objects manageable. For large patterns, consider displaying the array in a lighter viewport mode while editing, especially if the repeated object contains detailed geometry.
If the repeated units need to change orientation or spacing along a curved route, a rectangular array is no longer the best tool. Explore ArrayCrv, ArrayPolar, or Grasshopper for more adaptable parametric control. For dependable Rhino workflows, modeling tools, and professional training resources, visit NOVEDGE’s Rhino collection.
You can find all the Rhino products on the NOVEDGE web site at this page.
Also in Design News