Your Cart is Empty
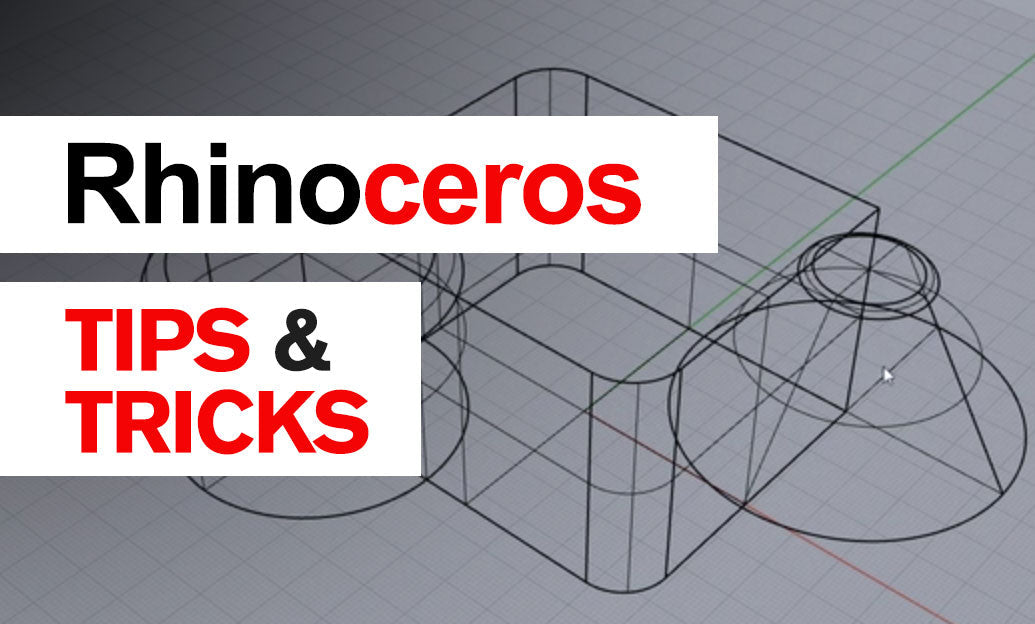
Rhino 3D Tip: Optimizing Surface Creation in Rhino 3D with Curve Networks


Surface from Curve Network is a powerful Rhino 3D command that lets you generate smooth, continuous surfaces from sets of intersecting curves. By thoroughly interpreting your curve layout, Rhino automatically creates a highly accurate surface that matches the design intent of your underlying framework. This approach is especially useful for complex objects like product enclosures, automotive panels, or architectural forms where consistency and precision are vital. Leveraging this command can significantly improve your workflow and help you achieve professional-grade results more quickly.
Before using Surface from Curve Network, it’s essential to prepare your curves properly. Make sure they intersect cleanly and are logically arranged. Additionally, check for tangential continuity when necessary. Here are some quick considerations:
- Avoid overlapping or messy intersection points that can cause geometry issues.
- Ensure your curves define a valid, closed boundary for watertight surfaces.
- Use consistent degree curves (preferably degree 3 or 5) for smoother transitions.
- Verify that your curve normals point in a consistent direction if you want seamless results.
Once your curves are ready, run the command by typing “NetworkSrf” in Rhino’s Command Line or by selecting it from the Surface menu. Rhino will prompt you to choose curve directions if needed to optimize the surface’s final appearance. Adjust the available settings, such as Edge Tolerance and Interior Edge Curves, to refine surface accuracy. You can fine-tune the result by specifying continuity requirements for each edge, like Position, Tangency, or Curvature. Working with these parameters can be pivotal, enabling you to craft smooth surfaces that match your design requirements exactly.
For improved performance, consider using reference geometry or simpler placeholder curves to test your initial surface. Once you’re satisfied with the fundamental shape, replace these placeholders with more detailed design curves. Another technique is to use the command in stages, focusing on one surface patch at a time, and then assembling them seamlessly. By breaking down the model into smaller, more manageable sections, you maintain better control over continuity and reduce potential errors. The command’s versatility allows you to experiment with various layer organizations, modeling strategies, and surface analysis tools.
Finally, practice the command on a variety of sample projects to become comfortable with adjusting parameters. Monitoring your work with Rhino’s different analysis tools will also help you spot potential irregularities early. Remember that mastering advanced surfacing techniques can significantly boost your productivity. If you need additional resources or guidance, check out NOVEDGE for great deals and expert advice on Rhino-related products. Repeating this workflow consistently not only improves surface quality but also streamlines your entire process. Spend time polishing your curve layouts, refine your tolerance settings, and always double-check your geometry. Stay curious and explore more advanced methods with help from NOVEDGE, so you can transform your creative visions into precise, polished surfaces.
You can find all the Rhino products on the NOVEDGE web site at this page.
Also in Design News