Your Cart is Empty
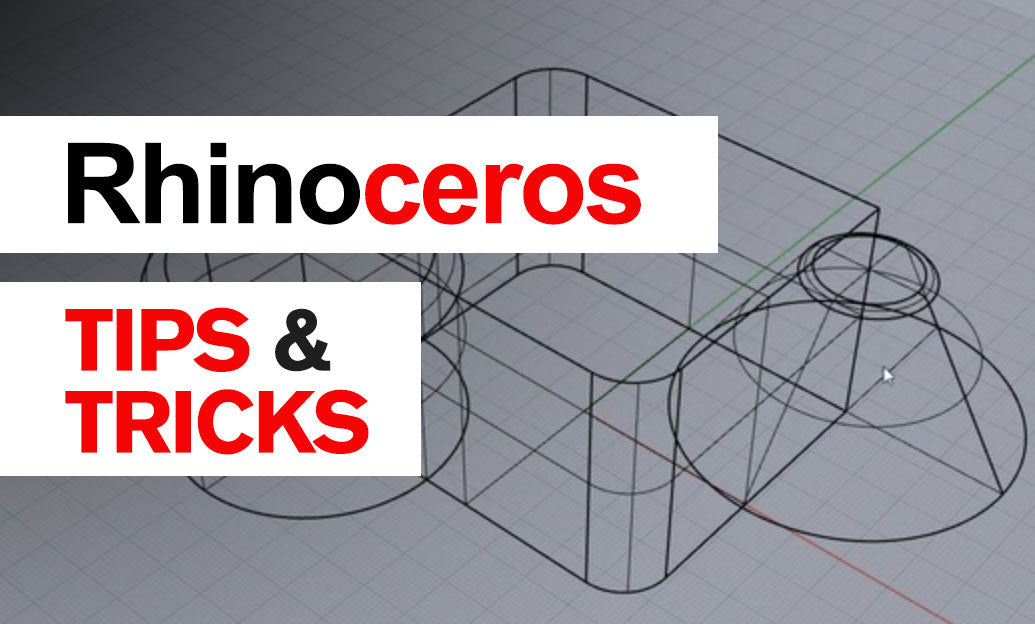
Rhino 3D Tip: Maximizing Efficiency Through Mastery of the Rhino 3D Interface

Understanding the Rhino 3D Interface is crucial for maximizing your efficiency and productivity when modeling. Familiarizing yourself with the key components of the interface can help you navigate the software more effectively.
Main Components of the Rhino 3D Interface:
- Menu Bar: Located at the top, it provides access to all commands and tools available in Rhino. It's organized into categories like File, Edit, View, and more.
- Toolbars: These contain buttons for commonly used commands. You can customize toolbars to suit your workflow.
- Command Line: One of the most powerful features in Rhino. It not only allows you to type commands but also provides prompts, options, and feedback.
- Viewports: Rhino typically displays four viewports by default—Top, Front, Right, and Perspective. They allow you to view your model from different angles simultaneously.
- Panels: On the right side, panels like Layers, Properties, and Display options help you manage your model's attributes and organizational structure.
- Status Bar: Located at the bottom, it displays important information like coordinates, object snaps, and grid settings.
Tips for Navigating the Interface:
- Customize Your Workspace: Tailor the toolbars and panels to fit your needs. Right-click on toolbars to add or remove buttons, or drag them to reposition.
- Use Keyboard Shortcuts: Speed up your workflow by learning and using keyboard shortcuts for frequently used commands.
- Leverage the Command AutoComplete: Start typing a command, and Rhino will suggest options. This can save time and help discover new commands.
-
Adjust Viewports:
-
Maximize a Viewport: Double-click on its title or use the shortcut
Ctrl + M. - Change Display Modes: Right-click on the viewport title to switch between wireframe, shaded, rendered views, and more.
-
Maximize a Viewport: Double-click on its title or use the shortcut
- Utilize Layers: Organize your model by assigning objects to layers. This makes it easier to manage complex models.
- Explore the Properties Panel: Here you can modify object properties like color, material, and linetype.
- Use Object Snaps (Osnaps): Found in the status bar, Osnaps help you draw accurately by snapping to specific parts of existing geometry.
Enhance Your Learning:
For more tips and in-depth tutorials on Rhino 3D, consider visiting NOVEDGE, a leading online store for design software. NOVEDGE offers a wealth of resources and a wide selection of Rhino products to help you get the most out of the software.
Conclusion
By understanding and customizing the Rhino 3D interface, you can significantly improve your modeling efficiency. Take the time to explore the different components and set up your workspace in a way that best suits your workflow.
You can find all the Rhino products on the NOVEDGE web site at this page.
Also in Design News