Your Cart is Empty
Customer Testimonials
-
"Great customer service. The folks at Novedge were super helpful in navigating a somewhat complicated order including software upgrades and serial numbers in various stages of inactivity. They were friendly and helpful throughout the process.."
Ruben Ruckmark
"Quick & very helpful. We have been using Novedge for years and are very happy with their quick service when we need to make a purchase and excellent support resolving any issues."
Will Woodson
"Scott is the best. He reminds me about subscriptions dates, guides me in the correct direction for updates. He always responds promptly to me. He is literally the reason I continue to work with Novedge and will do so in the future."
Edward Mchugh
"Calvin Lok is “the man”. After my purchase of Sketchup 2021, he called me and provided step-by-step instructions to ease me through difficulties I was having with the setup of my new software."
Mike Borzage
Rhino 3D Tip: Mastering Realistic Lighting Techniques in Rhino 3D for Enhanced Visualizations
June 14, 2025 3 min read

Creating realistic lighting in Rhino 3D can dramatically improve the visual impact of your 3D models and renderings. Effective lighting not only highlights the details of your design but also sets the mood and enhances the overall realism of the scene. Here are some professional tips to help you achieve lifelike lighting in your Rhino projects:
Understand Rhino's Lighting Types
Rhino offers various light types, each suited for different scenarios:
- Point Lights: Emit light uniformly in all directions from a single point, similar to a bare light bulb. Use them for general-purpose lighting in enclosed spaces.
- Spotlights: Emit light in a cone shape, with control over the beam's angle and falloff. Ideal for highlighting specific areas or objects, such as stage lighting or focused lighting on artwork.
- Directional Lights: Provide a parallel light source, simulating sunlight. They are particularly useful for exterior scenes where consistent lighting is needed across the model.
- Rectangular and Linear Lights: Emit light from a surface or line, mimicking fluorescent tubes or window light. These are excellent for soft, diffused lighting effects.
Utilize Physical-Based Rendering (PBR)
Physical-Based Rendering materials in Rhino allow for more accurate and realistic interactions between light and surfaces:
- Apply PBR materials to your models to simulate real-world material properties.
- Ensure materials have accurate reflective, refractive, and roughness settings to respond correctly to lighting.
- Experiment with metalness and specular settings for metallic and glossy surfaces.
For guidance on using PBR materials, consider resources available at NOVEDGE.
Implement Global Illumination and Indirect Lighting
Global illumination simulates the way light bounces off surfaces, contributing to overall scene lighting:
- Enable global illumination in your render settings to capture indirect lighting effects.
- Adjust the number of light bounces to control the accuracy and rendering time.
- Use ambient occlusion to enhance contact shadows and depth.
Use High Dynamic Range Images (HDRI) for Environmental Lighting
HDRI environments provide realistic ambient lighting and reflections:
- Import an HDRI file into the environment settings of your rendering engine.
- Choose an HDRI that matches the desired time of day and atmosphere.
- Adjust orientation and intensity to align the environmental lighting with your scene.
- Combine HDRI lighting with physical lights for more control over highlights and shadows.
Fine-Tune Light Properties
Adjusting light properties can significantly affect the realism of your rendering:
- Intensity: Balance light intensities to prevent overexposure or underexposure.
-
Color Temperature: Use Kelvin values to set the color of lights:
- Warm indoor lighting: 2700K - 3200K.
- Neutral daylight: 5000K - 6500K.
- Cool lighting for overcast conditions: 7000K and above.
- Decay: Apply realistic light falloff to mimic how light dissipates over distance.
Optimize Shadow Quality
Shadows add depth and realism to your scene:
- Use soft shadows by increasing the size or area of the light source.
- Adjust shadow blur or penumbra settings for more natural edges.
- Ensure shadow density is realistic; completely black shadows are uncommon due to ambient light.
Simulate Real-World Lighting Setups
Refer to photography and cinematography techniques to enhance your lighting:
- Three-Point Lighting: Use key, fill, and back lights to highlight your model.
- Accent Lighting: Add lights to emphasize specific features or textures.
- Practical Lights: Include visible light sources within the scene for added realism.
Leverage Rendering Engine Features
If using advanced rendering engines like V-Ray or Maxwell, take advantage of their lighting features:
- Use light mixing to adjust light intensities post-render.
- Employ caustics to simulate light refracted or reflected through transparent or reflective objects.
- Enable volumetric lighting for effects like light beams or fog.
Explore NOVEDGE's collection of rendering plugins for enhanced capabilities.
Test and Iterate
Achieving realistic lighting often requires experimentation:
- Render previews at lower resolutions to test lighting setups quickly.
- Adjust one parameter at a time to understand its effect.
- Save different lighting setups for comparison.
Continuous Learning
Stay updated with the latest techniques and tools:
- Participate in Rhino 3D forums and user groups.
- Attend webinars and workshops offered by experts.
- Check out tutorials and training materials available at NOVEDGE's blog.
By applying these tips, you can master realistic lighting in Rhino 3D, bringing your models to life with stunning visualizations.
You can find all the Rhino products on the NOVEDGE web site at this page.
Also in Design News

Embracing Data-Driven Design: Revolutionizing Product Development with Advanced Analytics
October 02, 2025 12 min read
Read More
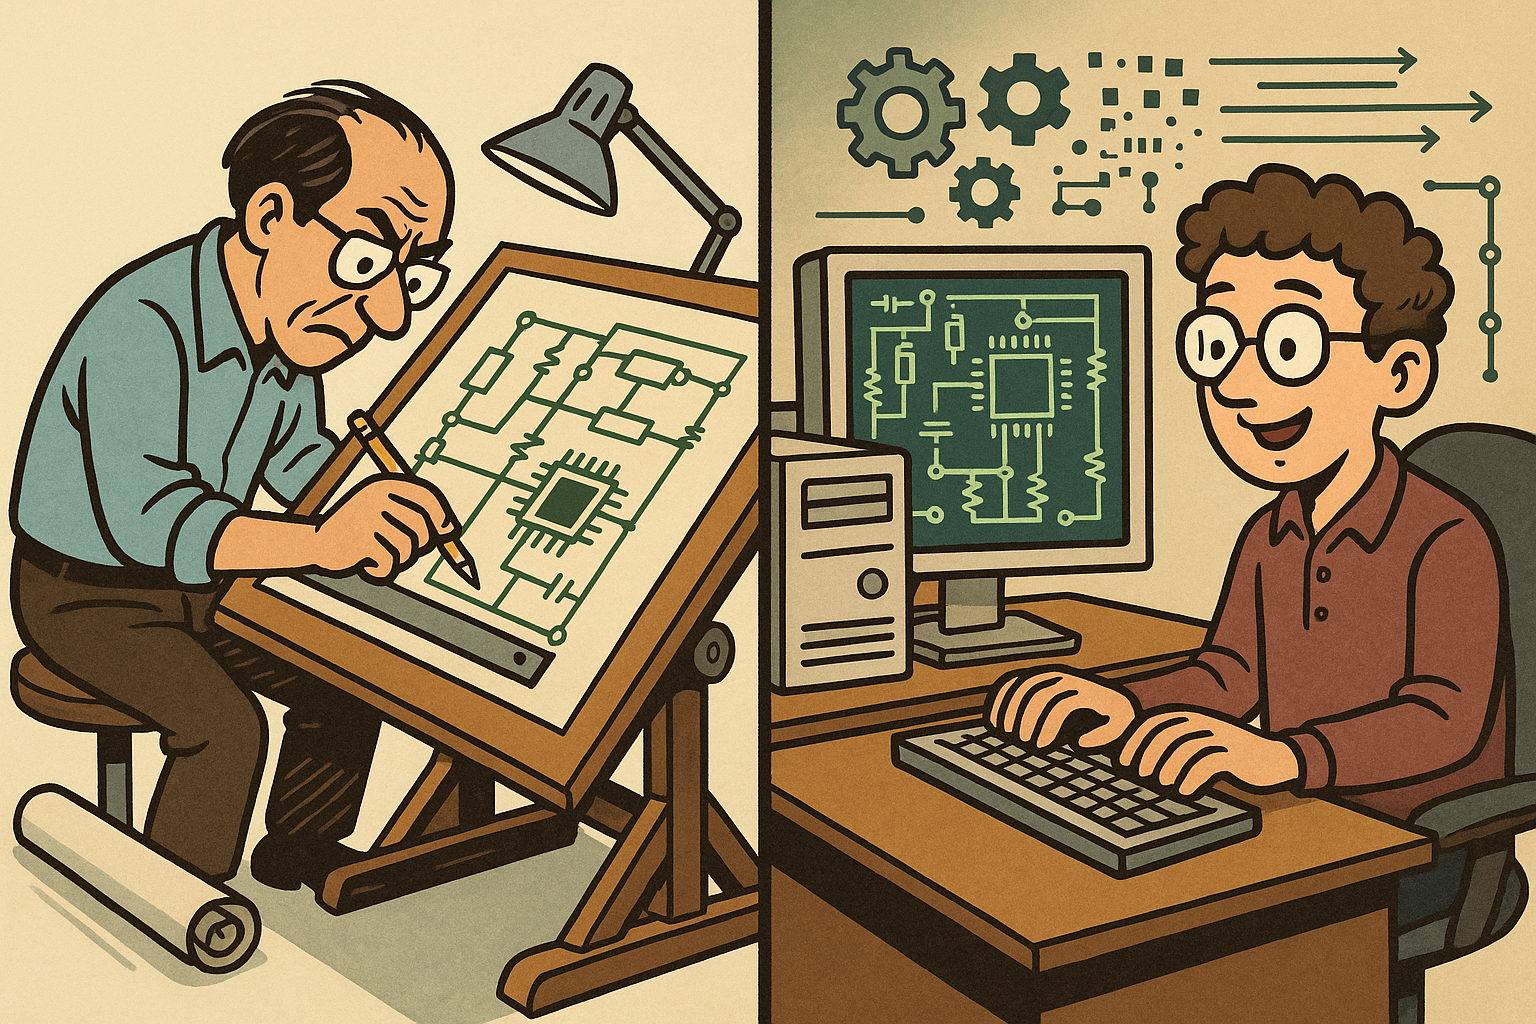
Design Software History: Early Electronics CAD: From Manual Drafting to Algorithm-Driven Design and Its Impact on the Industry
October 02, 2025 10 min read
Read More
Cinema 4D Tip: Streamline Scene Management in Cinema 4D with the Stage Object
October 02, 2025 3 min read
Read MoreSubscribe
Sign up to get the latest on sales, new releases and more …


