Your Cart is Empty
Customer Testimonials
-
"Great customer service. The folks at Novedge were super helpful in navigating a somewhat complicated order including software upgrades and serial numbers in various stages of inactivity. They were friendly and helpful throughout the process.."
Ruben Ruckmark
"Quick & very helpful. We have been using Novedge for years and are very happy with their quick service when we need to make a purchase and excellent support resolving any issues."
Will Woodson
"Scott is the best. He reminds me about subscriptions dates, guides me in the correct direction for updates. He always responds promptly to me. He is literally the reason I continue to work with Novedge and will do so in the future."
Edward Mchugh
"Calvin Lok is “the man”. After my purchase of Sketchup 2021, he called me and provided step-by-step instructions to ease me through difficulties I was having with the setup of my new software."
Mike Borzage
Revit Tip: Revit Room Calculation Point Setup and Best Practices
November 15, 2025 2 min read

Room Calculation Points ensure elements report the correct room—vital for schedules, tags, and coordination. Here’s how to use them effectively and avoid common pitfalls.
When to use Room Calculation Points (RCP):
- Doors and windows with To/From Room values reporting incorrectly.
- Casework, furniture, and specialty equipment straddling boundaries or hosted in shafts/corridors.
- Ceiling- or wall-mounted devices that sit near room edges and end up “in” the wrong room.
- MEP equipment that must roll up to room-based schedules and asset lists.
How to enable and place the RCP in a family:
- Open the family in the Family Editor.
- Manage > Family Category and Parameters > enable “Room Calculation Point.”
- Locate the triangular glyph and move it slightly inside the intended room volume (plan and elevation).
- Lock the point to reference planes where practical to maintain consistency during edits.
- Load into project and test in a simple room setup to validate behavior before wider use.
Best practices for doors and windows:
- For doors, verify the RCP arrow orientation. Use the flip controls in the Family Editor so “From Room” and “To Room” report consistently across all types.
- Place the RCP just inside the “room side” of the door leaf to stabilize reporting when walls are thick or layered.
- Create a door schedule with From/To Room columns and test door flips/mirroring to confirm stable results.
- Avoid relying on swing graphics alone—let the RCP establish the authoritative room side.
Best practices for furniture, casework, and equipment:
- Push the RCP 50–100 mm (2–4 in) into the target room to survive wall finish changes.
- For ceiling fixtures, keep the RCP below the Room Computation Height and inside the room boundary; adjust project’s Area and Volume Computations if needed.
- Standardize the RCP location in your family templates so all content behaves predictably.
Verification and QA:
- Use a working 3D or plan view with a room color scheme; temporarily isolate categories to spot elements reporting the wrong room.
- Build a “Room QA” schedule (multi-category or targeted) showing Room: Name/Number next to Type Mark and Level.
- Add a Yes/No instance parameter like “Room QA Checked” to track review status.
Common pitfalls to avoid:
- Mirroring families after placement can flip reporting—retest a sample set after significant layout changes.
- Families placed in voids (shafts, unbounded spaces) cannot report a room; ensure the RCP is physically inside a valid room volume.
- Linked models: room tags in a host model read rooms from the host; for room-based schedules of linked content, coordinate room creation and the RCP strategy across teams.
Implementation tips:
- Include RCP guidance in your content standards manual and project template notes.
- Create family templates (doors, casework, equipment) with preconfigured RCP and reference planes.
- Audit legacy content and fix high-frequency offenders first (doors, casework, ceiling devices).
Need expert guidance or the latest Revit licenses and add-ons? Explore Autodesk Revit options at NOVEDGE, or talk with the NOVEDGE team for tailored recommendations and optimization advice.
You can find all the Revit products on the NOVEDGE web site at this page.
Also in Design News

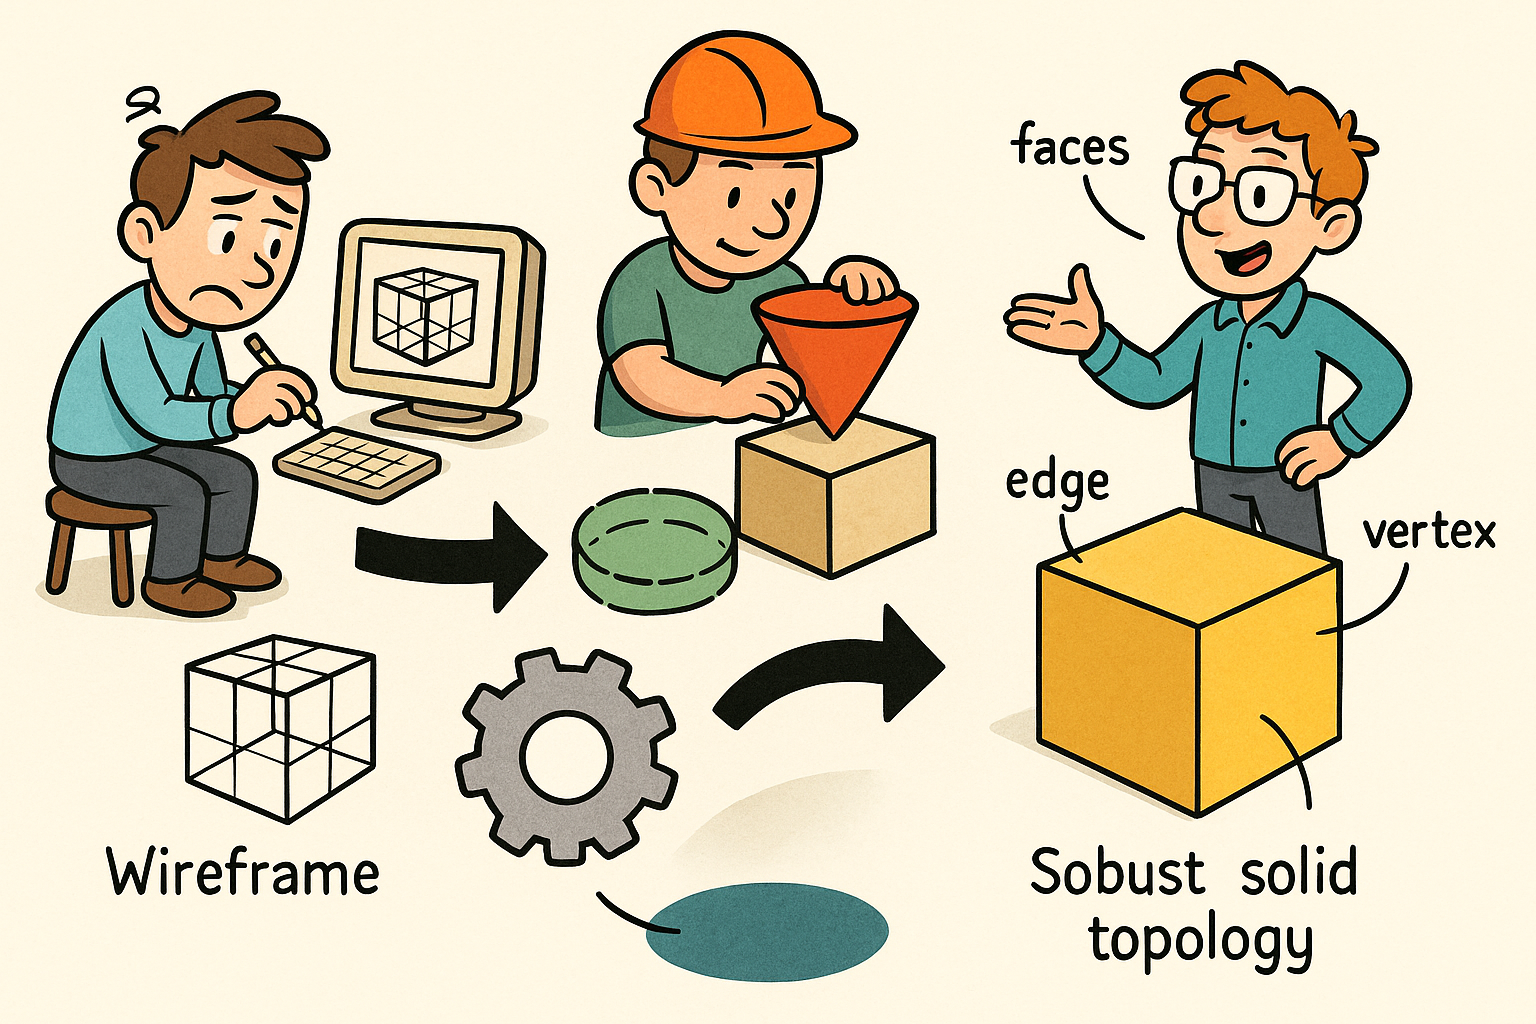
Design Software History: Why B-rep Was Invented: From Wireframe and CSG to Kernels, Topology, and Robust Solid Modeling
January 22, 2026 13 min read
Read More
Tamper-Evident Design Histories: Cryptographic Provenance, Append-Only Logs, and Deterministic Rebuilds
January 22, 2026 11 min read
Read More
Cinema 4D Tip: MatCap Shading for Rapid Form and Topology Feedback
January 22, 2026 2 min read
Read MoreSubscribe
Sign up to get the latest on sales, new releases and more …


