Your Cart is Empty
Customer Testimonials
-
"Great customer service. The folks at Novedge were super helpful in navigating a somewhat complicated order including software upgrades and serial numbers in various stages of inactivity. They were friendly and helpful throughout the process.."
Ruben Ruckmark
"Quick & very helpful. We have been using Novedge for years and are very happy with their quick service when we need to make a purchase and excellent support resolving any issues."
Will Woodson
"Scott is the best. He reminds me about subscriptions dates, guides me in the correct direction for updates. He always responds promptly to me. He is literally the reason I continue to work with Novedge and will do so in the future."
Edward Mchugh
"Calvin Lok is “the man”. After my purchase of Sketchup 2021, he called me and provided step-by-step instructions to ease me through difficulties I was having with the setup of my new software."
Mike Borzage
10 Essential Maxwell Render Tips to Reduce Render Times
September 02, 2015 6 min read
If you are already using Maxwell Renderor thinking about giving it a try, there are a few fundamental tips that you should be aware of so that you get impeccable renders quickly. Juan Canada, from the Maxwell Render Team, offers speedy tips on materials, (interior) lighting, Multilight and more, in our Novedge Webinar– covering critical workflow points that many people overlook. This webinar also highlights some of the features and improvements of Maxwell Render Version 3.2. https://player.vimeo.com/video/136757140
Essential Maxwell Render tips the new V3.2 from Novedge on Vimeo.
These are the Essential Tips shared during the Novedge Webinar. They make a great go-to resource to optimize your rendering time and skills.
1) Use real world units.
This is a crucial point, and helps avoid various problems with rendering. It affects many aspects such as camera depth of field, and dielectrics for example. If your model is very big you will never see depth of field, if you model is very small, it will look like a miniature. In addition, too much depth of field increases render times.
2) Never hide an emitter behind a dielectric object. 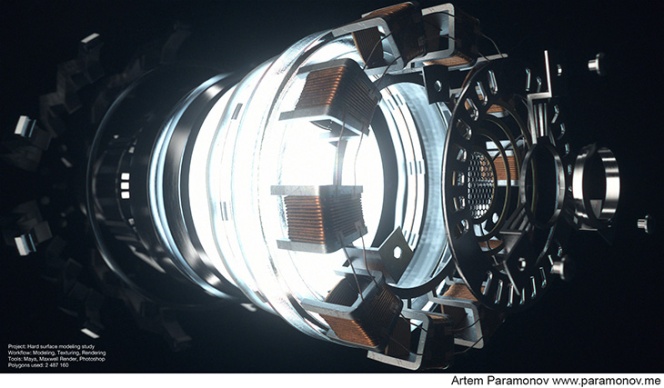 As a general rule of thumb, try to avoid placing glass objects in front of an emitter – for example if you model a light with a glass cover (remove the cover), and with windows – remove the glass pane (leaving the open space) where possible, or apply AGS instead of a real dielectric glass.
3) Use emitters with as few as polygons: use realistic light power values ; use the camera ISO if you need to adjust the exposure.  Use the camera ISO if you need to adjust the exposure, instead of using more powerful lights. Using realistic light power values is as important as using real units. Setting an emitter with an unrealistic number of watts means that something is wrong. If in real life you don’t need these extreme values, in Maxwell you do not need them either.
4) On window panes, use AGS glass when possible.  Architectural Glass Solutions are optimized glasses that you can use when you need transparency and reflection but you don’t need the refraction and caustics effects that are more expensive in render times. More info here.
5) Never use unrealistic bright materials: 220 is more realistic, and faster than 255.
200 is more realistic and faster than 255. If you use a pure color like 255, this means that everything is reflected – something that doesn’t happen in the real world. It also sends render times through the roof!
6) Keep your materials as simple as possible: 1 or 2 BSDFs per layer, and 1 or 2 layers per material should suffice in most situations.  One or two BDSFs per layer and 1 or 2 layers per material should be OK for most situations. You can do 95% or more of the materials you need using 1 or 2 BSDFs per layer. We also recommend you use the V3 Material Assistants! These wizards provide helpful presets and are optimized to give you great quality materials without cranking up unnecessary render times.
More info here and on the Maxwell Render Blog.
7) Additive and coatings are longer to render: regular BSDFs are usually the faster solution even for plastics. 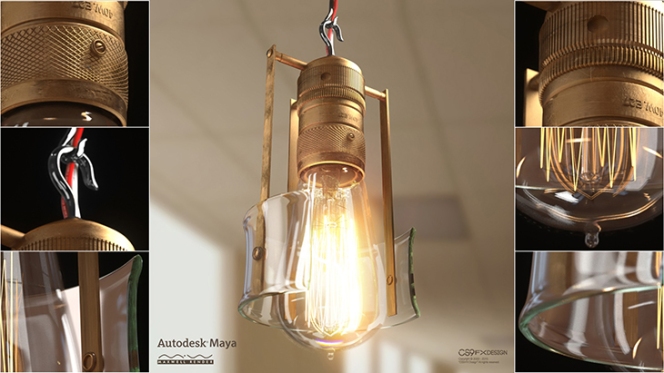 Regular BSDFs are usually the fastest solution, even for plastics. Additive layers are more complex for Maxwell to resolve – you can never have more energy bouncing off of a surface than arriving to a surface. This never happens in nature! So use additives only when you really need them. As for coatings – sometimes they can give you an extra feeling that you need. But if they aren’t absolutely necessary, turn them off because they use a complex mathematical model and equations and consequently take more render time. Find out more about the BSDF and the Coating Component.
8) Displacement: on-the-fly mode for fire; pre-tessellated mode for final render. 
Displacement is a powerful texture-driven tool that can help you create real geometric detail on objects. Contrary to bump/normal maps, it simulates real geometry at render time as if it were actually modeled. This feature is very useful for adding fine detail to a mesh which would otherwise be difficult or impossible to model. Displacement uses a texture to define the geometric detail.
9) On interiors: use invisible emitters to help the direct illumination.  This invisible emitter should be hidden to the camera, but take care that it doesn’t cast shadows into the scene either. It should be completely invisible to the render, except its emission. This is a very useful trick for photographers and cinematographers. Check out what the Maxwell Support Center and the Maxwell Blogcan add about Invisible Emitters and Interior Renders.
10) Use extra sampling: to distribute where you want to render for longer.
Use this V3.2 feature to distribute parts of your scene that you need to render for longer. You can define an area to be rendered to a higher Sampling Level than the general frame, so you can distribute the rendering effort on your scene in a smarter way and save a huge amount of time, optimizing the render process. In fact, the saving in time is directly related to the proportion of pixels sampled in the mask on the global frame. And for extra tips of Extra Sampling take a look at this link.
We always encourage readers to provide feedback. Maybe you have Tips of your own that improved your overall Maxwell Render experience? Don't be shy and let us know in the comment section.
Novedge Webinar Q & A
We would like to share some of the questions that came up at the end of the live webinar presentation. They all bring up points of common interest and we thank the Maxwell Render Team for addressing all of them on the Novedge Blog. Here they are:
1) Are there any news regarding Skin shading profiting from the sss improvements as well?
Maxwell Render: It is one of the areas we are researching the most, so hopefully we will have news soon!
2) It's a great thing that Maxwell is giving such realistic output in almost real-time to see. Does the new version have any greater controls for rendering high-res Fire Smoke Particles in real-time?
Maxwell Render: In each version we do our best to optimize the speed of FIRE, it is more stable and handles memory better now, so the answer is yes. Also now you can apply emitter materials to particles, which is great for this kind of renders.
3) How much longer will stereo pictures render? Will this be just two separate pictures or there is something other behind this technology? I mean if the position of objects is joined with z-depth? Will this be compatible with Samsung gear VR?
Maxwell Render: They are two separate renders. We will see what kind of optimizations we can apply here in the future.
4) Does Maxwell now have Maxwell-Maya pipeline in a broader way?
Maxwell Render: We invest a lot of time in improving our Maya plugin and our plans for the future are to push that integration further. We are working on some key internal architecture changes to make Maxwell more Maya-friendly.
5) Can we get any comment on tighter integration with host apps? C4D in particular – procedural shaders, key frames etc. ?
Maxwell Render: C4D more advanced features are in our agenda, we try to make our plugins as good as possible. We already support Cinema procedurals – they are baked to textures for Maxwell. The only limitation with procedurals regards using Maxwell procedurals, which is not supported except by linking to MXM files, and this is currently how it works not just in Cinema 4D, but in all of our plugins.
6) Can an asset reference be updated when modifying an object?
Maxwell Render: Yes, and changes will be reflected in the render/FIRE immediately.
7) Is it possible to scatter different instances on the same object like different plants/trees within the SketchUp plugin?
Maxwell Render: No, it is possible to use more than one scatter object in SketchUp. You need to use multiple objects, because in the plugin, there is not a “list” of things to scatter, per object. However, scatter is done purely in terms of MXS files in the plugin, so in the MXS you’re scattering, you may put multiple objects.
8) Will we see more hotkeys for easier workflow in Studio? Would be great to open different windows like environment, resource browser, etc. with a hotkey.
Maxwell Render: We will consider it for future versions, thanks. Maybe there is still time to put some of that in V3.2, we will do our best.
Looking forward to put all these Tips to good use? Check out Maxwell Render on our catalog. Novedge has the best prices and our bundles can save you money on more than one product. Take this Special on Rhino for Mac and Maxwell Render ! Stay creative and save. 
Related articles
Also in NOVEDGE Blog
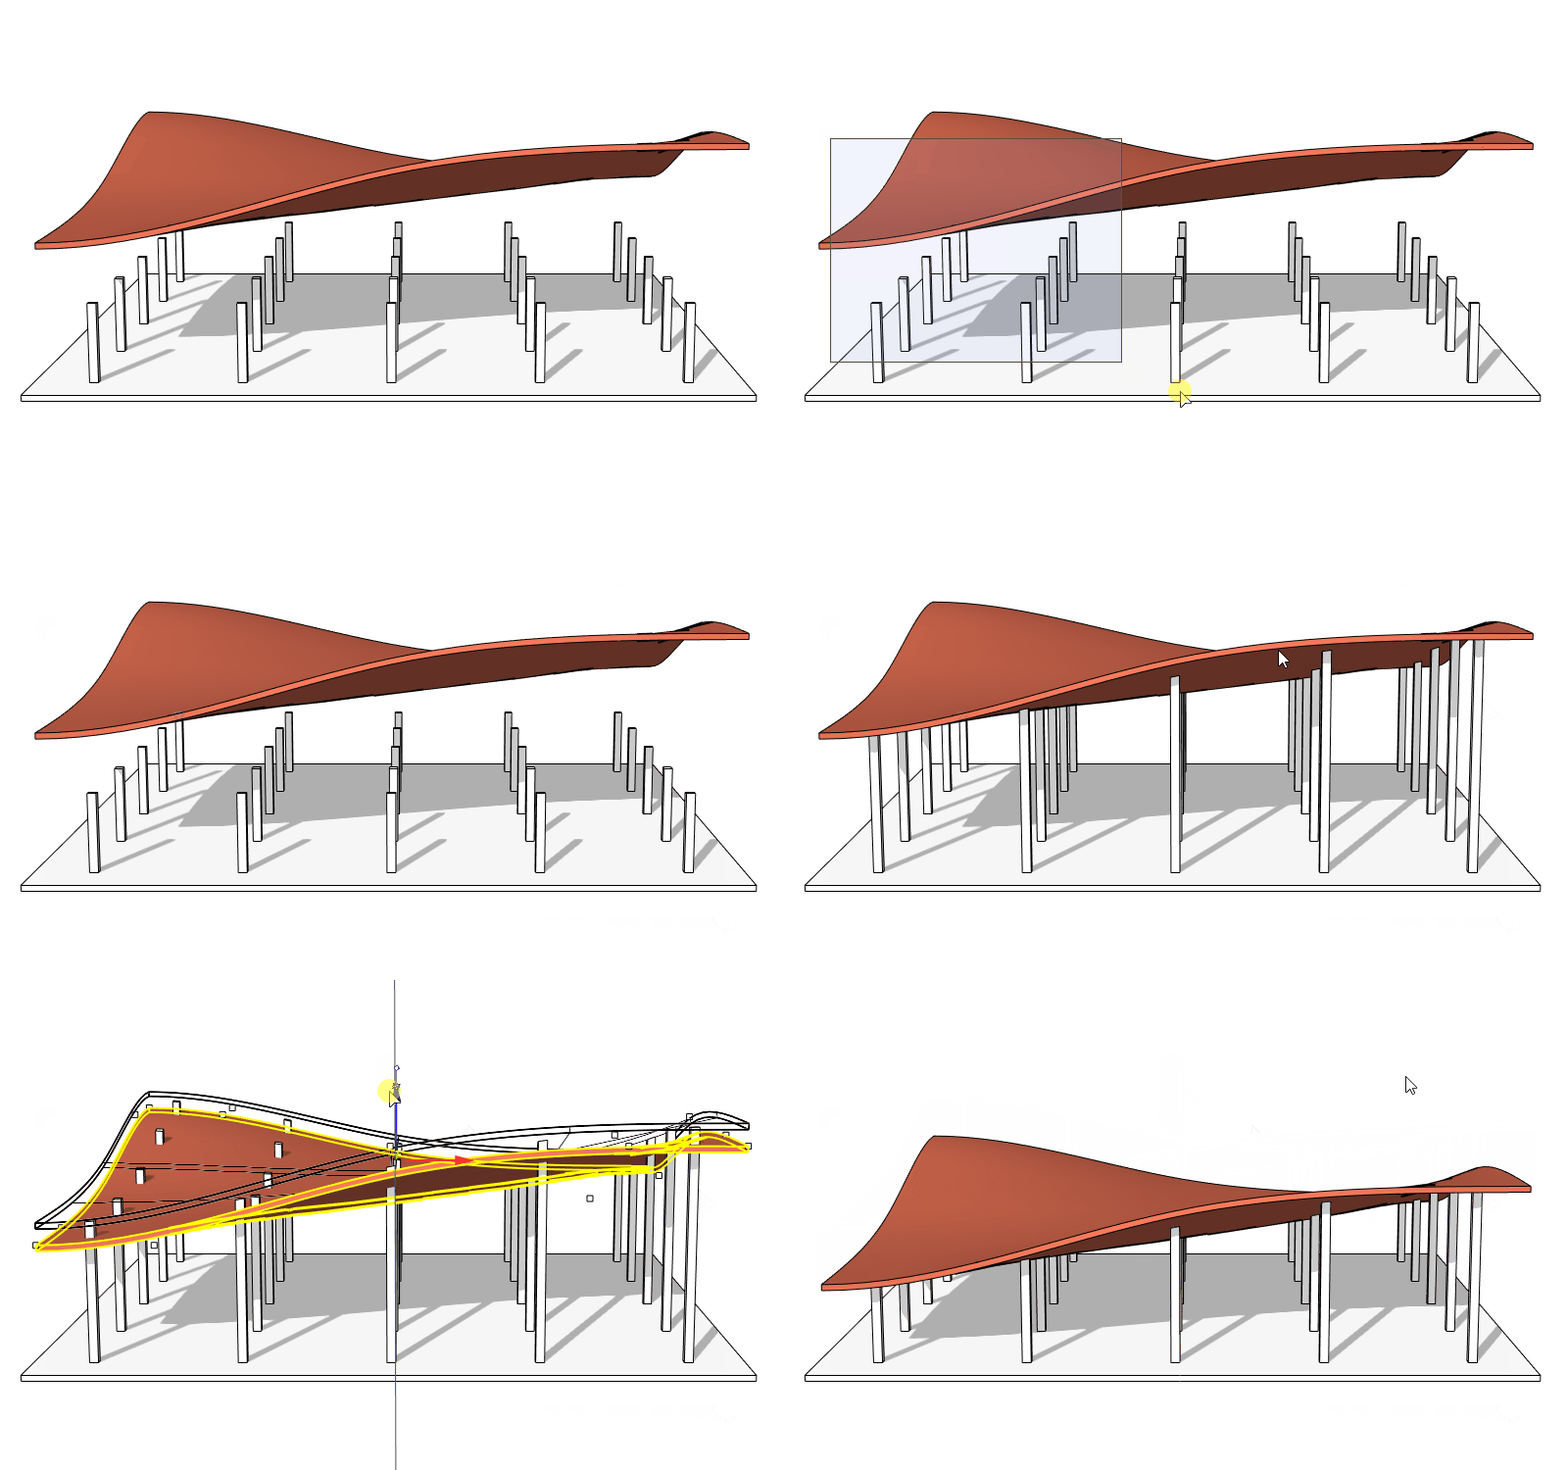
Enhance Your Designs with VisualARQ 3: Effortless Geometry Extensions for Walls and Columns
April 30, 2025 8 min read
Read More
MecSoft Unveils RhinoCAM 2025 and VisualCAD/CAM 2025 with Enhanced Features
March 08, 2025 5 min read
Read MoreSubscribe
Sign up to get the latest on sales, new releases and more …


