Your Cart is Empty
ZBrush Tip: ArrayMesh Workflow for Non-Destructive Repeating Details
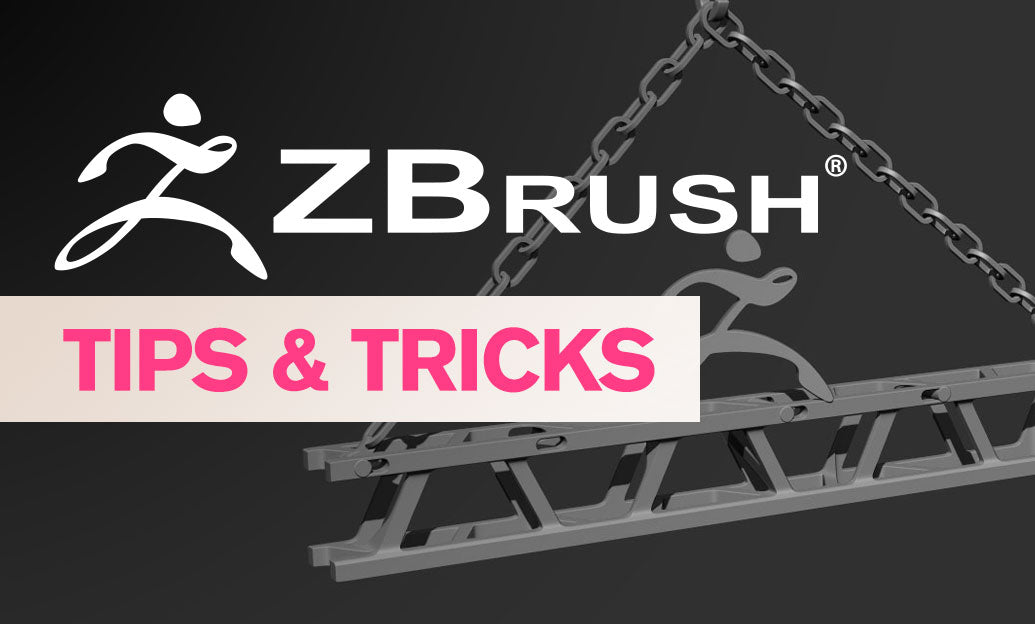

Use ArrayMesh to multiply detail non-destructively while keeping your scene light and fully editable. It’s perfect for bolts, vents, radial knurling, chains, and architectural repeats. If you need ZBrush or upgrades, check out NOVEDGE for deals and expert support.
- Enable: Tool > ArrayMesh > ArrayMesh (On).
- Repeat Count: Set the number of instances with Repeat.
- Transform Per Stage: Adjust Offset, Rotate, and Scale (X/Y/Z) to define spacing, spin, and size change per step.
- Pivot Control: Activate the Gizmo 3D, hold Alt to reposition the pivot—this sets the rotation/scale center for the array (ideal for radial patterns).
- Nest Arrays: Use Append New to add stages. Each stage multiplies the previous one (e.g., first stage = radial, second = linear, third = vertical → instant 3D grid).
Precision controls you should not skip
- Lock Pos/Rot/Scale: In ArrayMesh, toggle Lock Position, Lock Rotation, or Lock Scale to prevent unintended changes when moving the source with Gizmo/Transpose.
- Local vs World: Set the Gizmo pivot and orientation before dialing ArrayMesh values for predictable rotations (use Align options on the Gizmo if needed).
- Micro Adjustments: Small Rotate increments (e.g., 360 ÷ Repeat) create perfect circles; nudge Offset to fine-tune gap or overlap.
Workflow examples
- Radial bolts: Place a single bolt SubTool at rim height, set Repeat to your bolt count, Rotate Z to 360/Repeat, move Gizmo pivot to wheel center, tweak Offset X/Y.
- Grilles and vents: Stage 1: Offset X with Repeat for a row. Stage 2: Append New, Offset Y to stack rows. Optional Stage 3: slight Scale to taper depth.
- Chains/links: Alternate stages rotating 90° and offsetting along one axis to interlock links while preserving editability.
Performance and iteration tips
- Keep the source light: Sculpt detail on a manageable mesh; ArrayMesh instances cost very little memory.
- Iterate fast: Change the source SubTool’s shape, scale, or polish; the entire array updates instantly—ideal for design exploration.
- Combine with Live Boolean: Use negative meshes as the source to “stamp” repeating cuts across panels and casings.
When to “Make Mesh”
- Finalize: Use Make Mesh when you need real geometry for DynaMesh, boolean merges, UVs, map baking, or export.
- Cleanup path: After Make Mesh, ZRemesher and Crease workflows can yield clean, production-ready topology.
Troubleshooting quick cues
- Unexpected rotation center: Reset the Gizmo pivot (hold Alt to move) and ensure symmetry is off if not required.
- Gaps or overlaps: Verify your unit spacing: Offset equals desired pitch; Rotate must evenly divide 360° for closed rings.
- Heavy scenes: Lower Repeat while exploring, or temporarily disable ArrayMesh, then re-enable to preview.
For licenses, upgrades, and expert guidance on ZBrush workflows, visit NOVEDGE. If you need a full toolchain—renderers, DCC integrations, or peripherals—reach out to NOVEDGE for tailored recommendations.
You can find all the ZBrush products on the NOVEDGE web site at this page.
Also in Design News