Your Cart is Empty
V-Ray Tip: Enhancing 3D Realism with Custom Textures in V-Ray: A Guide to Material Mapping and Texture Creation Techniques


Custom textures can significantly enhance the realism and uniqueness of your 3D scenes in V-Ray. Here’s how you can create compelling textures using V-Ray material maps:
- Start by understanding the basic material maps in V-Ray, which include Diffuse, Bump, Reflection, and Refraction maps. Each plays a crucial role in how materials interact with light.
- Use high-resolution images for your Diffuse maps to ensure that your textures look convincing up-close. Remember that resolution can affect render times, so find a balance that suits your needs.
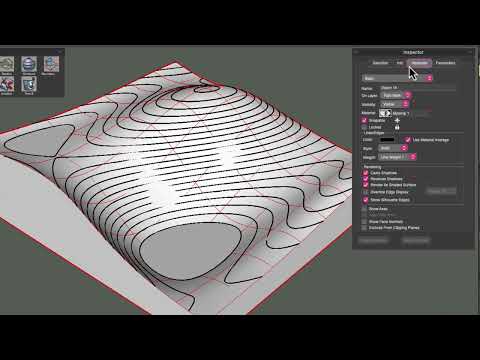
- For added realism, incorporate Bump or Displacement maps to simulate surface irregularities. Bump maps are less render-intensive, while displacement maps can provide more detail at a higher computational cost.
- Utilize V-Ray's Blend Material to layer multiple maps for complex surfaces. For example, you can combine a base wood texture with a glossy varnish layer to create a sophisticated finish on furniture.
- Experiment with V-Ray’s procedural textures, such as Noise, for dynamic and scalable texture effects that can add complexity to surfaces without the need for bitmap images.
- Consider using V-Ray's Triplanar Mapping to apply textures without visible seams, especially on complex geometries or when UV mapping proves challenging.
- Adjust the UVW placement of your textures in the material editor to align, scale, or rotate your maps to fit the object perfectly. Proper UVW mapping is essential for avoiding stretched or skewed textures.
- Use V-Ray's Multi-Sub Tex to assign different textures to different parts of a model based on object IDs or material IDs, which is particularly useful for models with multiple components.
- When creating reflective materials, remember to add Reflection maps and Glossiness maps. These control the strength and sharpness of reflections and can make surfaces like metals and glass more convincing.
- For transparent or translucent materials such as glass or liquids, Refraction maps will help define how light passes through them, affecting their appearance.
- Don’t forget to use V-Ray Environment Fog or V-Ray Aerial Perspective when your scene requires atmospheric depth, which interacts with the textures and materials to add another layer of realism.
Creating custom textures takes practice and attention to detail, but the results can be incredibly rewarding. For more professional tips and a wide range of V-Ray products, visit NOVEDGE, the leading online software store for design professionals. Whether you're an architect, designer, or 3D artist, NOVEDGE offers a comprehensive selection of software solutions to help you achieve stunning visualizations with V-Ray.
You can find all the V-Ray products on the NOVEDGE web site at this page.
Also in Design News