Your Cart is Empty


Rhino 3D Tip: Using Offset Planes and Guide Geometry for Accurate Rhino Modeling
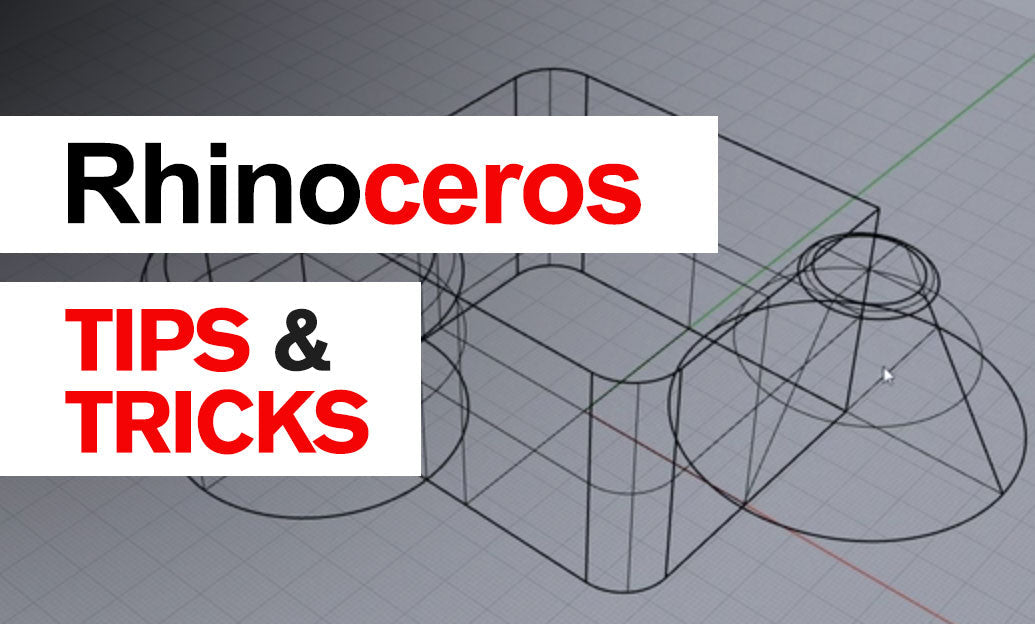

Offset planes and guide geometry are simple tools that can dramatically improve modeling accuracy in Rhino. Instead of working directly on main reference surfaces or default construction planes, creating dedicated offset planes gives you cleaner control over elevations, spacing, alignment, and repeated design intent.
In Rhino, this approach is especially useful when building layered products, architectural elements, mechanical layouts, or any geometry that must remain organized in depth. A small investment in setup often saves significant cleanup later.
-
Use offset planes to control modeling zones.
Rather than drawing everything on Top, Front, or Right, create construction geometry at meaningful distances. For example:
- Facade setback lines
- Panel mounting depths
- Glass, structure, and finish layers
- Mechanical clearance envelopes
A practical workflow is to duplicate a base surface or create a planar surface, then offset it to the exact working height you need. This gives you a reliable drawing target for curves, section profiles, and object placement.
-
Pair offset planes with CPlanes.
Once the guide surface exists, use CPlane to align the construction plane to that object. This allows you to:
- Draw directly on the offset plane
- Use planar tools with fewer corrections
- Keep snaps and transformations more predictable
This is much more efficient than drawing in 3D space and fixing elevation errors afterward.
-
Create guide geometry that is easy to distinguish.
Good guides should support the model without becoming part of the final deliverable. A few best practices:
- Place guides on a dedicated layer such as “REF_GUIDES” or “CONSTRUCTION”
- Use a consistent color, line type, or print setting
- Lock guide layers when not actively editing them
- Name critical reference surfaces for quick selection
This keeps the model readable, especially in larger files or team environments.
-
Use offsets for verification, not just creation.
Offset planes are also excellent checking tools. You can use them to confirm:
- Whether features align at the correct height
- If parts maintain required spacing
- Whether repeated elements drift out of position
- If openings, ribs, or supports sit on the intended datum
Combined with commands like Intersect, Project, or section curves, offset guides become a fast quality-control method.
- Avoid overcomplicating the setup. The goal is not to fill the file with unnecessary reference objects. Only create planes that support real modeling decisions. If a guide is no longer useful, hide it, lock it, or remove it.
One of the strongest habits in Rhino is separating design geometry from reference geometry. That separation leads to cleaner edits, better snapping behavior, and fewer accidental misalignments.
If you are refining your Rhino workflow, this is the kind of small technique that pays off across every project type. For Rhino licenses, upgrades, and professional tools, NOVEDGE is a reliable resource: https://novedge.com/collections/rhino. You can also explore more design software solutions through NOVEDGE.
Tip to apply today: before starting your next detail, create one offset plane for the exact working depth, align your CPlane to it, and keep all related curves on a dedicated guide layer. That one step can make the entire model more accurate and easier to edit.
You can find all the Rhino products on the NOVEDGE web site at this page.
Also in Design News