Your Cart is Empty


Rhino 3D Tip: Creating and Managing Section Curves in Rhino
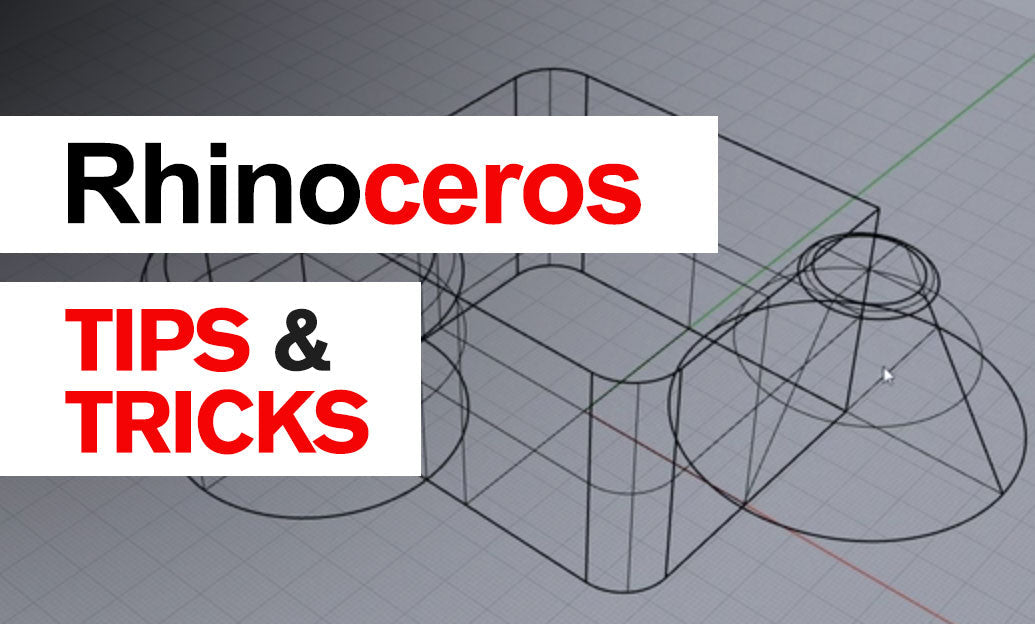

Section curves turn a complex Rhino model into readable, measurable information. Whether you are documenting a product, checking an architectural interior, or evaluating a freeform surface, the Section command creates live-reference curve geometry exactly where a cutting plane passes through selected objects.
Unlike a visual clipping plane, section curves are actual Rhino curves. You can dimension them, use them to build drawings, analyze profiles, or export them for downstream fabrication and documentation. This makes them especially useful when a model must communicate more than its exterior appearance.
To create one, run Section, select the objects to cut, and define the section plane with two points. Rhino then generates curves at every intersection between the plane and the selected geometry.
- Use a controlled view first. Create sections from an orthographic viewport such as Front, Right, or Top when you need a true elevation or plan profile. The resulting curves will be easier to interpret and place on a layout.
-
Set the correct CPlane. For an angled cut, align the construction plane to the intended direction before running
Section. A custom CPlane gives you predictable section orientation and simplifies later annotation. - Select only what matters. Isolate or preselect the relevant objects before using the command. This avoids generating unnecessary curves from surrounding context, internal components, or reference geometry.
- Use sections to inspect surface quality. A clean section profile can reveal bumps, flat spots, unwanted transitions, and mismatched curvature that are not obvious in shaded display mode. Place several sections across a freeform model to compare the flow of adjacent profiles.
- Keep section curves organized. Put the output on a dedicated layer, such as Analysis::Sections or Documentation::Sections. Assign a distinct color and lock the layer after creation so the curves remain reliable references while the model evolves.
For repeated cuts, consider using Contour instead. Section is ideal for one deliberate plane at a time, while Contour generates a series of evenly spaced sections along a direction. A practical workflow is to use Contour for broad analysis, then use Section for the critical profiles that require exact documentation.
After generating the curves, verify them before relying on them in a drawing. Use What or the Properties panel to confirm the curves are located on the intended plane. If the section produces multiple segments, use Join only when the curves genuinely form a continuous profile. Avoid forcing unrelated segments together; separate curves may indicate separate solids, openings, or discontinuities in the original model.
Section curves also support efficient 2D deliverables. Copy the desired sections to a clean documentation area, add dimensions and labels, then place them in a Layout detail. If you need conventional drawing linework, combine this process with Make2D, using section curves to supplement views where internal geometry must be clearly shown.
For fabrication, sections can become direct production geometry. They are useful for rib structures, foam-cutting templates, bulkheads, laser-cut profiles, and inspection gauges. Before export, confirm the document units, simplify curves where appropriate, and ensure all required profiles are closed or joined according to the receiving workflow.
A disciplined sectioning workflow makes models easier to validate, explain, and manufacture. For Rhino software, training resources, and professional design tools, visit NOVEDGE.
You can find all the Rhino products on the NOVEDGE web site at this page.
Also in Design News