Your Cart is Empty


Rhino 3D Tip: Rhino Display Modes for Smarter Modeling Workflows
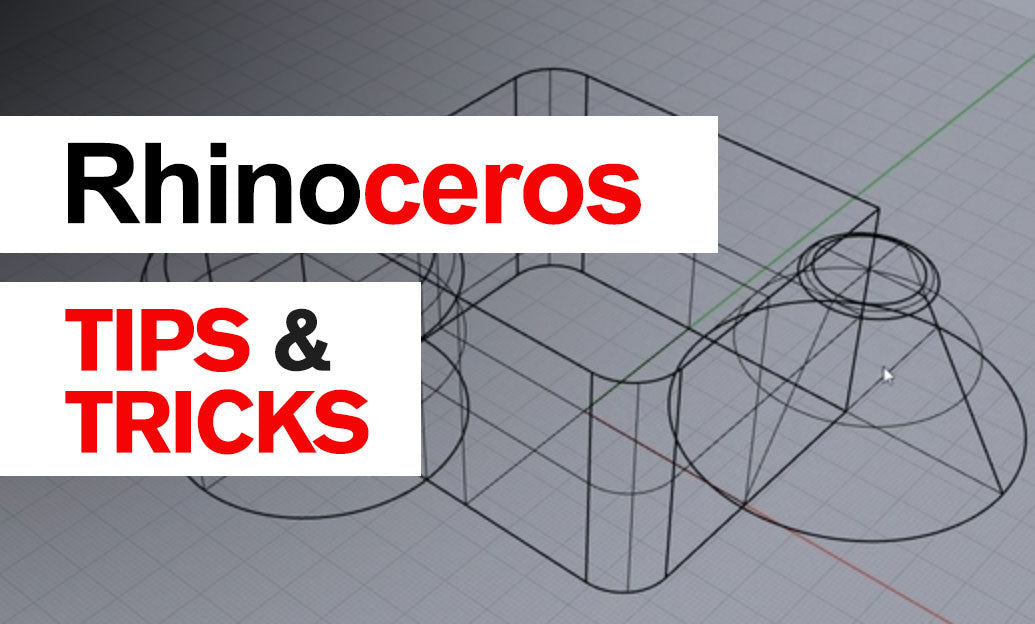

Rhino display modes are more than visual presets—they are working tools. Choosing the right mode at the right stage can improve modeling accuracy, speed up diagnostics, and reduce mistakes before rendering or fabrication.
Instead of staying in one default view all day, switch display modes based on the task in front of you. This simple habit helps you read geometry more clearly and make better decisions faster. If you are building a more efficient Rhino workflow, it is always worth exploring professional tools and training available through NOVEDGE.
-
Use Wireframe for selection and structural clarity
Wireframe is ideal when working with dense scenes, overlapping curves, or internal construction geometry. It lets you see through objects and quickly confirm whether curves are correctly aligned, intersecting, or duplicated. -
Use Shaded for general modeling
Shaded mode gives a balanced view of form without the overhead of more advanced visual effects. It is often the best everyday choice for surfacing, solid modeling, and checking overall proportions. -
Use Ghosted to inspect hidden relationships
Ghosted is especially useful when you need to see internal parts without isolating or hiding geometry. For assemblies, layered construction, or nested components, it offers a fast way to understand spatial relationships. -
Use Rendered when reviewing materials and presentation quality
If you assign materials, textures, or environment lighting, Rendered mode helps evaluate those decisions early. It is not only for final images; it can reveal whether reflective, transparent, or dark materials are hurting readability. -
Use Technical for sharp visual communication
Technical mode adds edge emphasis and cleaner linework, which can make objects easier to read in design reviews. This is especially helpful for product design, architecture details, and client-facing screenshots. -
Use Arctic for shape evaluation
Arctic mode is excellent for reviewing form without the distraction of material color. Its clean white appearance helps you focus on silhouette, highlights, and surface transitions. For many designers, this is one of the best modes for judging aesthetics. -
Use Pen for conceptual presentations
Pen mode simplifies the model into bold lines and flat tones. It can be very effective when you want an illustration-like look for early concept communication.
Here are a few practical habits that make display modes even more useful:
-
Create task-based viewport setups
One viewport can stay in Wireframe, another in Shaded, and a perspective viewport in Arctic or Rendered. This gives you immediate visual feedback from multiple perspectives without constant switching. -
Customize display modes
Rhino allows you to adjust edge thickness, mesh wires, surface isocurves, background color, and more. A small customization can dramatically improve readability for your specific discipline. -
Turn on analysis tools when needed
Display modes become even more powerful when paired with Zebra, CurvatureAnalysis, or DraftAngleAnalysis. This combination helps you move from visual inspection to technical validation. -
Watch performance in large files
Heavier modes such as Rendered or Raytraced can slow navigation in complex models. In those cases, model in Wireframe or Shaded, then switch only when needed.
A smart workflow is to model in Shaded, diagnose in Wireframe or Ghosted, evaluate form in Arctic, and present in Technical or Rendered. That sequence keeps you fast without sacrificing control.
If you are looking to improve your Rhino setup, including software options and workflow tools, visit NOVEDGE for Rhino resources used by design professionals.
You can find all the Rhino products on the NOVEDGE web site at this page.
Also in Design News