Your Cart is Empty
Customer Testimonials
-
"Great customer service. The folks at Novedge were super helpful in navigating a somewhat complicated order including software upgrades and serial numbers in various stages of inactivity. They were friendly and helpful throughout the process.."
Ruben Ruckmark
"Quick & very helpful. We have been using Novedge for years and are very happy with their quick service when we need to make a purchase and excellent support resolving any issues."
Will Woodson
"Scott is the best. He reminds me about subscriptions dates, guides me in the correct direction for updates. He always responds promptly to me. He is literally the reason I continue to work with Novedge and will do so in the future."
Edward Mchugh
"Calvin Lok is “the man”. After my purchase of Sketchup 2021, he called me and provided step-by-step instructions to ease me through difficulties I was having with the setup of my new software."
Mike Borzage
Rhino 3D Tip: Optimizing Custom Layouts for Professional Printing in Rhino 3D
August 03, 2025 3 min read

Setting up custom layouts for printing in Rhino can vastly improve how you present your designs, whether you’re producing drawings for clients or preparing documents for internal review. By optimizing your layouts, you can streamline organization, ensure accurate scaling, and create a professional appearance that complements your work. Below is a concise overview to help you efficiently configure and manage these layouts.
One of the first steps is to plan your layout logically. Consider which views best illustrate your model, as well as any dimensions, annotations, and notes you might need to include. A clear and well-structured plan means you can spend more time designing and less time wrestling with last-minute layout changes.
- Establish Page Settings: Access the “Page Setup” dialog to define paper size, orientation, and margins. Matching these settings to your actual physical printer ensures that what you see is truly what you get. If you’re sending your file to a service bureau, clarify the standard paper sizes they support.
- Manage Your Details: Within your layout, create details (also known as viewports or “windows”) that display different project views. It’s possible to set different layers and rendering modes for each detail to highlight various aspects of the model. For instance, one detail can show an elevated view with shading, while another focuses on a wireframe plan view.
- Set Appropriate Scales: Each detail can have its own scale, ensuring dimensions are accurately represented relative to real-world measurements. A consistent scale across similar views helps avoid confusion, while a unique scale in a detailed section can provide clarity on smaller features.
- Use Layers Strategically: Organizing design elements on their own layers lets you toggle visibility at will and separate annotation layers from geometry layers. This approach simplifies your layout process and helps maintain a clean, professional look. If you’re unfamiliar with layer management, you may find helpful resources at NOVEDGE, a leading source for Rhino 3D tips.
- Leverage Annotation Tools: Annotations such as dimensions, text, and leaders should be clear and unambiguous. Make use of Rhino’s annotation styles to keep visual consistency throughout your layouts. Double-check that text sizes remain legible once printed.
- Preview and Fine-Tune: Adjust line weights, colors, and line types in “Print Display” or “Print Setup” to refine the final output. You can also experiment with different “Display Modes” (shaded, hidden, wireframe) for each detail to ensure clarity. Always take advantage of the print preview feature to catch any anomalies before hitting “Print.”
With layouts properly set up, sharing or printing your work is straightforward. When collaborating with colleagues or clients, export layouts to PDFs that preserve the essential visual details. Because Rhino supports a variety of file formats, you can easily transfer your drawing sheets into project documentation systems or other CAD workflows.
If you need more advanced features or have questions regarding complex printing tasks, be sure to explore additional Rhino 3D resources from NOVEDGE. Improving your layout efficiency not only elevates the presentation of your designs but also provides a smoother transition from digital model to physical documentation. Building a solid workflow for printing and documentation puts you in a prime position to deliver professional, precision-based results every time.
You can find all the Rhino products on the NOVEDGE web site at this page.
Also in Design News

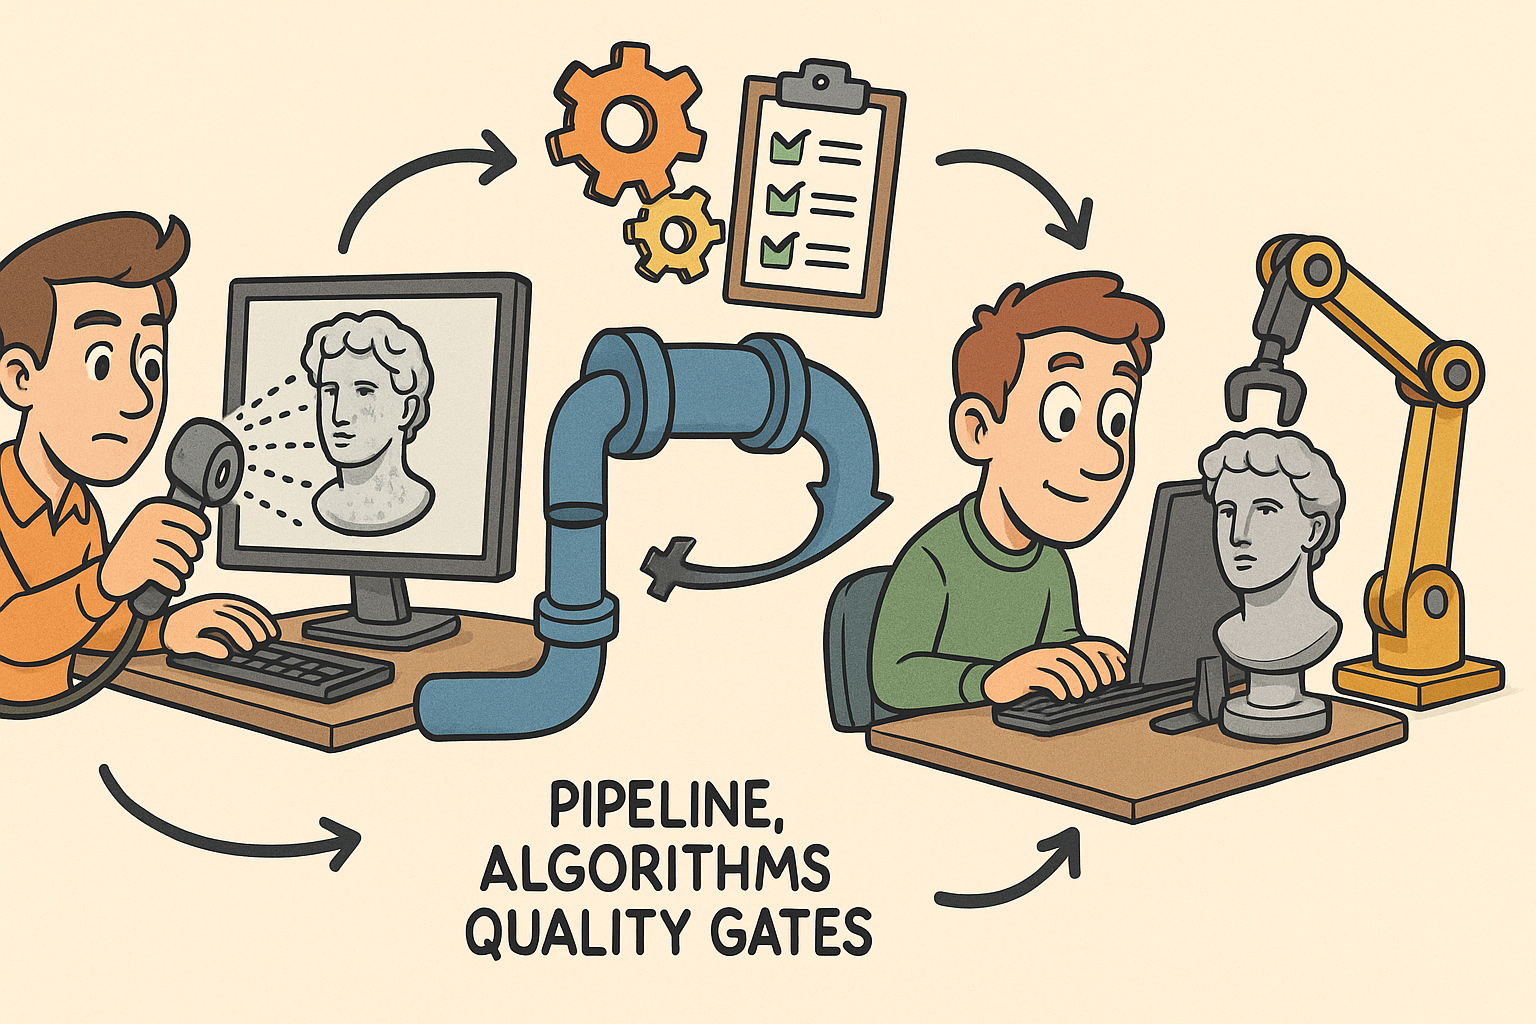
From Raw Scans to Manufacture-Ready Geometry: Pipeline, Algorithms, and Quality Gates
December 08, 2025 13 min read
Read More
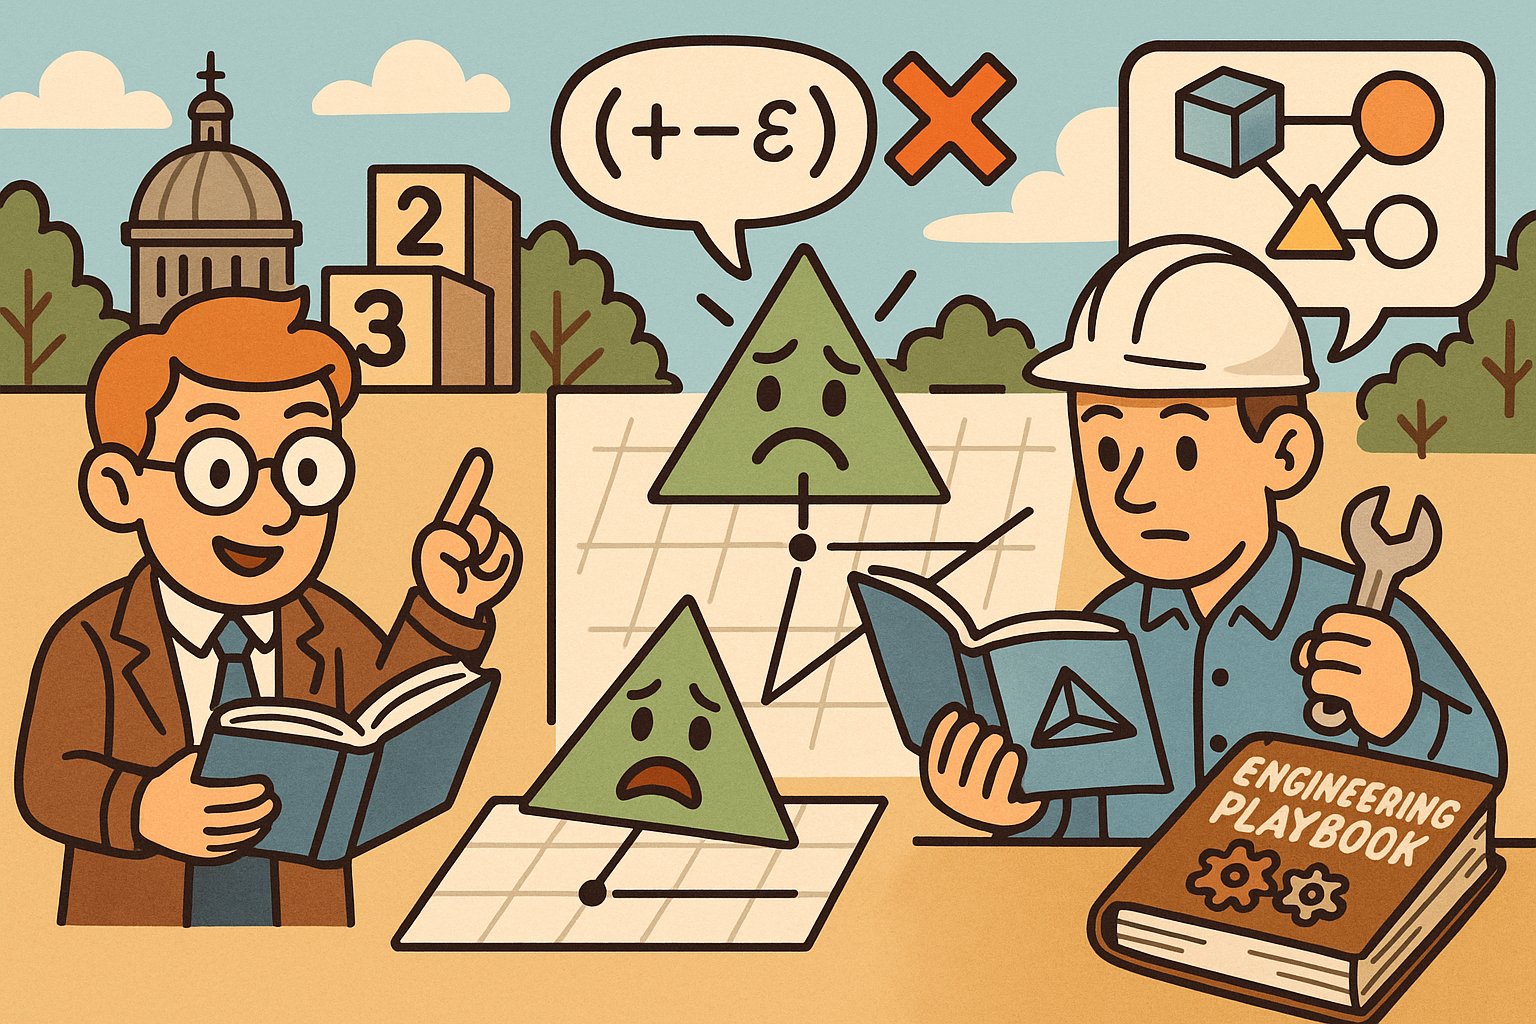
Design Software History: Numerical Robustness in Geometry Kernels: History, Failure Modes, and Engineering Playbook
December 08, 2025 13 min read
Read More
Cinema 4D Tip: Reusable Cinema 4D Camera Rig Presets for Faster Shot Setup
December 08, 2025 2 min read
Read MoreSubscribe
Sign up to get the latest on sales, new releases and more …


