Your Cart is Empty
Customer Testimonials
-
"Great customer service. The folks at Novedge were super helpful in navigating a somewhat complicated order including software upgrades and serial numbers in various stages of inactivity. They were friendly and helpful throughout the process.."
Ruben Ruckmark
"Quick & very helpful. We have been using Novedge for years and are very happy with their quick service when we need to make a purchase and excellent support resolving any issues."
Will Woodson
"Scott is the best. He reminds me about subscriptions dates, guides me in the correct direction for updates. He always responds promptly to me. He is literally the reason I continue to work with Novedge and will do so in the future."
Edward Mchugh
"Calvin Lok is “the man”. After my purchase of Sketchup 2021, he called me and provided step-by-step instructions to ease me through difficulties I was having with the setup of my new software."
Mike Borzage
Rhino 3D Tip: Maximizing the Efficiency of the Make2D Command in Rhino 3D
April 25, 2025 3 min read

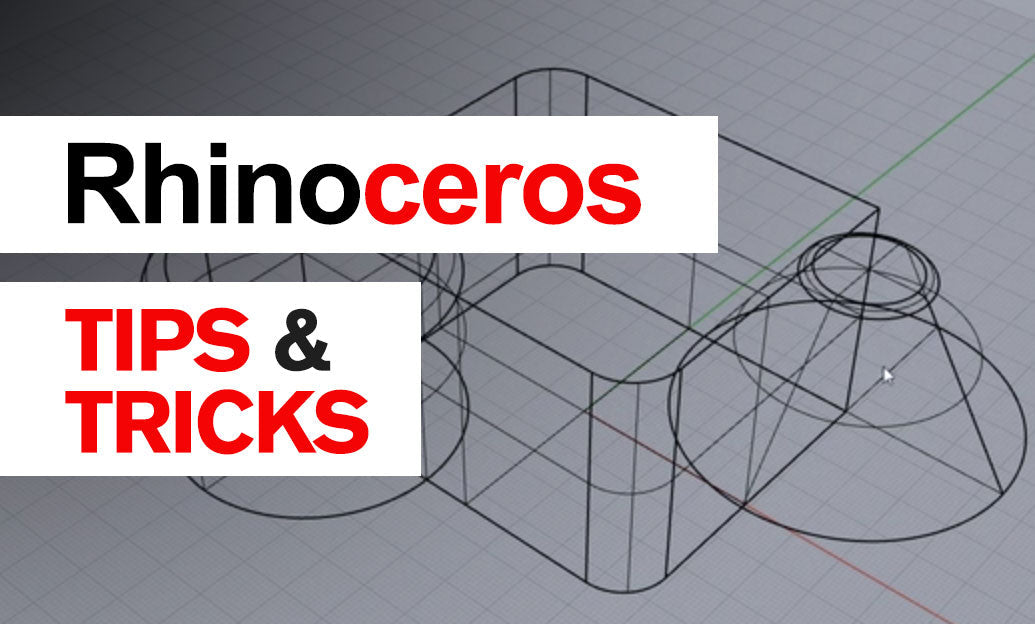
The Make2D command in Rhino 3D is an invaluable tool for converting complex 3D models into precise 2D drawings. This command projects your 3D geometry onto a plane, generating lines and curves that represent your model from selected views. Understanding how to effectively use Make2D can greatly enhance your technical drawing workflow.
Here are some tips to maximize the utility of the Make2D command:
-
Prepare Your Model: Before executing Make2D, clean up your model:
- Remove unnecessary geometry to simplify the 2D output.
- Ensure all objects are correctly layered and grouped for easier selection.
- Check for any hidden objects that might interfere with the projection.
-
Select Appropriate Views: The command allows for projections from different viewpoints:
- Use standard views (Top, Front, Right) for orthographic projections.
- Choose perspective views for more dynamic representations.
- Select multiple views simultaneously to generate several drawings at once.
-
Explore Make2D Options: Customize the command settings to suit your needs:
- Hidden Lines: Decide whether to include hidden lines for a more detailed drawing.
- Maintain Source Layers: Keep the output organized by preserving the original layers.
- Grouping Curves: Group output curves by object or viewport for easier manipulation.
-
Optimize Output: After running the command:
- Use
Jointo connect segmented lines into continuous curves. - Apply
CurveBooleanto simplify overlapping areas. - Clean up any redundant lines or artifacts that may have been generated.
- Use
-
Layer Management: Organize your 2D drawing effectively:
- Separate curves into layers based on line type (visible, hidden, tangent edges).
- Adjust layer properties such as color and line weight for clarity.
- Utilize layer states to quickly switch between different presentations.
-
Add Annotations: Enhance your drawing with additional information:
- Include dimensions to convey exact measurements.
- Add text notes for explanations or specifications.
- Use hatches and fills to indicate materials or cut sections.
-
Exporting the Drawing: Share your 2D work effectively:
- Export as DWG or DXF for compatibility with other CAD software.
- Use PDF format for easy viewing and printing.
- Choose AI or SVG formats for further editing in graphic design applications.
-
Automate with Scripts and Macros: For repetitive tasks:
- Create scripts to automate the
Make2Dprocess for batch operations. - Use macros to save time on frequently used command sequences.
- Explore Grasshopper definitions for parametric control over 2D outputs.
- Create scripts to automate the
Mastering the Make2D command enhances your ability to produce professional technical drawings directly from your 3D models. This not only streamlines your workflow but also ensures consistency between your design and documentation.
For those looking to deepen their expertise with Rhino 3D, consider exploring additional plugins and resources available at NOVEDGE, the leading online store for design software. NOVEDGE offers a wide array of tools and expert advice to help you take your projects to the next level.
Remember, the key to effective use of Make2D lies in preparation and organization. By setting up your model and understanding the command options, you can produce clear, accurate drawings that effectively communicate your design intent.
Stay updated with the latest Rhino 3D tips and tricks by following industry blogs and forums. Engaging with the community can provide new insights and techniques to further enhance your workflow.
For more information on Rhino 3D and to access a comprehensive selection of design software, visit NOVEDGE. Their team is ready to assist you with finding the right tools for your creative needs.
You can find all the Rhino products on the NOVEDGE web site at this page.
Also in Design News

"Revolutionizing Urban Planning: Unleashing SketchUp for Rapid, Data-Driven City Design"
September 16, 2025 5 min read
Read More
Cinema 4D Tip: Integrating VDB Format for Advanced Volumetric Workflows in Cinema 4D
September 16, 2025 2 min read
Read More
Bluebeam Tip: Mastering PDF Redaction Techniques in Bluebeam Revu for Enhanced Document Security
September 16, 2025 2 min read
Read MoreSubscribe
Sign up to get the latest on sales, new releases and more …


