Your Cart is Empty


Rhino 3D Tip: Mastering Sweep Surfaces in Rhino
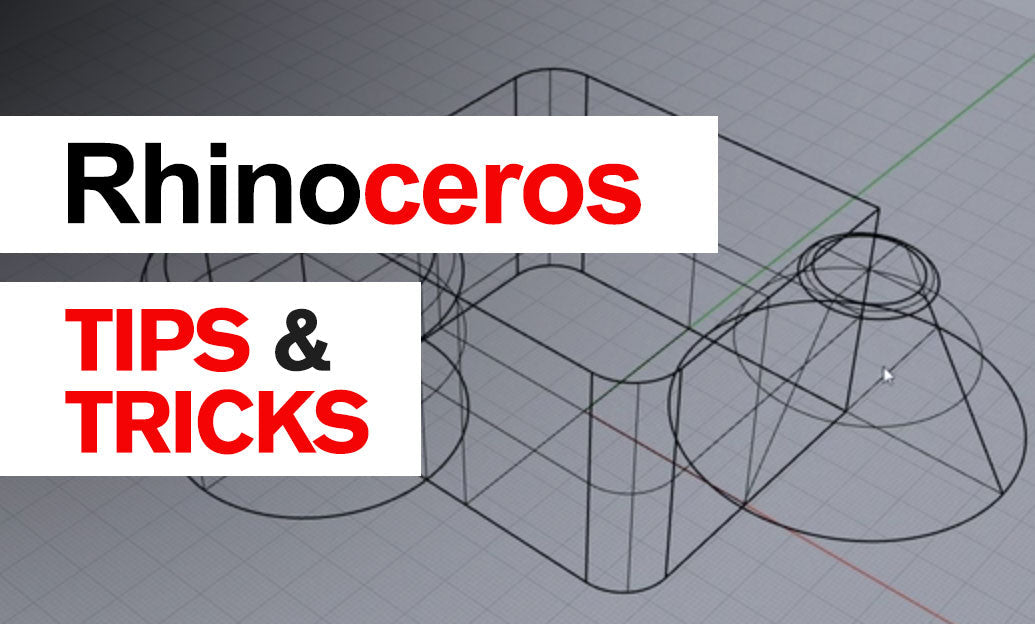

Sweep tools in Rhino are some of the fastest ways to turn clean curves into controlled surfaces. If you regularly model handrails, trim profiles, tubing, furniture parts, product details, or architectural features, learning to sweep curves along paths with discipline can save significant rework later.
The key idea is simple: one or more cross-section curves are carried along one or two rail curves to generate a surface. The result can be elegant and highly accurate, but only if the input curves are organized well.
- Use Sweep1 when one profile travels along a single rail.
- Use Sweep2 when the form is controlled by two rails and one or more section curves.
- Use RailRevolve or ExtrudeCrvAlongCrv for certain cases, but choose Sweep when profile shape and transition matter most.
Before running the command, spend a moment preparing the curves:
- Make sure rails are smooth and intentional.
- Keep section curves simple and consistent.
- Check that curve directions make sense.
- Place profile curves at meaningful positions along the rail.
- Use End, Near, Perp, and Osnap tools for accurate placement.
A common mistake is trying to fix a bad sweep by adjusting settings, when the real problem is poor input geometry. If the rail has unnecessary control points, abrupt kinks, or inconsistent parameterization, the resulting surface often twists, pinches, or becomes harder to edit.
For better results, keep these habits in mind:
- Rebuild curves when needed. Cleaner curves usually create cleaner surfaces.
- Match profile structure. Similar section curves tend to produce more predictable transitions.
- Watch seam placement. Closed profiles can create visible issues if the seam is in the wrong location.
- Check curve direction. Reversed sections may flip unexpectedly during the sweep.
- Use fewer sections first. Add more only when they improve control.
When using Sweep1, Rhino gives you options such as maintaining height, roadlike behavior, and surface style. These settings matter:
- Freeform is flexible and useful for general modeling.
- Roadlike helps keep sections upright relative to a construction axis, which is especially helpful for architectural or transportation-style forms.
- Refit cross sections can simplify output, but use it carefully if shape fidelity is critical.
For Sweep2, rail quality becomes even more important. The two rails should relate cleanly to the section curves. If one rail is more complex than the other, or if sections do not intersect both rails consistently, the surface may become unstable.
After creating the sweep, do not stop at visual inspection. Analyze it:
- Turn on control points to see whether the surface is heavier than expected.
- Use Zebra or environment map analysis to inspect continuity.
- Check edge quality before joining to adjacent surfaces.
- Trim only after confirming the underlying sweep is sound.
A strong Rhino workflow is often less about command knowledge and more about setup discipline. Clean rails, logical sections, and careful option choices make sweep surfaces easier to edit, match, and manufacture.
If you are looking to expand your Rhino workflow, NOVEDGE offers Rhino software and professional tools for design visualization and production at NOVEDGE Rhino. For more CAD and 3D design resources, visit NOVEDGE.
You can find all the Rhino products on the NOVEDGE web site at this page.
Also in Design News