Your Cart is Empty
Customer Testimonials
-
"Great customer service. The folks at Novedge were super helpful in navigating a somewhat complicated order including software upgrades and serial numbers in various stages of inactivity. They were friendly and helpful throughout the process.."
Ruben Ruckmark
"Quick & very helpful. We have been using Novedge for years and are very happy with their quick service when we need to make a purchase and excellent support resolving any issues."
Will Woodson
"Scott is the best. He reminds me about subscriptions dates, guides me in the correct direction for updates. He always responds promptly to me. He is literally the reason I continue to work with Novedge and will do so in the future."
Edward Mchugh
"Calvin Lok is “the man”. After my purchase of Sketchup 2021, he called me and provided step-by-step instructions to ease me through difficulties I was having with the setup of my new software."
Mike Borzage
Rhino 3D Tip: HDRI Workflow for Realistic Lighting in Rhino
February 07, 2026 2 min read

Use high‑dynamic‑range images (HDRI) to light your Rhino scenes with realistic ambient illumination and reflections. Here’s a concise workflow and best practices to get reliable, professional results.
-
Choose the right HDRI
- Prefer 32‑bit .hdr or .exr files; they store true dynamic range for physically plausible lighting.
- Pick environments that match your scene (studio vs. outdoor, overcast vs. sunny, warm vs. cool).
- Use 4K–8K maps for crisp reflections; keep a low‑res copy for interactive work.
-
Load and assign the environment in Rhino
- Open Panels > Environments, create a new environment, and add your HDRI in the Texture slot (mapping: Equirectangular/Latitude‑Longitude).
- Set it as the current environment and enable Skylight in Render settings so the HDRI drives scene illumination.
- Assign the same environment to Reflections for consistent highlights; optionally use separate environments for Background, Skylight, and Reflections to fine‑tune each channel.
- Preview quickly in the Raytraced viewport; finalize with Rhino Render or your preferred renderer.
-
Align and balance the light
- Rotate the environment (Azimuth) to steer the brightest area where you want your key light to fall.
- Adjust intensity via the environment’s multiplier or exposure; avoid over‑brightening that flattens contrast.
- Enable Ground Plane to catch realistic contact shadows; tweak Shadow Intensity for believable grounding.
- Combine Sun + HDRI: use Sun for crisp directional shadows and HDRI for soft, global fill. Set location/date/time for accuracy.
-
Material realism with PBR
- Use PBR materials for physically correct response under HDRI. Base Color/Albedo in sRGB; Roughness/Metalness/Normal in linear (non‑color data).
- For metals, set Metalness = 1 and control sheen via Roughness; for dielectrics, keep Metalness = 0 and set IOR/Specular appropriately.
-
Post effects and noise control
- Use Tone Mapping to balance exposure and contrast; keep gamma near linear and avoid heavy clipping.
- Enable the Denoiser for smoother results in low‑light or glossy scenes; increase samples if mirror‑like materials look noisy.
-
Performance tips
- Work with a lower‑resolution HDRI during look‑dev; switch to high‑res only for finals.
- Avoid ultra‑large (16K+) maps unless needed for product close‑ups; they can slow viewport updates.
-
Troubleshooting
- Flat lighting: choose a higher‑contrast HDRI (sunny or studio with defined key/fill), or boost contrast in Tone Mapping.
- Blown highlights: reduce environment intensity or lower exposure; check that materials aren’t overly reflective.
- No shadows: confirm Skylight is on and Ground Plane is enabled; verify normals and sun/shadow settings.
- Color shifts: ensure correct texture color spaces (albedo = sRGB, data maps = linear).
Pro tip: use separate environments for Background (clean gradient), Skylight (HDRI), and Reflections (high‑res HDRI) to balance clarity, light quality, and performance.
Looking to refine your Rhino rendering workflow or expand your HDRI library? Explore expert resources, add‑ons, and Rhino licenses at NOVEDGE. For professional guidance and bundled solutions that elevate your visuals, connect with the team at NOVEDGE.
You can find all the Rhino products on the NOVEDGE web site at this page.
Also in Design News

Design Software History: From Usenet to Cloud: How Forums, Tutorials, and Open Libraries Transformed CAD Practice
February 07, 2026 13 min read
Read More
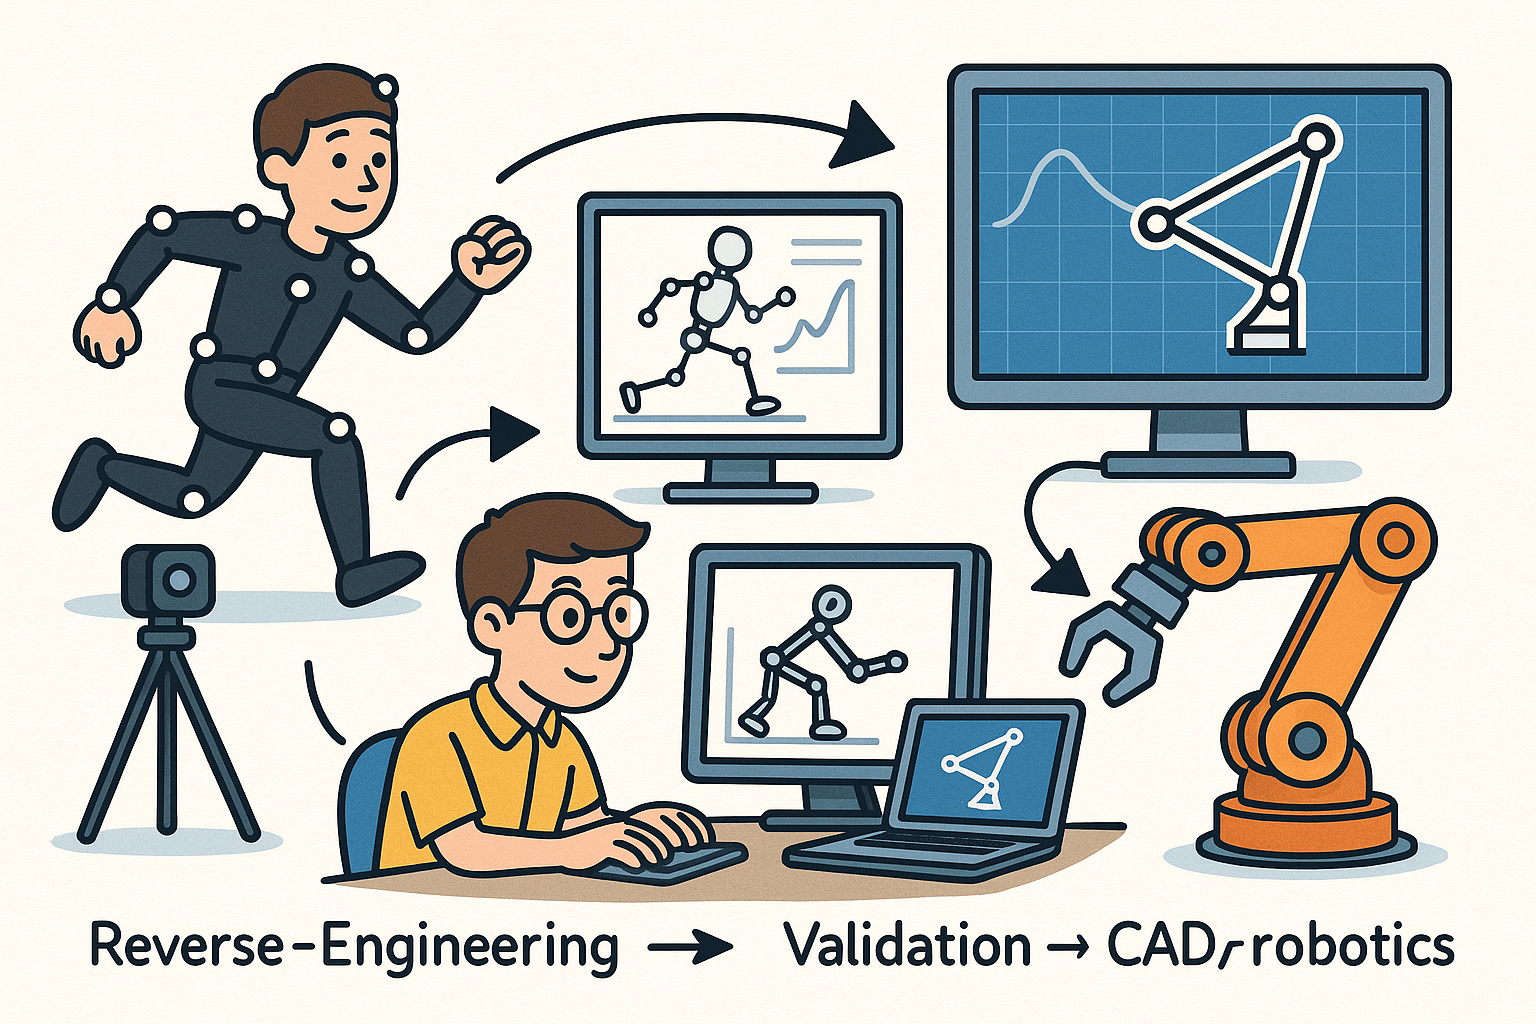
Reverse-Engineering Mechanisms from Motion Capture: Kinematic Identification, Validation, and CAD/Robotics Export
February 07, 2026 12 min read
Read More
Cinema 4D Tip: Guide-First Hair Grooming Workflow for Cinema 4D
February 07, 2026 2 min read
Read MoreSubscribe
Sign up to get the latest on sales, new releases and more …


