Your Cart is Empty
Customer Testimonials
-
"Great customer service. The folks at Novedge were super helpful in navigating a somewhat complicated order including software upgrades and serial numbers in various stages of inactivity. They were friendly and helpful throughout the process.."
Ruben Ruckmark
"Quick & very helpful. We have been using Novedge for years and are very happy with their quick service when we need to make a purchase and excellent support resolving any issues."
Will Woodson
"Scott is the best. He reminds me about subscriptions dates, guides me in the correct direction for updates. He always responds promptly to me. He is literally the reason I continue to work with Novedge and will do so in the future."
Edward Mchugh
"Calvin Lok is “the man”. After my purchase of Sketchup 2021, he called me and provided step-by-step instructions to ease me through difficulties I was having with the setup of my new software."
Mike Borzage
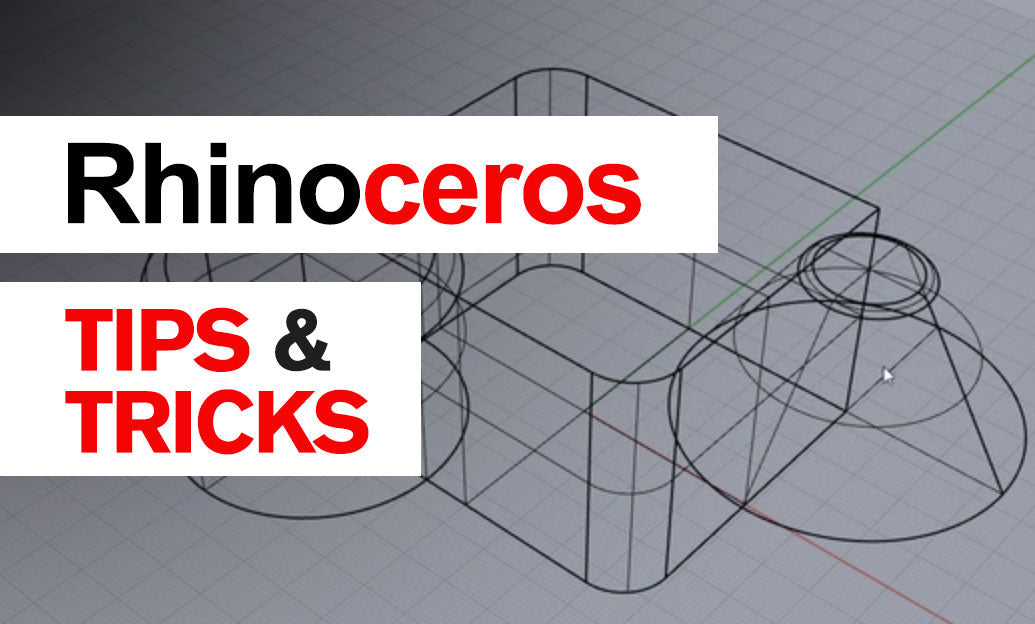
Rhino 3D Tip: Enhancing Precision in Curve Editing Techniques for Rhino 3D
December 27, 2024 2 min read

Accurate curve editing is a fundamental skill in Rhino 3D that significantly enhances the precision and quality of your models. Here are some essential techniques to improve your curve editing capabilities:
Understanding Control Points
Control points define the shape of NURBS curves. Mastering their manipulation is key to precise curve editing.
- Activate control points by selecting the curve and pressing F10.
- Use the Gumball tool for intuitive control point movement.
- Employ SetPt to align control points along a specific axis or plane.
- Minimize the number of control points for smoother curves and easier adjustments.
Utilizing Object Snaps (Osnaps)
Osnaps ensure your edits are precise by snapping to exact points on existing geometry.
- Enable Osnaps by clicking the checkbox at the bottom of the interface.
- Select relevant snaps like End, Mid, Near, and Point.
- Combine with SmartTrack for dynamic alignment guides.
Employing Edit Commands
Rhino offers a suite of commands tailored for curve editing.
- Trim and Split to modify curve lengths.
- Join to combine multiple curves into a single entity.
- Rebuild to redefine curve structure for smoother adjustments.
- Extend to lengthen curves accurately.
Using the Curve Edit Tools
Advanced tools provide greater control over curve shapes.
- Match to align the end of a curve with another curve's end, ensuring continuity.
- BlendCrv to create smooth transitional curves between two existing curves.
- Fillet and Chamfer to create rounded or beveled connections.
- SoftEditCrv for localized curve adjustments without affecting the entire shape.
Analyzing Curves
Regularly checking your curves helps maintain model integrity.
- CurvatureGraph displays the curvature continuity, highlighting any irregularities.
- CrvDeviation measures the distance between curves to ensure accuracy.
- Check identifies any issues or anomalies within your curves.
Optimizing Curve Degree and Control Points
The degree of a curve and the number of control points affect its flexibility and smoothness.
- Higher-degree curves allow for smoother transitions with fewer control points.
- Adjust curve degree using the ChangeDegree command.
- Balance the number of control points to avoid overcomplication.
Maintaining Continuity
Ensuring curves connect seamlessly is crucial for surface creation.
- Use Match with options like Position, Tangency, or Curvature for desired continuity.
- Implement BlendCrv for smooth connections between unmatched curves.
- Employ Join after ensuring continuity to create a single curve.
By integrating these techniques into your workflow, you'll enhance both the precision and efficiency of your curve editing in Rhino 3D. Continuous practice and exploration of these tools will lead to more refined and accurate modeling outcomes.
For more expert tips and access to the latest Rhino 3D software, visit NOVEDGE, your trusted source for professional 3D design solutions.
You can find all the Rhino products on the NOVEDGE web site at this page.
Also in Design News

Design Software History: Historical Development and Impact of Plug-ins and Extensions in Design Software Evolution
October 20, 2025 8 min read
Read More
Revolutionizing Design Validation with Machine Vision Technology
October 20, 2025 9 min read
Read More
Cinema 4D Tip: Optimizing Game Asset Creation for Unity in Cinema 4D
October 20, 2025 3 min read
Read MoreSubscribe
Sign up to get the latest on sales, new releases and more …


