Your Cart is Empty
Customer Testimonials
-
"Great customer service. The folks at Novedge were super helpful in navigating a somewhat complicated order including software upgrades and serial numbers in various stages of inactivity. They were friendly and helpful throughout the process.."
Ruben Ruckmark
"Quick & very helpful. We have been using Novedge for years and are very happy with their quick service when we need to make a purchase and excellent support resolving any issues."
Will Woodson
"Scott is the best. He reminds me about subscriptions dates, guides me in the correct direction for updates. He always responds promptly to me. He is literally the reason I continue to work with Novedge and will do so in the future."
Edward Mchugh
"Calvin Lok is “the man”. After my purchase of Sketchup 2021, he called me and provided step-by-step instructions to ease me through difficulties I was having with the setup of my new software."
Mike Borzage
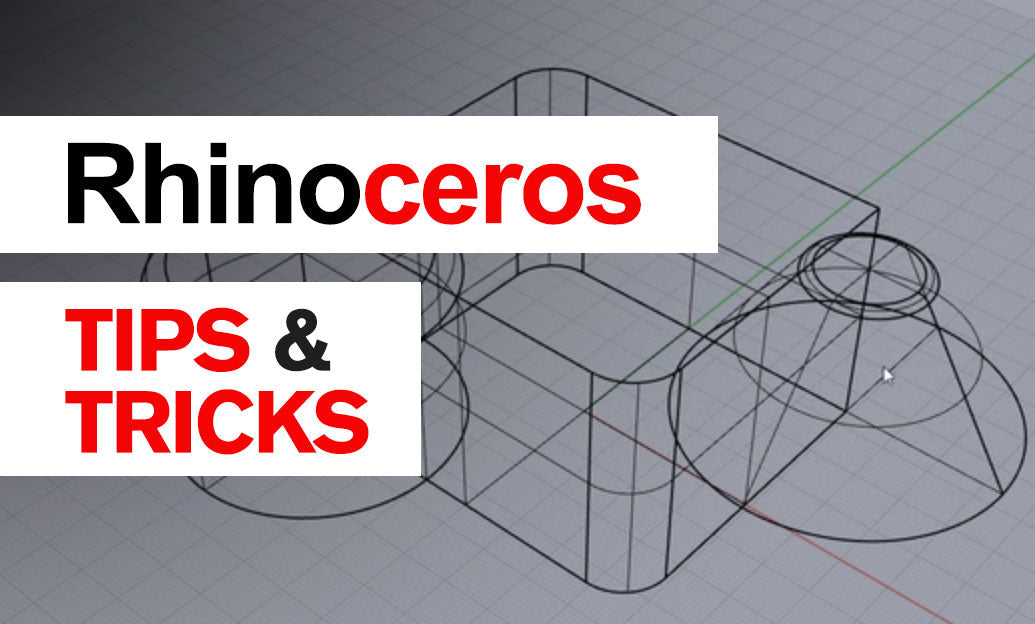
Rhino 3D Tip: Enhancing Accuracy in 2D Drawings with Rhino 3D Software
February 17, 2025 2 min read

Creating accurate 2D drawings in Rhino 3D Software is essential for precise modeling and effective communication. Here are some tips to help you enhance the accuracy of your 2D drawings:
Set Up Your Workspace Correctly
- Choose the Right Units: Before starting, set your model units appropriately by going to File > Properties > Units.
- Enable Grid Snap: Activate grid snapping to align objects precisely by clicking the Grid Snap button on the status bar.
- Adjust the Grid: Customize grid settings under Document Properties > Grid for finer control.
Utilize Object Snaps (Osnaps) Effectively
- Activate Osnaps: Turn on Osnaps to snap to specific points like endpoints, midpoints, and centers.
- Customize Osnaps: Right-click the Osnap panel to select only the snaps you need, reducing snap interference.
- Use SmartTrack: Enable SmartTrack for temporary reference lines and points that aid precise drawing.
Work with Precision Input
- Direct Coordinate Entry: Enter exact coordinates in the command line for precise point placement.
-
Relative Coordinates: Use relative input by prefixing coordinates with
@to draw relative to the last point. - Polar Tracking: Enable Ortho or Planar mode for constrained drawing along set angles.
Leverage Construction Geometry
- Use Reference Lines: Draw temporary lines as guides, which can be placed on a separate layer for easy management.
- Employ the Line and Polyline Commands: Build complex shapes using these fundamental tools for better control.
Organize with Layers
- Create Layers Strategically: Assign different elements to specific layers to manage visibility and editing tasks efficiently.
- Lock Reference Layers: Prevent accidental modifications by locking layers containing reference or completed geometry.
Use the Correct Drawing Tools
- Choose Appropriate Curves: Select from lines, polylines, circles, arcs, and splines based on the required geometry.
- Modify with Precision: Utilize commands like Trim, Extend, Fillet, and Chamfer to refine your drawings.
Implement Accurate Editing Techniques
- Snap to Ends and Midpoints: Ensure lines connect precisely by snapping to key points of existing geometry.
- Use the Align Command: Align objects along a common axis or plane for uniformity.
- Apply Object Match Properties: Use MatchProp to ensure objects share the same properties.
Verify and Analyze Your Drawings
- Check Distances and Angles: Use the Distance and Angle tools to verify measurements.
- Inspect for Gaps: Zoom in to check for small gaps or overlaps that may affect accuracy.
- Use Analyze Tools: Utilize analysis commands to evaluate curve direction and continuity.
Maintain Consistent Annotation
- Standardize Text and Dimensions: Use annotation styles for consistent text, dimensions, and leaders.
- Scale Appropriately: Set annotation scales to ensure readability in layouts and prints.
By following these tips, you can significantly improve the accuracy of your 2D drawings in Rhino 3D, leading to better models and more effective communication with your team and clients.
For more professional insights and resources, consider visiting NOVEDGE, the leading online store for design software. NOVEDGE offers expert advice and a wide range of products to support your creative projects.
You can find all the Rhino products on the NOVEDGE web site at this page.
Also in Design News

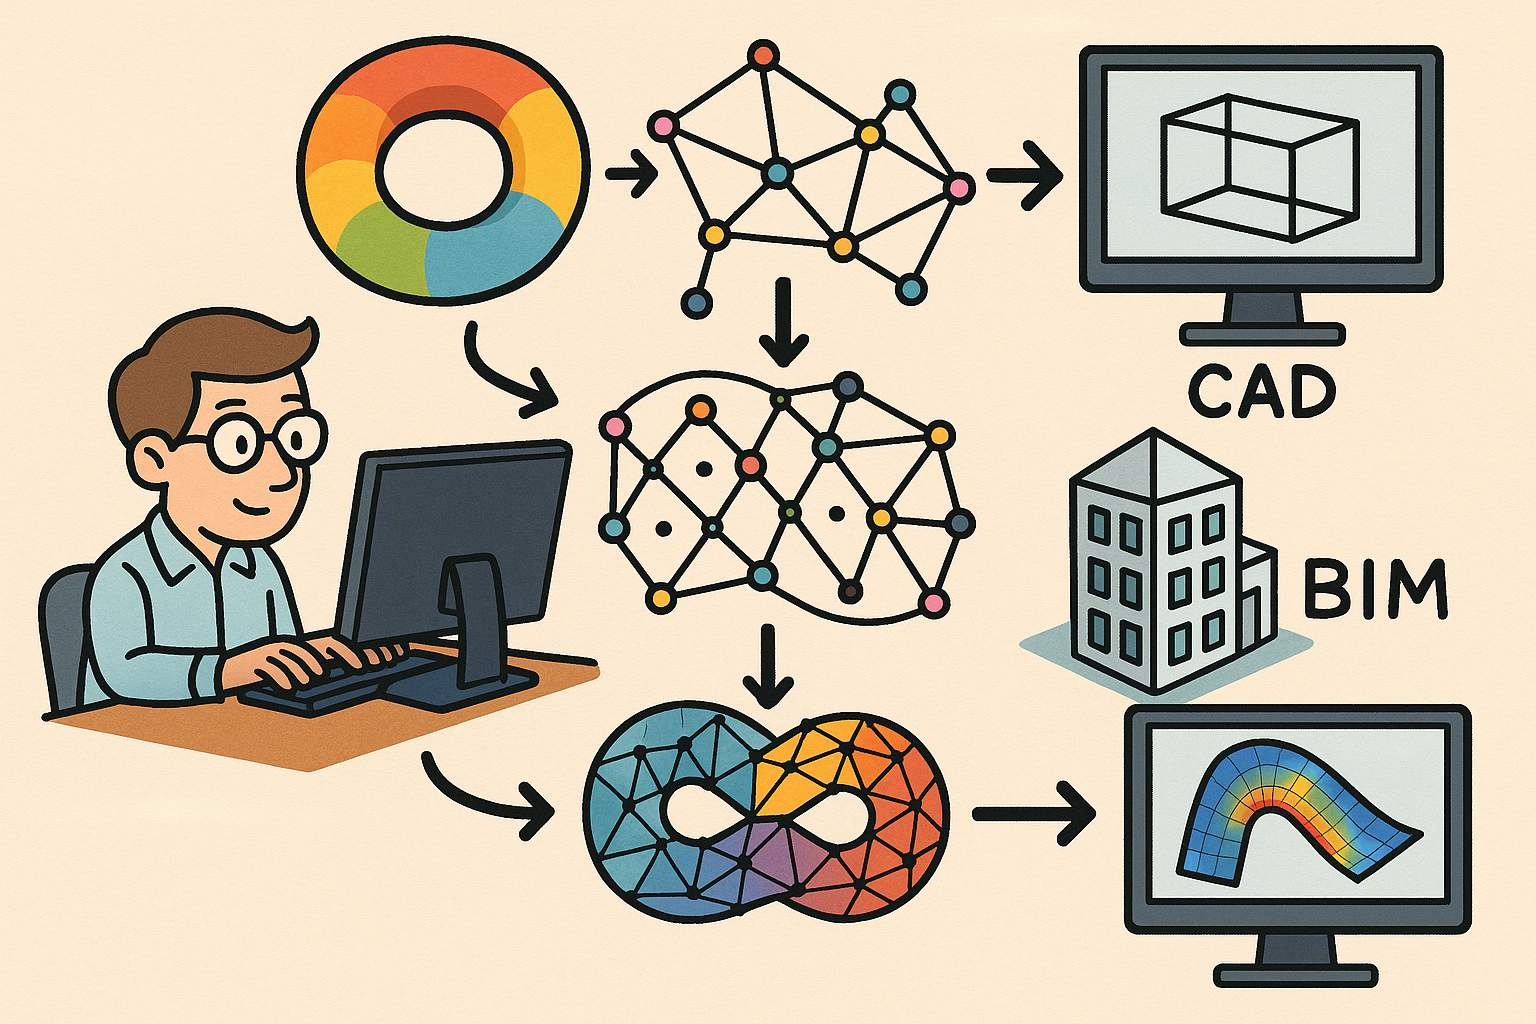
Design Software History: From Computational Topology to Design Software: Integrating TDA into CAD, BIM and CAE Workflows
December 25, 2025 10 min read
Read More
Scene-Aware LOD: Perception-Driven Fidelity for Scalable Design Visualization
December 25, 2025 12 min read
Read More
Cinema 4D Tip: Hair-to-Spline Workflow for Stylized NPR Ribbons in Cinema 4D
December 25, 2025 2 min read
Read MoreSubscribe
Sign up to get the latest on sales, new releases and more …


