Your Cart is Empty
Customer Testimonials
-
"Great customer service. The folks at Novedge were super helpful in navigating a somewhat complicated order including software upgrades and serial numbers in various stages of inactivity. They were friendly and helpful throughout the process.."
Ruben Ruckmark
"Quick & very helpful. We have been using Novedge for years and are very happy with their quick service when we need to make a purchase and excellent support resolving any issues."
Will Woodson
"Scott is the best. He reminds me about subscriptions dates, guides me in the correct direction for updates. He always responds promptly to me. He is literally the reason I continue to work with Novedge and will do so in the future."
Edward Mchugh
"Calvin Lok is “the man”. After my purchase of Sketchup 2021, he called me and provided step-by-step instructions to ease me through difficulties I was having with the setup of my new software."
Mike Borzage
Rhino 3D Tip: Enhance Workflow with Custom Toolbars in Rhino 3D
September 04, 2024 2 min read

Creating Custom Toolbars in Rhino 3D
Custom toolbars can greatly enhance your workflow in Rhino 3D by providing quick access to frequently used commands and tools. Here’s a simple guide to creating your own custom toolbars:
- Create a New Toolbar:
Navigate to Tools > Toolbar Layout. In the Toolbar Layout dialog box, click on the File menu and select New. Give your new toolbar a name and click OK. - Add Buttons to Your Toolbar:
With your new toolbar selected, click the New Button icon. This opens the Button Editor where you can define the command that the button will execute. Enter the desired command in the Left Mouse Button field. - Customize Button Appearance:
Use the Button Editor to customize the button's appearance. You can add icons or change the button's color to make it easily recognizable. You can even create your own custom icons if needed. - Arrange Buttons:
Drag and drop buttons within your toolbar to arrange them in the order that best suits your workflow. You can also group buttons together to create a more organized toolbar. - Save Your Toolbar:
After customizing your toolbar, go to the File menu in the Toolbar Layout dialog box and select Save. This ensures that your custom toolbar is saved and can be reused in future Rhino sessions.
Creating custom toolbars is an excellent way to streamline your design process, making it easier to access the tools you use most frequently. If you’re looking for more advanced tips and tricks, check out NOVEDGE for a wide range of resources and expert advice.
You can find all the Rhino products on the NOVEDGE web site at this page.
Also in Design News

Rhino 3D Tip: Panel-Based Documentation for Grasshopper Definitions
January 10, 2026 2 min read
Read More
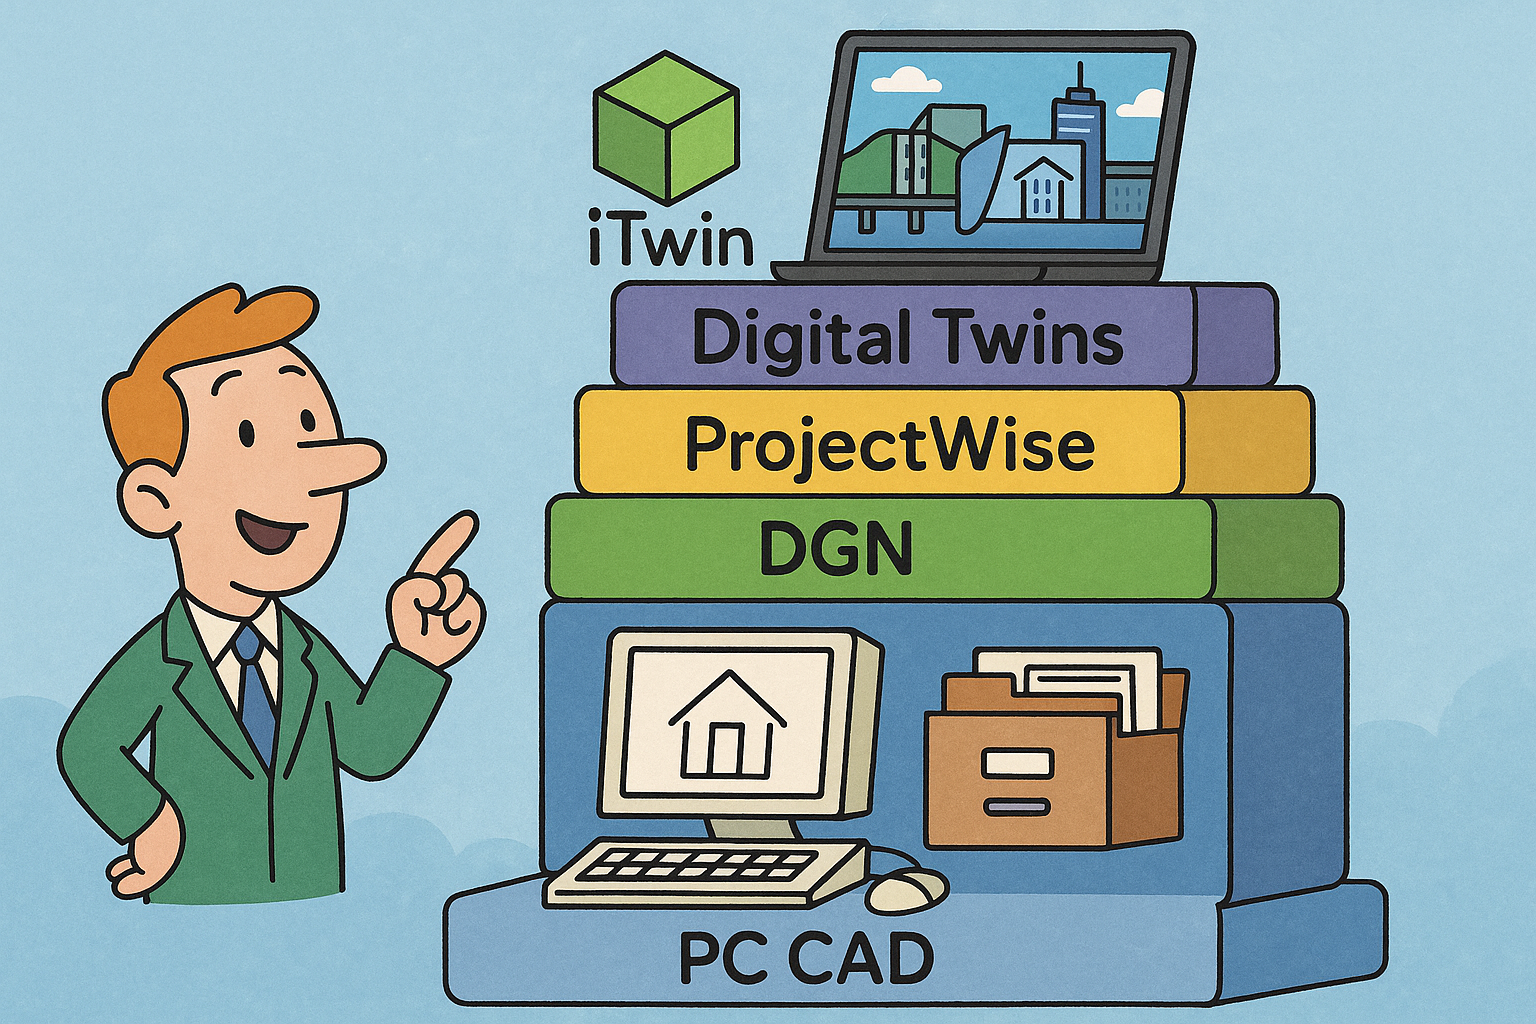
Design Software History: Bentley Systems: From PC CAD to an Infrastructure Stack — DGN, ProjectWise, iTwin and Digital Twins
January 10, 2026 14 min read
Read More
Ethical Generative Design Toolchains: Objectives, Provenance, Safety, and Sustainable Optimization
January 10, 2026 13 min read
Read MoreSubscribe
Sign up to get the latest on sales, new releases and more …


