Your Cart is Empty
Customer Testimonials
-
"Great customer service. The folks at Novedge were super helpful in navigating a somewhat complicated order including software upgrades and serial numbers in various stages of inactivity. They were friendly and helpful throughout the process.."
Ruben Ruckmark
"Quick & very helpful. We have been using Novedge for years and are very happy with their quick service when we need to make a purchase and excellent support resolving any issues."
Will Woodson
"Scott is the best. He reminds me about subscriptions dates, guides me in the correct direction for updates. He always responds promptly to me. He is literally the reason I continue to work with Novedge and will do so in the future."
Edward Mchugh
"Calvin Lok is “the man”. After my purchase of Sketchup 2021, he called me and provided step-by-step instructions to ease me through difficulties I was having with the setup of my new software."
Mike Borzage
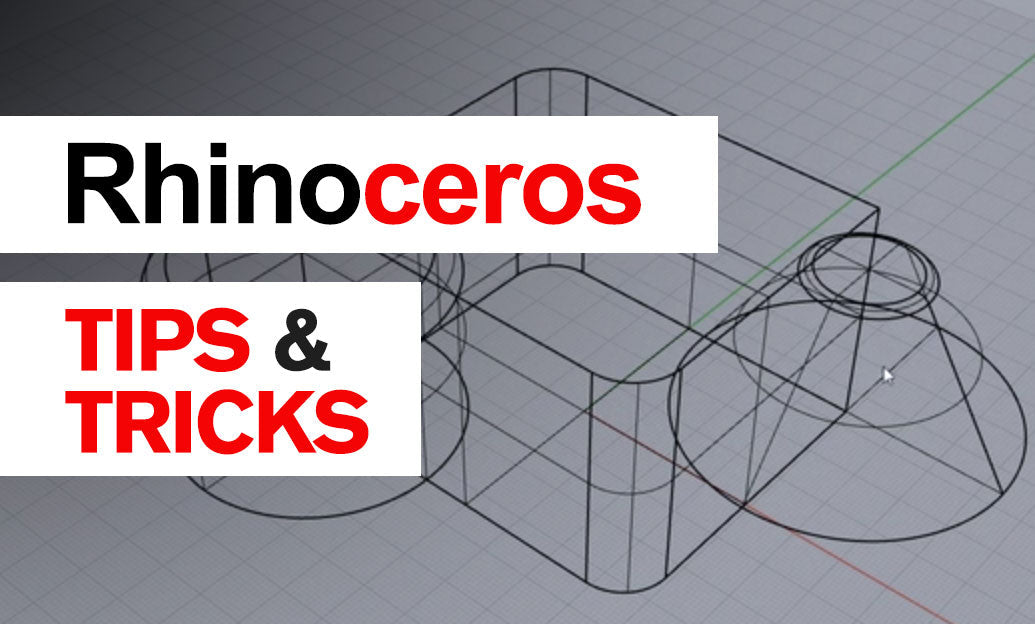
Rhino 3D Tip: Efficient Object Replication in Rhino 3D Using the Array Command
October 26, 2025 3 min read

One of the most efficient ways to replicate objects in Rhino 3D is through the Array command. This feature lets you create multiple copies of any selected object in precise configurations, saving you an enormous amount of time when you need repeated elements. Whether you’re designing product prototypes, architectural details, or jewelry patterns, Array ensures you never have to manually duplicate each unit. By systematically setting the number of copies and their distribution, you can maintain consistent spacing, reduce human error, and produce more organized models.
The Array command can be accessed from the Transform menu or by typing “Array” in the command line. Once active, you can choose from Rectangular, Polar, or Along Curve array types. Each approach has its unique benefits, depending on what you’re trying to achieve. Below are a few tips to refine your array workflow:
- Rectangular Array: Ideal for copying objects along X, Y, and Z axes. This is particularly helpful if you want a grid or matrix-like layout of repeated geometry. You simply specify how many items you need in each direction, as well as the spacing distance. This method ensures uniform distances and a structured arrangement.
- Polar Array: Suited for objects that need to rotate around a central point. It’s frequently used for circular patterns, such as radial fan blades or symmetrical designs. Defining the center of rotation and the number of items lets you quickly distribute objects evenly around a specified point.
- Along Curve: Useful when you have a path or line, and you want duplicates placed along that route. Select the path and set how many copies you need to follow it. The objects will then conform to the curve’s length and direction, providing a smooth distribution.
While each array type offers something different, you should always double-check your distances, angles, and orientation. The preview within the command prompts helps you visualize the outcome, so make sure you use it to refine any settings before clicking “Enter.” You can also modify the spacing between copies, rotate them to align with the curve direction, or set the direction of your rectangular layout. This saves you the hassle of adjusting objects after they’ve been created.
For users who frequently rely on repetitive geometry—such as architectural columns, window frames, or mechanical parts—be sure to keep a consistent system in place. Use clear layer names, logical grouping, or blocks to organize your arrays. Consistency will prevent confusion as your project grows in complexity. If your workflow calls for different array settings for the same object, consider duplicating that object on a separate layer first, so you can manage each version without overwriting the original arrangement.
Incorporating the Array command into your variety of modeling strategies not only brings increased efficiency but also ensures uniform results across your entire design. Remember that the best approach depends on your specific project and shape, so it’s good practice to experiment with all three array methods to become truly proficient. With the right balance of creativity and precision, you’ll find countless ways to leverage Array’s functionality to streamline your workflow.
If you are looking to deepen your Rhino 3D skills or purchase a license, check out NOVEDGE for excellent deals and resources. They offer a range of products, add-ons, and expert advice tailored to fit the needs of both novice and seasoned users.
You can find all the Rhino products on the NOVEDGE web site at this page.
Also in Design News

Five Interlocking ZBrush Techniques for Production‑Ready Hard‑Surface Modeling
October 26, 2025 7 min read
Read More
Cineware Best Practices: Live In-Comp Rendering, Camera/Light Sync, AOVs & Take-Based Versioning
October 26, 2025 11 min read
Read MoreSubscribe
Sign up to get the latest on sales, new releases and more …


