Your Cart is Empty
Customer Testimonials
-
"Great customer service. The folks at Novedge were super helpful in navigating a somewhat complicated order including software upgrades and serial numbers in various stages of inactivity. They were friendly and helpful throughout the process.."
Ruben Ruckmark
"Quick & very helpful. We have been using Novedge for years and are very happy with their quick service when we need to make a purchase and excellent support resolving any issues."
Will Woodson
"Scott is the best. He reminds me about subscriptions dates, guides me in the correct direction for updates. He always responds promptly to me. He is literally the reason I continue to work with Novedge and will do so in the future."
Edward Mchugh
"Calvin Lok is “the man”. After my purchase of Sketchup 2021, he called me and provided step-by-step instructions to ease me through difficulties I was having with the setup of my new software."
Mike Borzage
Revit Tip: Mastering the Split Element Tool for Precision and Efficiency in Revit Workflows
May 28, 2025 2 min read

Enhance your Revit workflow by mastering the Split Element Tool, a versatile feature that allows precise modifications to your model elements. Whether you're refining wall segments, adjusting structural components, or customizing architectural features, the Split Element Tool can significantly streamline your design process.
Key Benefits of Using the Split Element Tool:
- Precision Editing: Easily divide elements at specific points, ensuring accuracy in your model adjustments.
- Enhanced Control: Modify individual segments without affecting the entire element, providing greater flexibility in design changes.
- Improved Collaboration: Clear and precise element modifications facilitate better communication among team members.
How to Use the Split Element Tool:
- Select the Element: Click on the element you wish to split, such as a wall, beam, or column.
- Activate the Tool: Navigate to the Modify tab and select the Split Element tool from the Modify panel.
- Specify the Split Location: Click on the exact point where you want to divide the element. You can use snaps, reference lines, or coordinates for precise placement.
- Confirm the Split: Press Enter to execute the split. The element will now be divided into two separate entities at the specified location.
Best Practices:
- Plan Ahead: Before splitting elements, consider the overall impact on your model to maintain consistency and avoid unnecessary complexity.
- Use Reference Planes: Align splits with reference planes to ensure uniformity across similar elements.
- Check Connections: After splitting, verify that connected elements still maintain proper relationships and alignments.
Advanced Tips:
- Combine with Array Tools: After splitting an element, use array tools to replicate precise segments across your model efficiently.
- Leverage Worksets: Manage split elements across different worksets to enhance project organization and collaboration.
- Utilize NOVEDGE Resources: For advanced techniques and comprehensive guides, explore the resources offered by NOVEDGE. Their extensive library of Revit tutorials and expert advice can help you maximize the potential of the Split Element Tool.
Troubleshooting Common Issues:
- Element Not Splitting: Ensure that the element is not locked or constrained. Unlock or remove constraints before attempting to split.
- Unintended Geometry Changes: Double-check the split location to avoid altering the intended design. Utilizing temporary reference lines can aid in maintaining accuracy.
- Connectivity Problems: After splitting, some elements may require rejoining or re-aligning to maintain structural integrity.
Incorporating the Split Element Tool into your Revit practice can greatly enhance your ability to execute detailed and precise modifications with ease. By following these guidelines and leveraging resources from NOVEDGE, you can ensure a more efficient and effective modeling process.
You can find all the Revit products on the NOVEDGE web site at this page.
Also in Design News

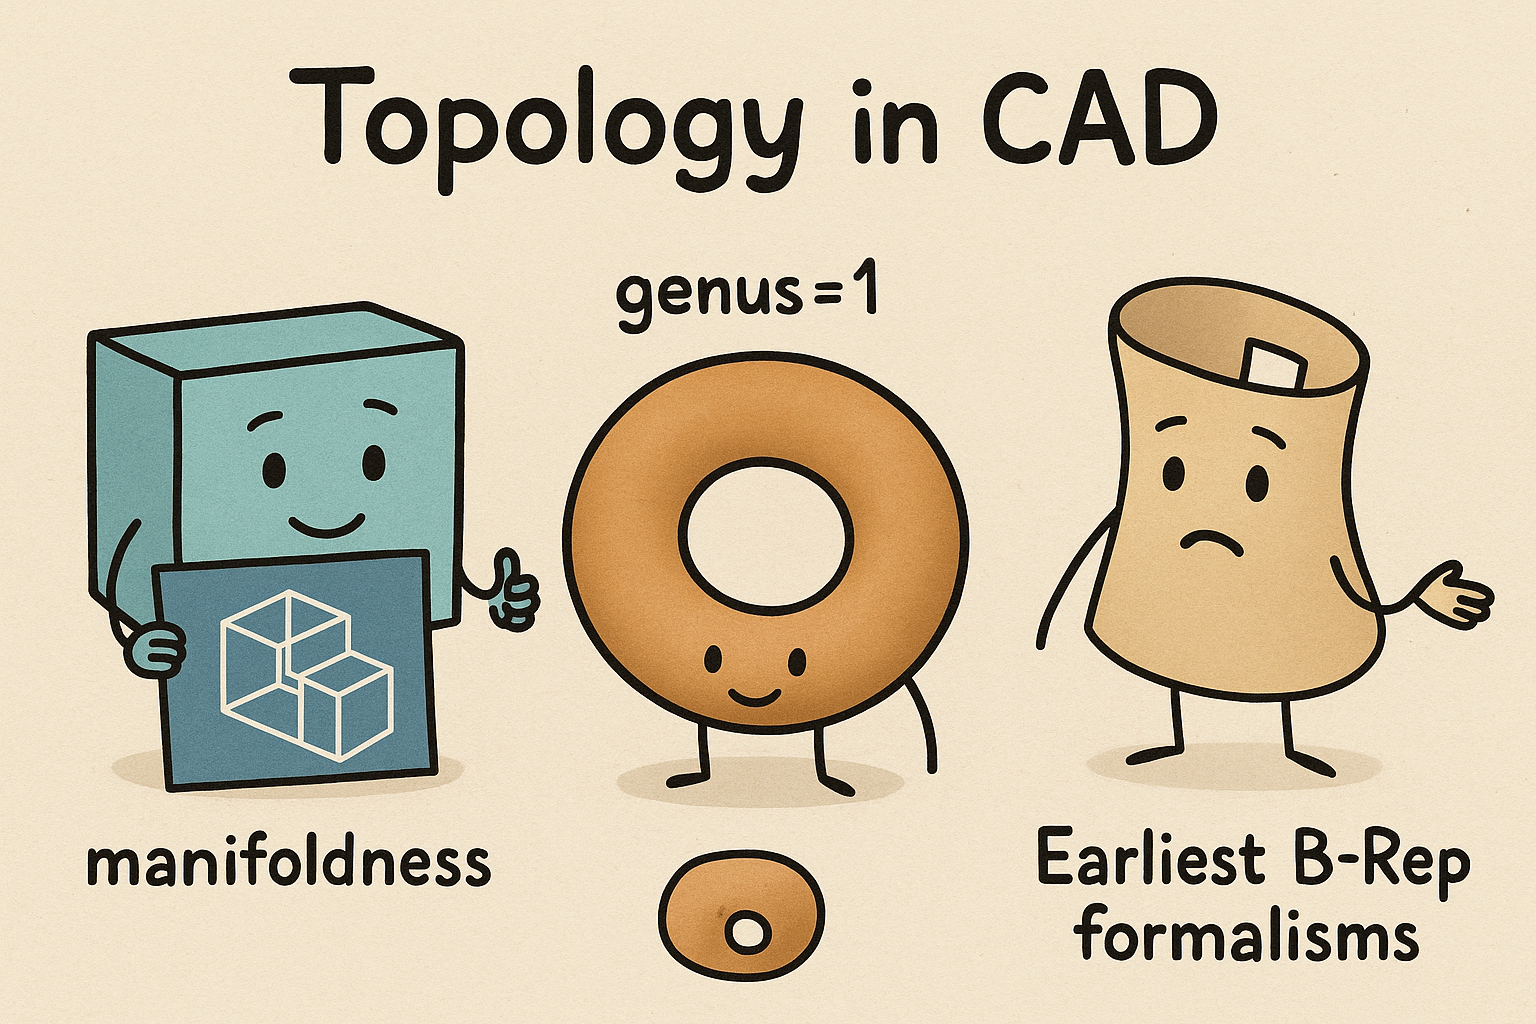
Design Software History: Topology in CAD: Manifoldness, Genus, and the Earliest B‑Rep Formalisms
January 02, 2026 14 min read
Read MoreSubscribe
Sign up to get the latest on sales, new releases and more …


