Your Cart is Empty
Customer Testimonials
-
"Great customer service. The folks at Novedge were super helpful in navigating a somewhat complicated order including software upgrades and serial numbers in various stages of inactivity. They were friendly and helpful throughout the process.."
Ruben Ruckmark
"Quick & very helpful. We have been using Novedge for years and are very happy with their quick service when we need to make a purchase and excellent support resolving any issues."
Will Woodson
"Scott is the best. He reminds me about subscriptions dates, guides me in the correct direction for updates. He always responds promptly to me. He is literally the reason I continue to work with Novedge and will do so in the future."
Edward Mchugh
"Calvin Lok is “the man”. After my purchase of Sketchup 2021, he called me and provided step-by-step instructions to ease me through difficulties I was having with the setup of my new software."
Mike Borzage
Revit Tip: Enhancing Architectural Realism in Revit through Custom Material Management
May 04, 2024 2 min read

Welcome to today's tip of the day, where we delve into enhancing the realism of your Revit projects through customized materials. Materials in Revit play a critical role in the visual representation and simulation of surfaces, finishes, and other design elements, directly impacting the quality and realism of your renderings. NOVEDGE, a leading online store for design professionals (https://novedge.com/), appreciates the importance of mastering materials in Revit to elevate your architectural designs to the next level.
Customizing Revit Materials for Enhanced Realism
- Understand the Material Browser: Begin by familiarizing yourself with the Material Browser, which allows you to manage and edit materials within your project. Access it via the Manage tab.
- Modify Material Properties: Select a material and explore the various properties you can adjust. These include the graphics (color, transparency, and patterns), physical (density, thermal properties), and thermal (heat absorption).
- Use High-Quality Textures: The realism of a material is largely dependent on its texture. Import high-resolution images for surface patterns and bump maps to create realistic surface definitions.
- Adjust Reflectivity and Transparency: To simulate glass, water, or polished surfaces, tweak the reflectivity and transparency settings. This can significantly impact the visual outcome of your renderings.
- Create Custom Material Libraries: If you often use specific materials, consider creating custom libraries. This practice saves time and maintains consistency across your projects.
- Keep It Organized: As you create and import materials, be sure to keep your material libraries organized. Naming conventions and categorization are key for efficient workflow.
- Utilize Asset Libraries: Take advantage of the additional asset libraries available with Revit or provided by third-party resources. These can offer a wider range of presets and options for your materials.
- Preview Changes: Make use of the material preview window to get immediate feedback on your adjustments, ensuring they meet your aesthetic and functional requirements before applying them to your model.
- Apply Materials Strategically: Apply materials to surfaces considering how they will interact with lighting in your renderings. Consider the direction of light and how different materials will reflect or absorb it.
- Test Render Often: Conduct test renders to evaluate the materials under various lighting scenarios. It's easier to adjust and fine-tune materials early in your design process than to make significant changes later.
By investing time in customizing your Revit materials, you can achieve a higher level of detail and realism in your architectural visualizations, making your presentations more compelling and your designs more convincing. Stay tuned for more tips and remember that NOVEDGE (https://novedge.com/) is your resource for professional design tools to support all your project needs.
You can find all the Revit products on the NOVEDGE web site at this page.
Also in Design News

Bluebeam Tip: Maximize PDF Security and Efficiency with Bluebeam Revu's Flatten Tool
December 02, 2024 1 min read
Read More
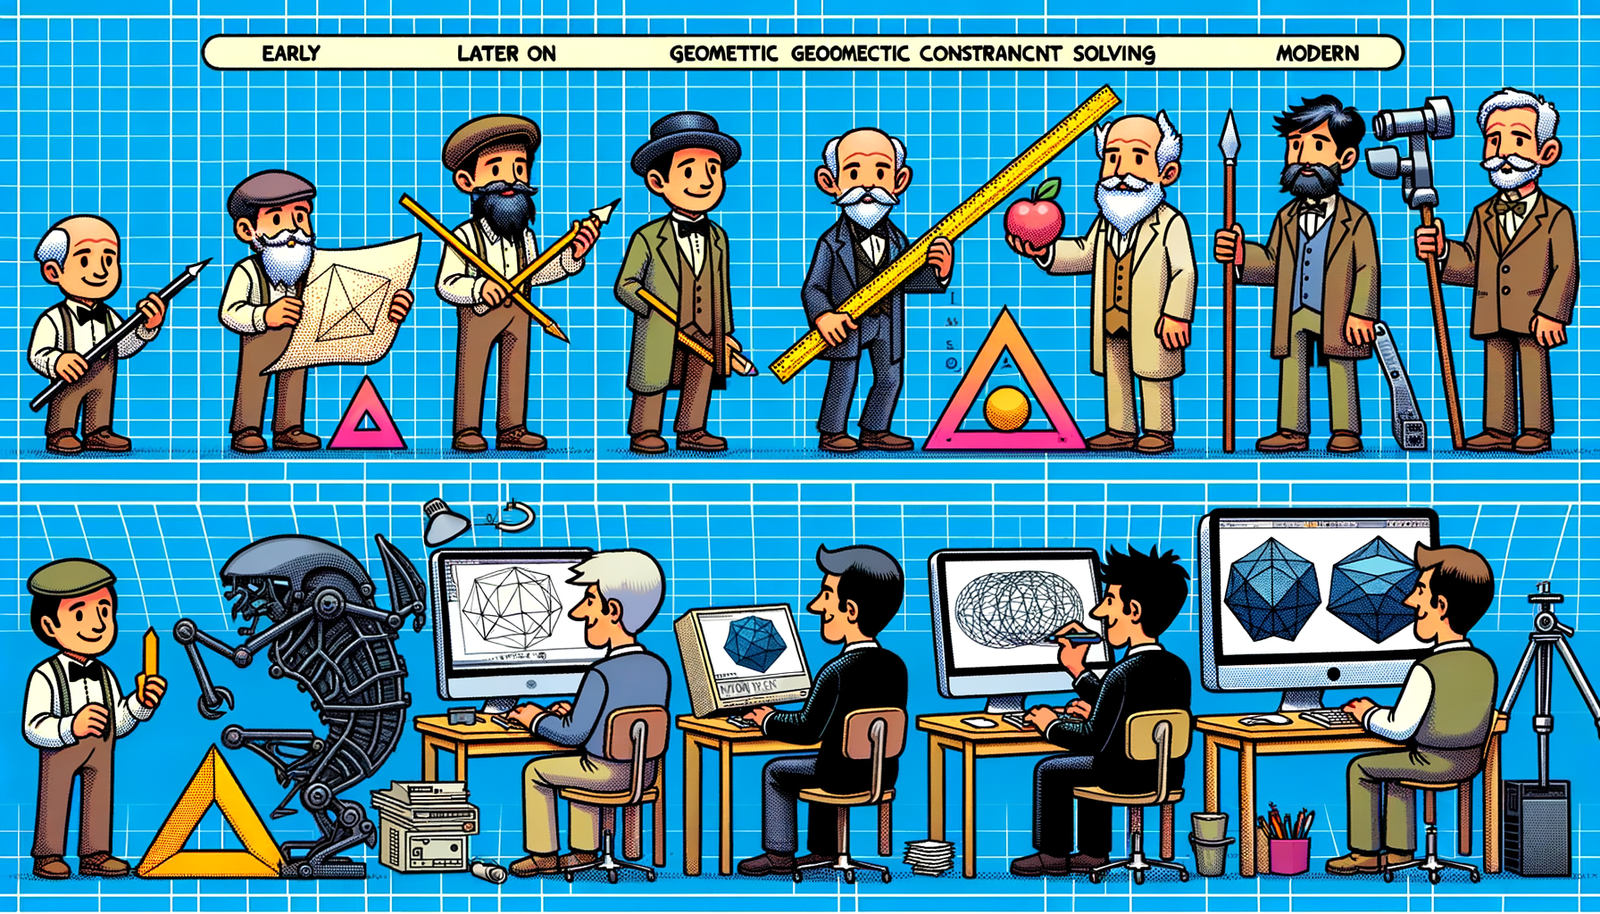
Design Software History: Evolution and Impact of Geometric Constraint Solving in CAD History
December 02, 2024 2 min read
Read More
Rhino 3D Tip: Enhancing Scale Modeling Accuracy in Rhino 3D: Essential Tips for Designers and Engineers
December 02, 2024 2 min read
Read MoreSubscribe
Sign up to get the latest on sales, new releases and more …


