Your Cart is Empty
Customer Testimonials
-
"Great customer service. The folks at Novedge were super helpful in navigating a somewhat complicated order including software upgrades and serial numbers in various stages of inactivity. They were friendly and helpful throughout the process.."
Ruben Ruckmark
"Quick & very helpful. We have been using Novedge for years and are very happy with their quick service when we need to make a purchase and excellent support resolving any issues."
Will Woodson
"Scott is the best. He reminds me about subscriptions dates, guides me in the correct direction for updates. He always responds promptly to me. He is literally the reason I continue to work with Novedge and will do so in the future."
Edward Mchugh
"Calvin Lok is “the man”. After my purchase of Sketchup 2021, he called me and provided step-by-step instructions to ease me through difficulties I was having with the setup of my new software."
Mike Borzage
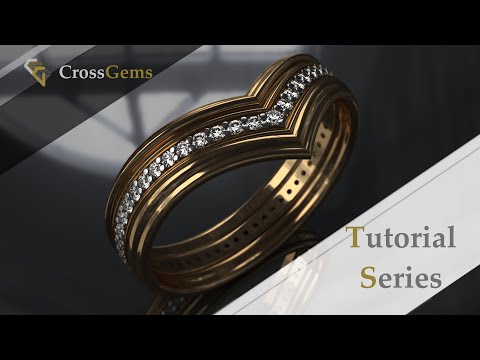
Mastering V-Ring Parametric Design: A Quick & Easy Tutorial with CrossGems
November 10, 2023 2 min read

This tutorial, brought to you by CrossGems, will guide you through the process of designing a versatile ring that can be effortlessly modified in terms of size, profile, and more.
Creating the Framework:
Step 1: Setting the Foundation
To kick things off, open the Rings panel and create a ring rail. Select the default size (let's say, size seven) and confirm. Now, select the ring and initiate the planify command to generate a flat curve based on the selected curve's length.
Step 2: Building the Structure
Proceed by creating a mirrored curve for the top view. Blend the curves, adjust positions, and ensure a straight line connects key points. Mirror the curves vertically, join them, and restore individual curves for easy modification.
Designing with Auto Sweep:
Step 3:
Understanding Auto Sweep
In the perspective view, understand the dynamics of making a sweep on a curve. Auto Blend Curves, mirroring, and linking curves are crucial steps in creating a seamless ring structure.
Step 4:
Managing Profile Placer
Check the Profile Placer and its reference to the curve direction. Learn how to adapt profiles to ensure a uniform sweep throughout the curve, avoiding distortions.
Step 5:
Achieving Parametric Freedom
Explore the freedom BricsCAD V24 provides in terms of information storage. Understand the automatic classification feature and the option to start with known materials or focus solely on geometry.
Perfecting the Ring:
Step 6:
Adding Gems and Cutters
Learn how to add gems manually, position them accurately, and create gem cutters. Use channel cutters to subtract unwanted portions and enhance the overall design.
Step 7:
Introducing Prongs Discover how to add prongs, modify sizes, and rotate them for a customized appearance. The Gumball tool proves handy for precise adjustments.I
Step 8:
Creating Variations
Explore two options for creating variations. Either offset the ring or recreate curves, profiles, and sweeps for a fresh design. Understand the importance of unlinking flows for static objects.
Final Touches:
Step 9:
Enjoying Parametric Freedom
Witness the power of parametric design as you modify the ring's size seamlessly. Understand that adjusting sizes may take time, but the flexibility is worth it.
Step 10:
Exploring Creative Freedom
As a bonus, experiment with various sizes and styles. Reposition gems and modify profiles to achieve unique and personalized designs.
Also in Design News

Design Software History: Visualizing Engineering Intent: Feature Histories, Constraints, and Semantic PMI in CAD
December 29, 2025 16 min read
Read More
Sim-to-Real Transfer for Closed-Loop Process Calibration and Control
December 29, 2025 12 min read
Read MoreSubscribe
Sign up to get the latest on sales, new releases and more …


