Your Cart is Empty
Creating Stunning Interior Lighting in 9 Steps with V-Ray for 3ds Max


Creating Stunning Interior Lighting in 9 Steps with V-Ray for 3ds Max
Interior lighting plays a pivotal role in setting the tone and enhancing the overall aesthetics of your 3D scene. With V-Ray for 3ds Max, perfecting the art of crafting captivating lighting is a breeze. In this post, we’ll guide you through a simple 9-step process to creating stunning interior lighting with V-Ray for 3ds Max.
Why is Good Lighting Important?
Good lighting is crucial in 3D rendering. It not only gives life to your interiors but also guides the viewer's eye through your scene, creating a powerful visual narrative that evokes emotion. By carefully manipulating light sources and leveraging V-Ray's advanced features, you can craft renders that transcend the ordinary, leaving viewers captivated.
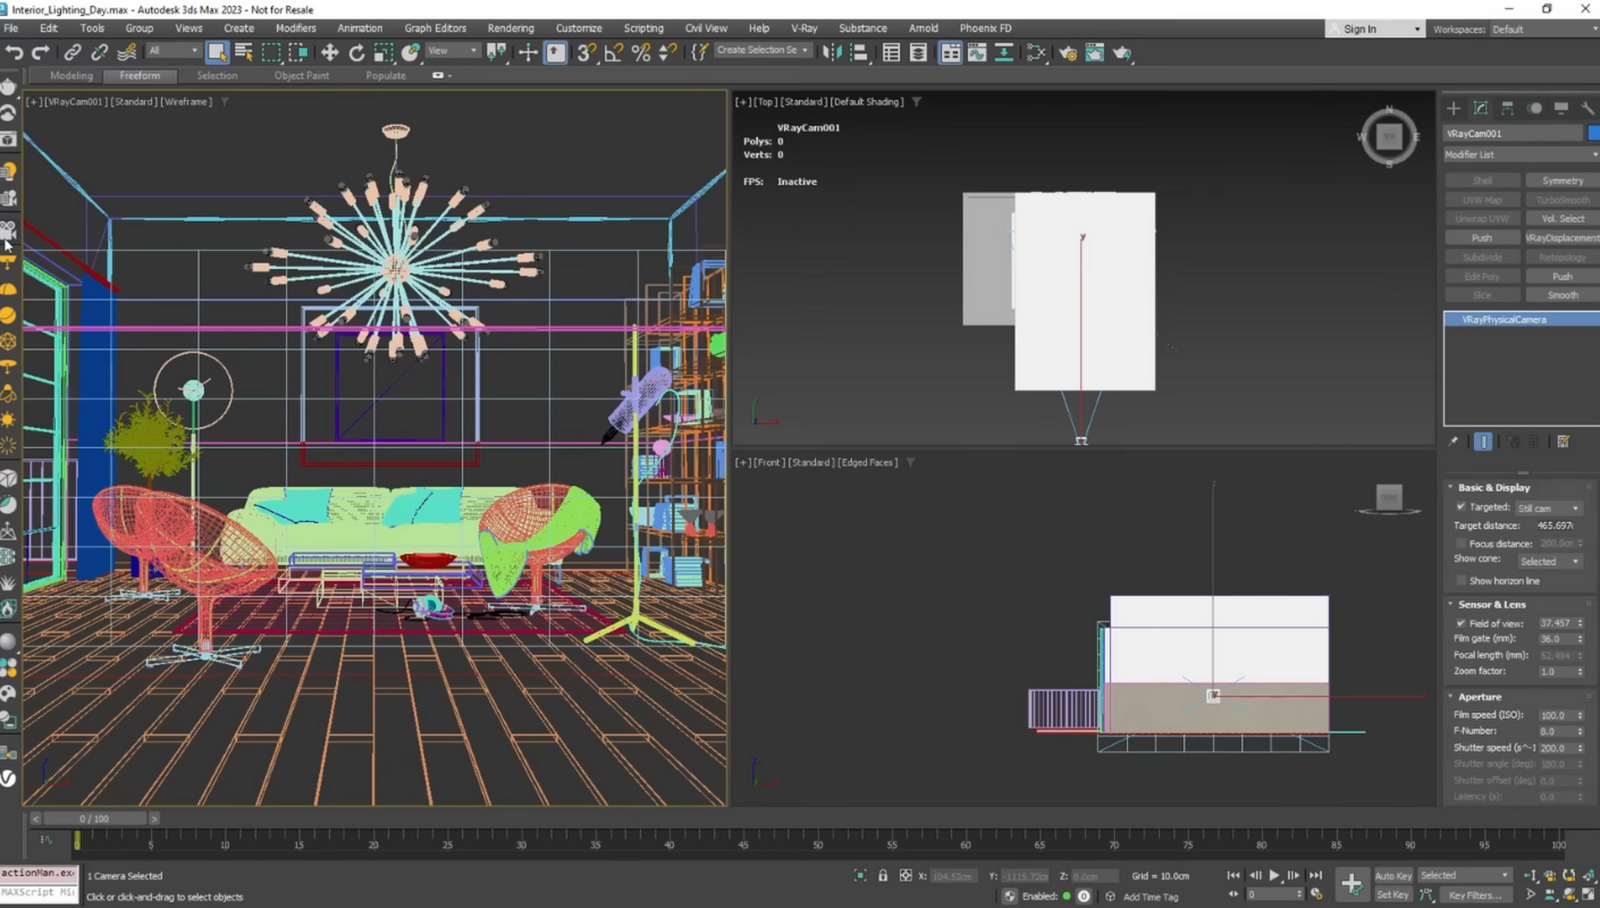
Step 1: Set up the Camera and Clipping Options
To create a V-Ray Camera based on the perspective viewport, click on the V-Ray Physical Camera icon on the V-Ray toolbar. Then, navigate to the camera settings and enable camera clipping. To see inside the room without impacting the scene's shading, adjust the near clipping plane accordingly.
Step 2: Set up the V-Ray Sun and Sky System Lighting Technique
Click on the V-Ray Sun icon on the V-Ray toolbar to set up the V-Ray Sun and Sky system. When prompted by V-Ray to create a sky map automatically, select "yes." You can also experiment with image-based lighting using a V-Ray Dome Light and a panoramic High Dynamic Range image (HDRI) downloaded from the Chaos Cosmos library.
Step 3: Lock the Render View and Adjust the Sun Position
Click the padlock icon under the common tab in the Render Settings to lock the render view to the main camera. This will enable you to adjust the sun's position in the side views while keeping the interactive render locked to the main camera.
Step 4: Test with Override Material and Add the V-Ray Denoiser
For quicker iterations, use the Override Material and consider adding the V-Ray Denoiser. Enable the Override Material in the Global Switches rollout under the V-Ray tab. This feature temporarily replaces all materials with a generic one. If your scene includes glass objects, select the option in the override material settings to ensure the realistic rendering of these elements.
Step 5: Adjust Sun Position and Camera Exposure
To achieve an aesthetically pleasing and balanced image, adjust the sun position, camera exposure, and white balance settings. For precise control over lighting effects and individual lights in post, add the V-Ray Light Mix and V-Ray Cryptomatte Render Elements.
Step 6: Get Ready for Final Production Rendering
When preparing for the final render, remember to disable the Override Material in the render settings to restore the original materials. Switch back to the default V-Ray Denoiser for production-quality images. Then, set the Image sampler to Progressive mode and adjust the Noise threshold according to your scene.
Step 7: Experiment with Lighting Even After You've Rendered
Even after rendering, you can continue experimenting with different lighting scenarios using Light Mix to adjust the intensity and color of any light in your scene.
Step 8: Fine-Tune Even More in the VFB
To further refine the overall look of the rendered scene, rely on V-Ray Frame Buffer’s color correction tools. Use V-Ray Cryptomatte to create pixel-perfect masks for specific objects in your scene. Add the finishing touches with Lens Effects and adjust them as needed in post-production to achieve the desired look.
We hope this guide has provided you with valuable insights into creating stunning interior lighting with V-Ray for 3ds Max. For more information about the newest and most advanced design software technology, contact our sales team at NOVEDGE.
Also in Design News