Your Cart is Empty
Customer Testimonials
-
"Great customer service. The folks at Novedge were super helpful in navigating a somewhat complicated order including software upgrades and serial numbers in various stages of inactivity. They were friendly and helpful throughout the process.."
Ruben Ruckmark
"Quick & very helpful. We have been using Novedge for years and are very happy with their quick service when we need to make a purchase and excellent support resolving any issues."
Will Woodson
"Scott is the best. He reminds me about subscriptions dates, guides me in the correct direction for updates. He always responds promptly to me. He is literally the reason I continue to work with Novedge and will do so in the future."
Edward Mchugh
"Calvin Lok is “the man”. After my purchase of Sketchup 2021, he called me and provided step-by-step instructions to ease me through difficulties I was having with the setup of my new software."
Mike Borzage
Cinema 4D Tip: Achieving Realistic Metal Materials in Cinema 4D
May 05, 2025 2 min read

Creating realistic metal materials in Cinema 4D can significantly enhance the visual quality of your 3D renders. Metals have unique reflective properties that require specific settings to mimic accurately. Here's how to achieve convincing metal materials using Cinema 4D's material system:
Utilize the Reflectance Channel
The key to realistic metals lies in the Reflectance channel. Metals don't rely on the Color channel as much because their appearance is heavily influenced by reflected light.
-
Create a New Material: In the Material Editor, create a new material and disable the Color channel to focus on reflectance.
-
Enable Reflectance: Activate the Reflectance channel. By default, a Default Specular layer is added.
-
Remove Default Specular Layer: Since metals don't have a specular layer in the traditional sense, remove this layer by selecting it and clicking the minus icon.
-
Add a GGX Reflection Layer: Click on Add and select GGX from the reflection models. GGX provides realistic results for metallic surfaces.
-
Adjust Layer Color: Set the Layer Color to represent the metal type. For example:
- Gold: Use a warm yellow-orange color.
- Copper: Use a reddish-brown color.
- Silver: Keep it near white.
-
Set Fresnel to Conductor: In the Layer Fresnel settings, change the type to Conductor. This is crucial for metals as it affects how light interacts with the surface.
-
Select a Preset: Choose a preset that matches your metal under the Conductor settings or input custom Refraction Index (n) and Extinction Coefficient (k) values for more precision.
-
Adjust Roughness: Increase the Roughness parameter to simulate surface imperfections. A value between 5% and 20% often yields realistic results, depending on the desired look.
Enhance Realism with Textures
To take your metal material to the next level, incorporate texture maps:
-
Bump/Normal Maps: Apply these in the Bump channel to add fine surface details like scratches or dents.
-
Reflection Maps: Use reflection maps to vary the reflectivity across the surface, adding depth and complexity.
-
Anisotropy: Under the Layer Sampling settings, adjust Anisotropic parameters to simulate brushed metals.
Lighting and Environment
The environment greatly affects how metal materials appear:
-
HDRI Lighting: Use High Dynamic Range Images for lighting to provide realistic reflections and enhance the metal's appearance.
-
Reflective Objects: Surround your metal object with other objects to create interesting reflections.
Render Settings Optimization
Optimizing render settings ensures your metal materials look their best:
-
Increase Sampling: Higher sampling rates reduce noise in reflections but may increase render time.
-
Use Physical Renderer: Consider using the Physical Renderer or third-party render engines like Redshift by Maxon for more accurate results.
Resources and Further Learning
For additional materials and plugins to enhance your workflow, visit NOVEDGE, the leading online store for design software and tools.
By carefully adjusting these settings, you can create metal materials that add realism and professionalism to your Cinema 4D projects.
You can find all the Cinema 4D products on the NOVEDGE web site at this page.
Also in Design News

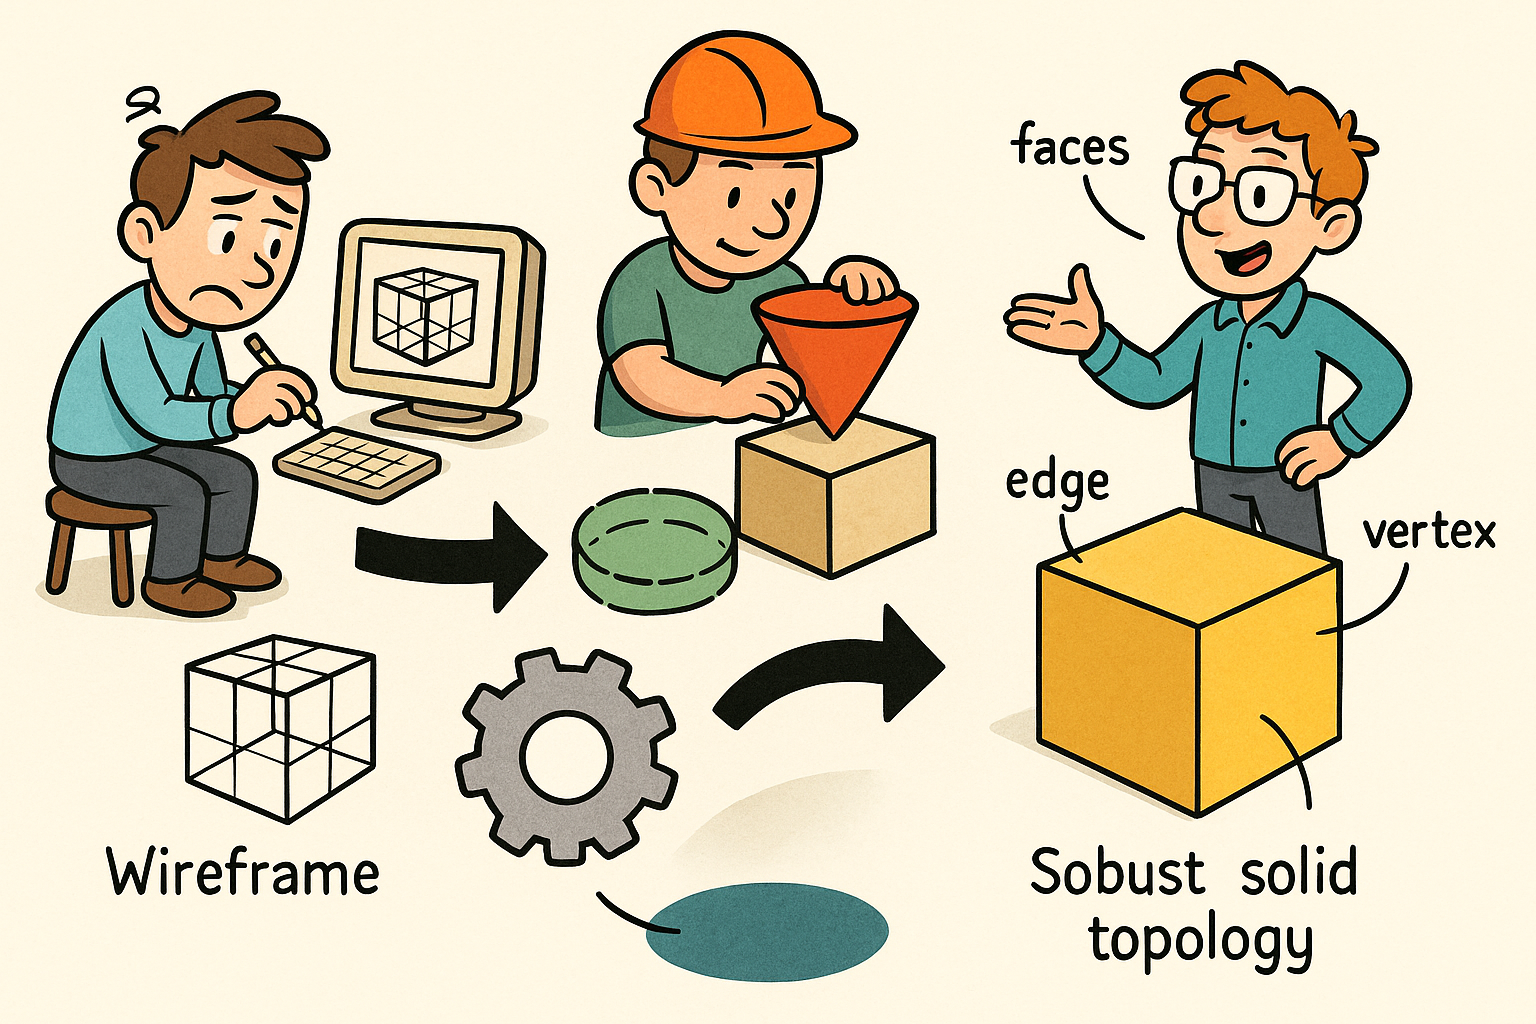
Design Software History: Why B-rep Was Invented: From Wireframe and CSG to Kernels, Topology, and Robust Solid Modeling
January 22, 2026 13 min read
Read More
Tamper-Evident Design Histories: Cryptographic Provenance, Append-Only Logs, and Deterministic Rebuilds
January 22, 2026 11 min read
Read More
Cinema 4D Tip: MatCap Shading for Rapid Form and Topology Feedback
January 22, 2026 2 min read
Read MoreSubscribe
Sign up to get the latest on sales, new releases and more …


