Your Cart is Empty
Customer Testimonials
-
"Great customer service. The folks at Novedge were super helpful in navigating a somewhat complicated order including software upgrades and serial numbers in various stages of inactivity. They were friendly and helpful throughout the process.."
Ruben Ruckmark
"Quick & very helpful. We have been using Novedge for years and are very happy with their quick service when we need to make a purchase and excellent support resolving any issues."
Will Woodson
"Scott is the best. He reminds me about subscriptions dates, guides me in the correct direction for updates. He always responds promptly to me. He is literally the reason I continue to work with Novedge and will do so in the future."
Edward Mchugh
"Calvin Lok is “the man”. After my purchase of Sketchup 2021, he called me and provided step-by-step instructions to ease me through difficulties I was having with the setup of my new software."
Mike Borzage
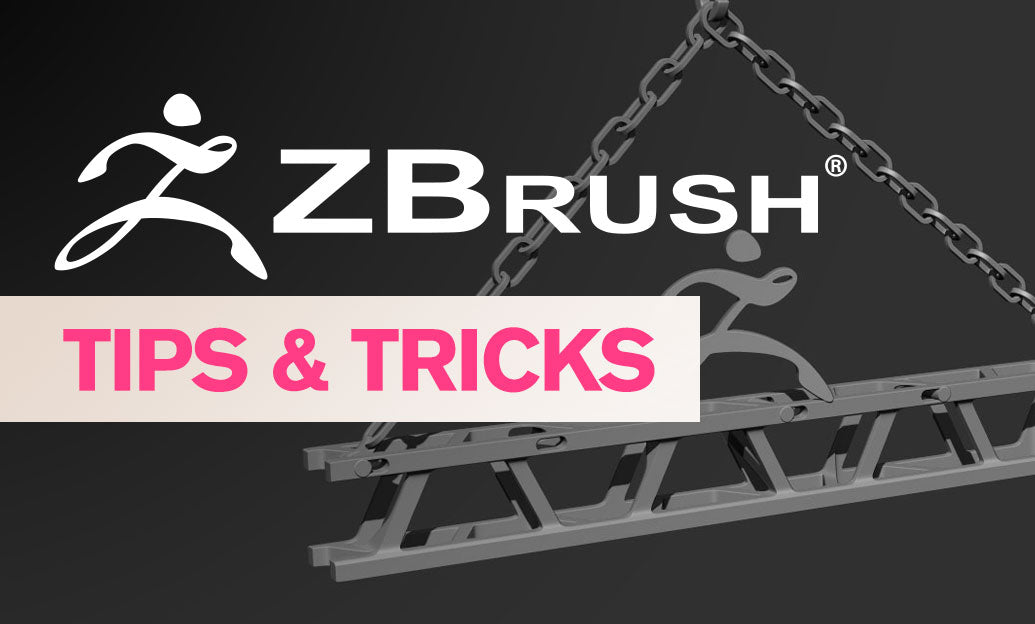
ZBrush Tip: Precision Hard‑Surface Modeling Workflow with ZBrush ZModeler
October 29, 2025 2 min read

Today’s tip focuses on using the ZModeler brush for fast, precise hard-surface polygon modeling directly in ZBrush. If you’re setting up or expanding your toolkit, explore ZBrush options at NOVEDGE.
- Selecting ZModeler: Press B, then Z, then M to load the ZModeler brush. Hover a polygon/edge/point and press Spacebar to open the contextual ZModeler menu (Action, Target, Modifiers).
- Action/Target mindset:
- Component: work on Poly / Edge / Point explicitly.
- Target: Island, PolyGroup All, PolyLoop, EdgeLoop, or Single — this is crucial for predictability.
- Modifiers: control behavior (thickness, steps, alignment, resolution).
- QMesh vs Extrude:
- QMesh welds and respects adjacent surfaces; it can snap/merge when faces collide, ideal for panel offsets and block-outs.
- Extrude is a “pure” push/pull with no auto-weld, better for creating shells you plan to separate.
- Polygroups drive everything:
- Alt-click a polygon to assign a new PolyGroup quickly.
- Use Target: PolyGroup All to apply operations cleanly per island.
- Geometry > Crease > Crease PG to lock edges for clean smoothing.
- Edge control essentials:
- Bevel (Edge) for chamfers; increase segments for softer bevels.
- Insert Edge Loop / Multiple Edge Loops for support edges and patterning.
- Slide (Edge) to fine-tune loop placement without changing silhouette.
- Bridge (Two Polys / Two Holes) for ribs, slots, and ducts; use Arc/Spline variations for curvature.
- Spin Edge to re-route topology flow around corners.
- Smoothing preview:
- Enable Geometry > Dynamic Subdiv. Use CreaseLevel (e.g., 2–3) and SmoothSubdiv (e.g., 2–4) to preview final form.
- QGrid + Coverage/Bevel offers controllable “fillet-like” edge shading without baking geometry.
- Use Thickness in Dynamic Subdiv for instant shells.
Example workflow for a sci‑fi panel:
- Start from Tool > Initialize > QCube (or Make PolyMesh3D on a Cube3D). Assign distinct Polygroups to major faces.
- QMesh (Target: PolyGroup All) to create stepped elevations and insets; press Alt during QMesh to assign fresh Polygroups for later creasing.
- Inset (Poly) to frame details, then QMesh inward for vents and access ports.
- Bevel (Edge) critical borders; add support loops with Insert Multiple Edge Loops.
- Bridge Two Holes with Arc for rounded cutouts; Slide loops to tune curvature tightness.
- Crease by PG, enable Dynamic Subdiv, and tune CreaseLevel/SmoothSubdiv until edges read correctly.
- Optionally add dynamic Thickness for sheet-metal panels; use QGrid for micro-bevel feel.
- Polish by Features (low intensity) to unify highlights without melting edges.
Best practices and fixes:
- Keep it low: ZModeler excels with lean meshes; add detail only where it supports silhouette or function.
- Operate by Polygroups to avoid accidental edits across parts.
- Use Symmetry or Local Symmetry for off-axis subtools; Mirror and Weld when finalizing halves.
- Check topology: Tool > Geometry > Mesh Integrity. Use Close Holes/Weld Points to resolve issues.
- When exporting, keep creases if your renderer/game engine supports them; otherwise add real support loops.
Need licenses, upgrades, or expert guidance on ZBrush and complementary tools? Visit NOVEDGE or browse ZBrush options at NOVEDGE.
You can find all the ZBrush products on the NOVEDGE web site at this page.
Also in Design News

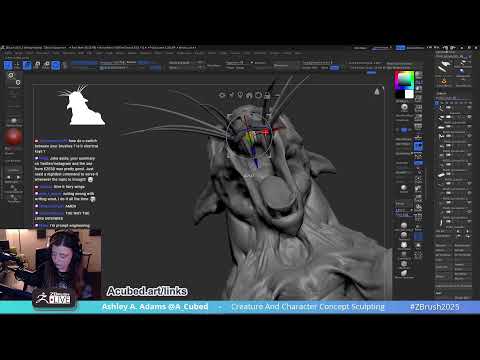
Creature & Character Concept Sculpting – Ashley A. Adams “A_Cubed” – ZBrush 2025
October 30, 2025 1 min read
Read More
Doubling Output, Halving Costs: ConMed’s Content Success Story
October 30, 2025 1 min read
Read MoreSubscribe
Sign up to get the latest on sales, new releases and more …


