Your Cart is Empty
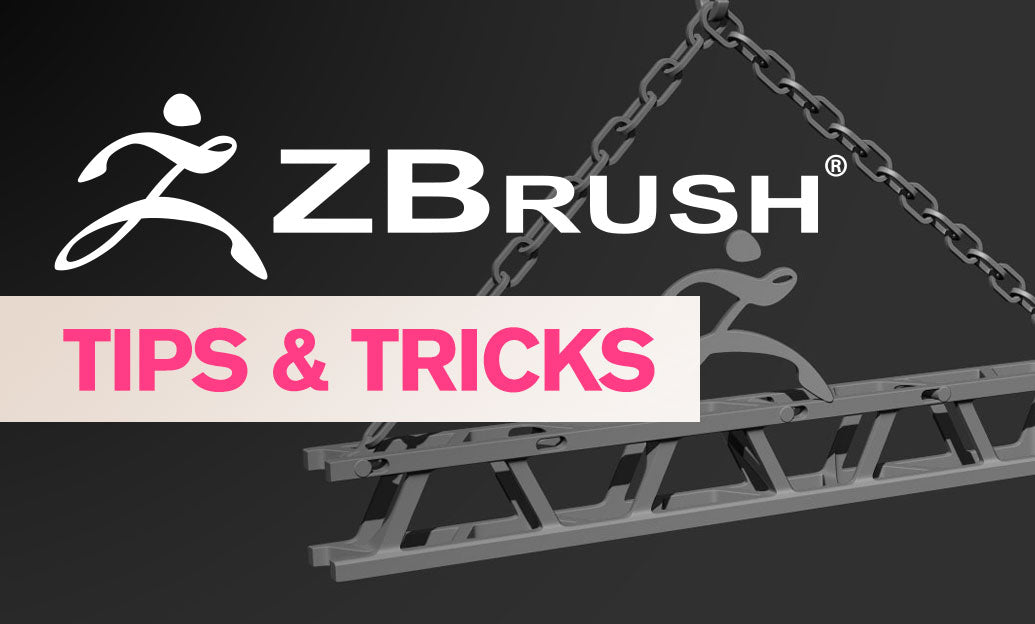
ZBrush Tip: Enhancing Digital Sculptures with Optimal Material and Render Settings in ZBrush
 ```html
Welcome to our daily ZBrush tip aimed at helping you enhance your digital sculptures with the right combination of material and render settings. Today, we'll explore how these settings can take your work from good to great, providing you with the control needed to achieve the desired effect and mood in your renders.
- Understanding Material Properties: Materials in ZBrush have unique properties that affect how light interacts with your model. Take the time to experiment with the different sliders in the 'Material' palette to adjust specularity, diffuse, ambient and other settings to match the artistic direction of your piece.
- Using MatCaps: MatCap (Material Capture) is a preconfigured shader that simulates the interaction of surface detail, lighting, and shading. Selecting the right MatCap can instantly give your sculpture a more realistic or stylized look.
- Light Placement: Effective use of lighting can dramatically change the mood of your render. In the 'Light' palette, you can move the light source around your model to highlight specific features or create a particular ambiance.
- Shadow Adjustment: Shadows add depth and realism to your render. In ZBrush's 'Render' palette, adjust the shadow settings for softer or sharper edges, and modify the intensity and length for a more natural appearance.
- Using BPR Filters: The BPR (Best Preview Render) has filters that can be used to add effects to your render without the need for external compositing software. This can include adjustments for color balance, contrast, and even adding vignettes.
- Render Passes: Utilize the power of render passes to composite your final image in an external program like Photoshop. Exporting passes for shadows, depth, and AO (Ambient Occlusion) gives you granular control over the final look of your project.
- Dynamic Subdivision: For rendering purposes, dynamic subdivision can offer a smoother look to your models without actually increasing the polygon count. Ensure it's enabled when you need those cleaner curves and silhouettes.
- Testing and Iteration: Always do multiple test renders at lower resolutions to quickly see the effects of your material and render settings changes. It can save you a lot of time in the long run.
Remember that the key to a successful render in ZBrush is to combine the technical aspects of the software with your artistic vision. Don't be afraid to experiment with various settings to find what works best for your model. For more sophisticated tools and resources, be sure to check out NOVEDGE’s collection of ZBrush offerings.
Implementing these tips will help ensure that your renders stand out, whether you’re presenting your work online or building a professional portfolio. As with any aspect of digital art, practice and experimentation are your best tools for learning and growth.
```You can find all the ZBrush products on the NOVEDGE web site at this page.
Also in Design News