Your Cart is Empty
V-Ray Tip: Optimizing Subsurface Scattering in V-Ray


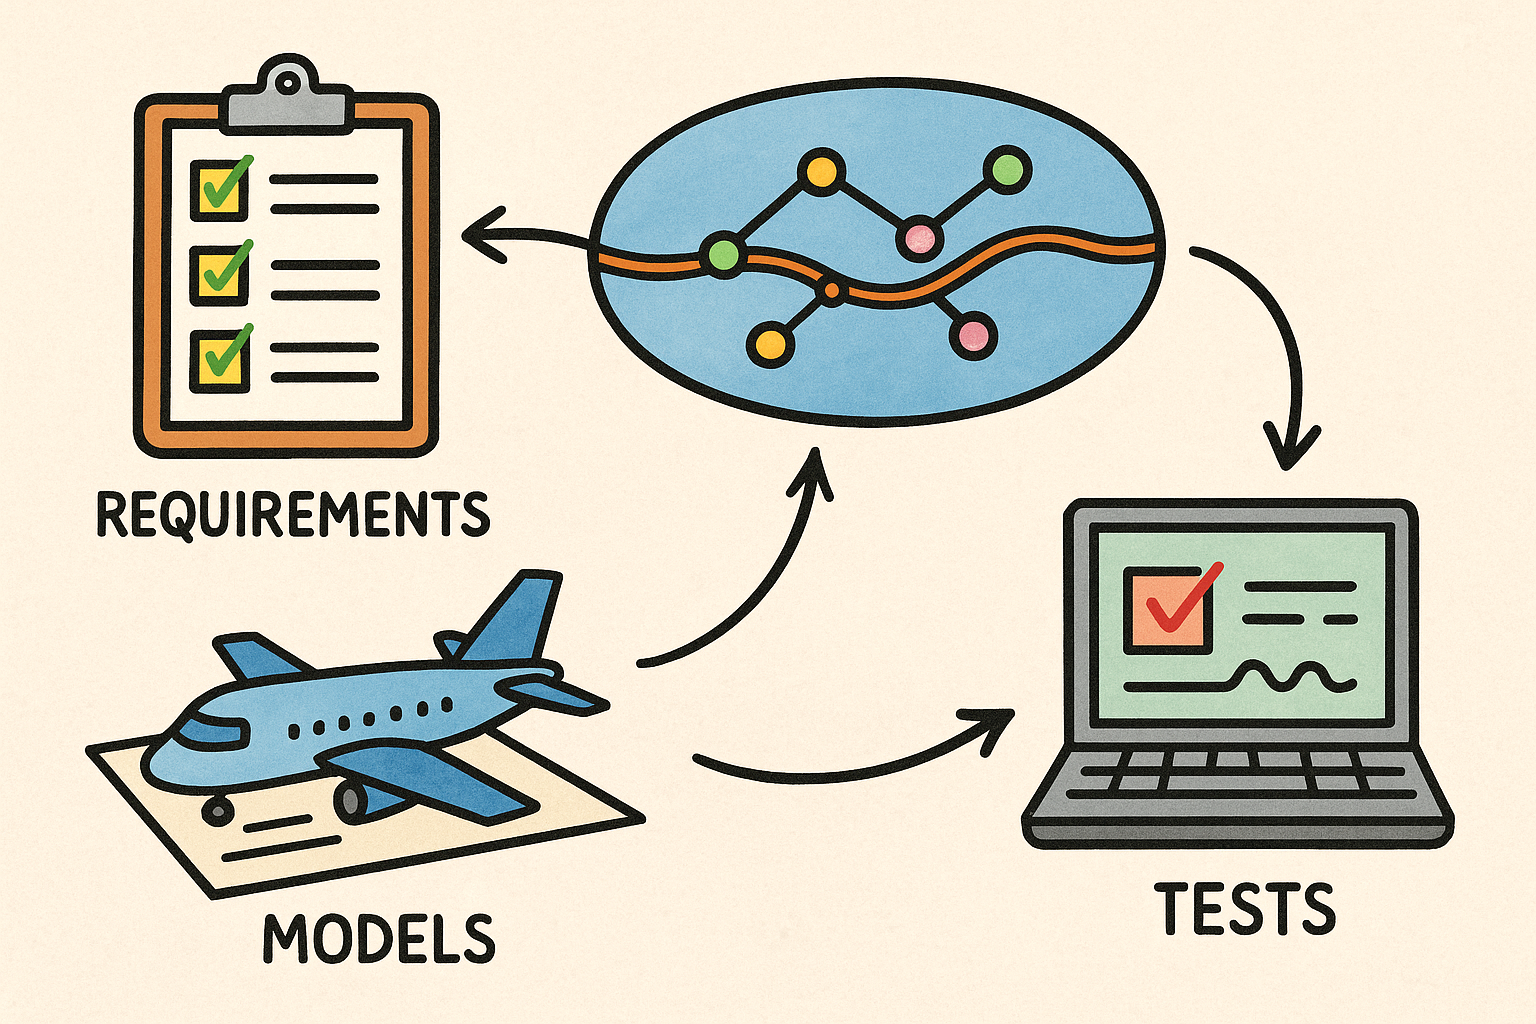
Subsurface scattering (SSS) is expensive by nature; a smart approximation workflow keeps looks authentic while maintaining render speed.
-
Choose the right shader for the job:
- Use VRayFastSSS2 for production-proven diffusion (skin, wax, marble), or VRayALSurface for advanced skin workflows.
- For simple translucent plastics and milky materials, VRayMtl’s SSS/translucency can be faster and easier to art-direct.
-
Start physically and stay scalable:
- Confirm scene units and real-world scale; SSS radii are scale-dependent. If the model is off, correct scale before shading.
- Set scatter (radius) in millimeters/centimeters appropriate to the material thickness; too large produces a waxy, unphysical glow.
- Use believable base/albedo values; over-bright albedo exaggerates SSS and slows convergence.
-
Lean on approximation during lookdev:
- In VRayFastSSS2, use lower prepass rates and broader interpolation early; tighten only when locking looks.
- Prefer single-scatter approximations for previews; switch to more accurate single-scatter/raytraced modes for hero close-ups.
- For static lighting/geometry sequences, cache the SSS prepass and reuse it to stabilize animation and cut render time.
-
Optimize sampling where it matters:
- Balance Adaptive Sampling with a realistic Noise Threshold; don’t oversample the whole frame to fix SSS micro-noise.
- Use the Denoiser for lookdev. For finals, retain a modest denoiser pass to smooth low-contrast SSS noise without erasing pore detail.
- Clamp extreme fireflies from glossy + SSS interactions with Max Ray Intensity to prevent wasted samples.
-
Thin-walled shortcuts:
- For leaves, paper, or fabrics, VRayMtl2Sided or thin-translucency can emulate depth without full volumetric cost.
- Drive translucency with thickness maps to keep edges luminous and interiors denser.
-
Texture and mask the effect:
- Paint or procedurally generate radius/weight masks to push SSS into fatty areas (cheeks, ears) and reduce it over bony zones.
- Use curvature or ambient-occlusion masks to dampen SSS in creases where light shouldn’t penetrate as much.
- Break repetition with VRayUVWRandomizer/Triplanar for assets lacking perfect UVs.
-
Render elements and control:
- Output Reflection, Specular, Diffuse, GI, and—where available—Subsurface-related elements to grade SSS contribution separately.
- Use Light Select to rebalance warm/cool lights affecting SSS without re-rendering.
-
Practical QA checklist:
- Check edge behavior against backlight; too-strong edge glow usually means radius or weights are high.
- Validate energy conservation: specular + SSS should not exceed plausible brightness.
- Test both CPU and GPU paths if your pipeline supports them; some SSS modes differ by engine—verify parity before committing.
Need dependable licensing, upgrades, or a consultation on best-practice SSS setups? Reach out to NOVEDGE. For V-Ray bundles and promos, browse NOVEDGE’s catalog, or get tailored advice from their team at NOVEDGE support.
You can find all the V-Ray products on the NOVEDGE web site at this page.
Also in Design News