Your Cart is Empty
Customer Testimonials
-
"Great customer service. The folks at Novedge were super helpful in navigating a somewhat complicated order including software upgrades and serial numbers in various stages of inactivity. They were friendly and helpful throughout the process.."
Ruben Ruckmark
"Quick & very helpful. We have been using Novedge for years and are very happy with their quick service when we need to make a purchase and excellent support resolving any issues."
Will Woodson
"Scott is the best. He reminds me about subscriptions dates, guides me in the correct direction for updates. He always responds promptly to me. He is literally the reason I continue to work with Novedge and will do so in the future."
Edward Mchugh
"Calvin Lok is “the man”. After my purchase of Sketchup 2021, he called me and provided step-by-step instructions to ease me through difficulties I was having with the setup of my new software."
Mike Borzage
V-Ray Tip: Maximizing Realism in V-Ray: Effective Use of Displacement for Detailed Textures and Scenes
April 03, 2024 2 min read

V-Ray Displacement is a powerful feature that allows for adding intricate detail and relief to surfaces without the need for modeling those details. This can greatly enhance the realism of your textures and overall scene. Here are some tips to effectively use V-Ray Displacement:
- Understand Displacement Types: V-Ray offers two types of displacement: 2D and 3D. 2D (or planar) displacement alters the surface based on an image map and is less memory-intensive, while 3D displacement modifies the actual geometry of the object and can provide more detailed results at the cost of higher memory usage.
- Optimize Displacement Settings: To get the best balance between performance and detail, tweak the 'Amount' and 'Shift' settings to control the displacement magnitude and offset. Additionally, adjust the 'Edge Length' parameter to define the quality of the displacement tessellation.
- Use Displacement Maps Effectively: The quality of your displacement map is crucial. High-resolution images with good contrast between the height values will produce the best results. Grayscale images are typically used, where white represents the highest point and black the lowest.
- Prevent Artifacts: Sometimes displacement can cause mesh artifacts or 'spikes'. To prevent this, ensure adequate subdivisions are present in the mesh and use the 'Tight Bounds' option if necessary to calculate more accurate displacement bounds.
- Manage Memory Usage: High-resolution displacement can be memory intensive. Use V-Ray's dynamic memory option ('Dynamic memory limit') to allow V-Ray to use all available memory, or cap it to prevent the system from becoming unresponsive.
- Combine with Bump Mapping: For micro details that do not need to alter the silhouette of an object, consider using bump mapping in conjunction with displacement to reduce computational load while still adding perceived depth at certain viewing angles.
- Test Renders: Always perform test renders with lower settings to quickly preview the displacement effect. Once satisfied, increase the quality settings for the final render.
When applying these techniques, always consider the scale of your scene and the viewing distance to the object. This will help in deciding how much displacement detail is actually necessary. With practice, you will be able to enhance your textures with realistic depth and detail, taking your renders to the next level.
For professional tools and plugins for V-Ray, make sure to check out NOVEDGE, which offers a vast array of software options to cater to your rendering needs.
You can find all the V-Ray products on the NOVEDGE web site at this page.
Also in Design News

Bluebeam Tip: Maximize PDF Security and Efficiency with Bluebeam Revu's Flatten Tool
December 02, 2024 1 min read
Read More
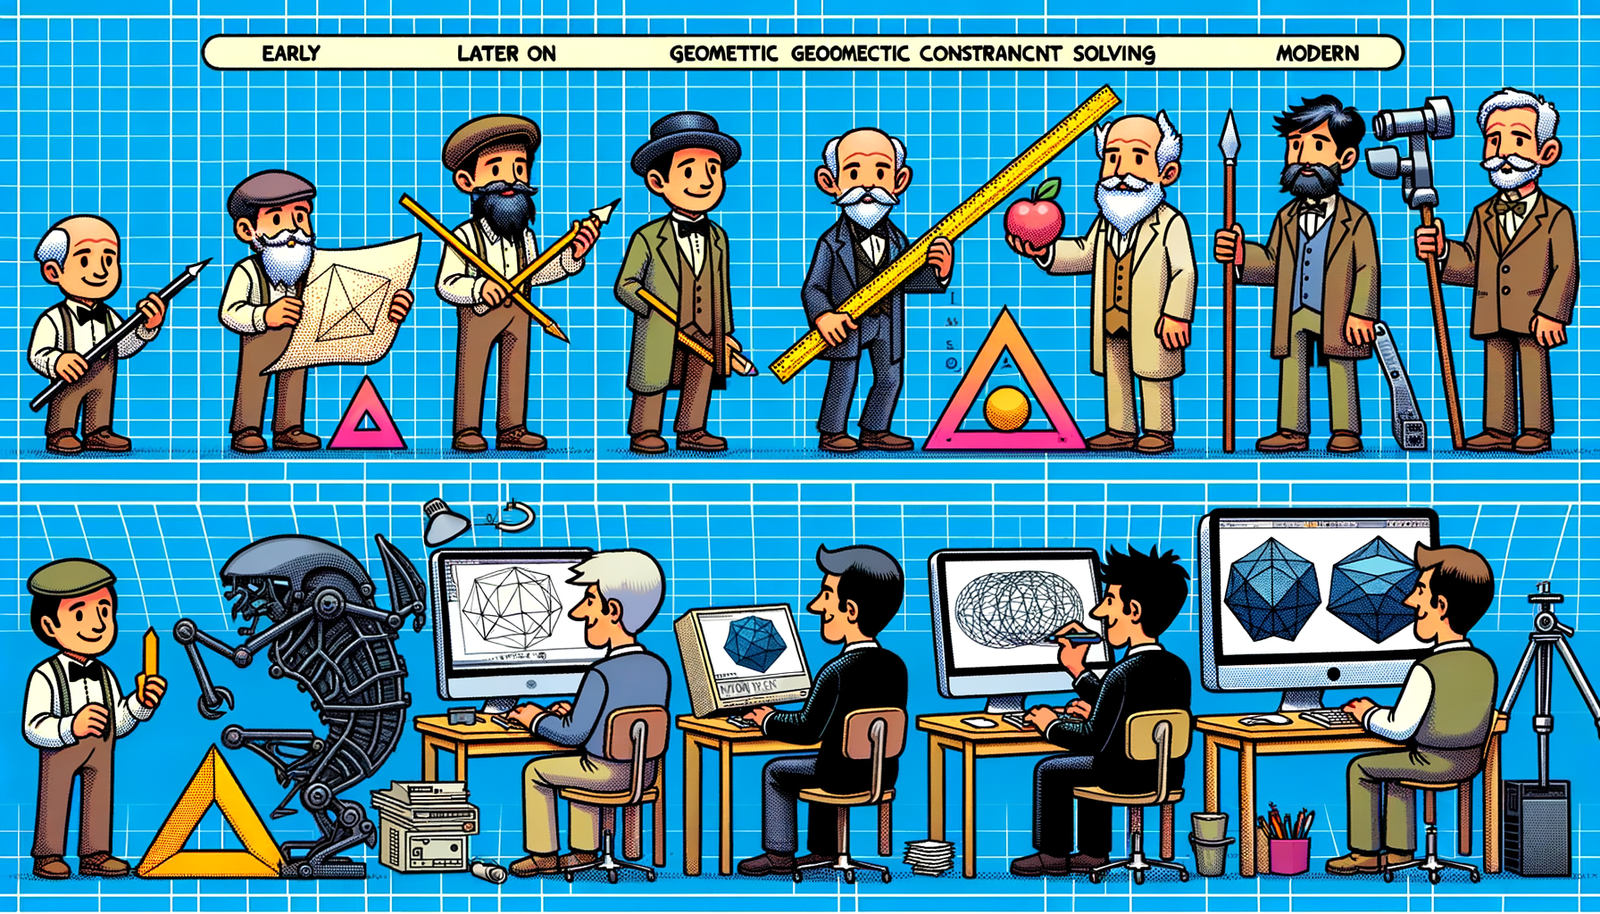
Design Software History: Evolution and Impact of Geometric Constraint Solving in CAD History
December 02, 2024 2 min read
Read More
Rhino 3D Tip: Enhancing Scale Modeling Accuracy in Rhino 3D: Essential Tips for Designers and Engineers
December 02, 2024 2 min read
Read MoreSubscribe
Sign up to get the latest on sales, new releases and more …


