Your Cart is Empty
Customer Testimonials
-
"Great customer service. The folks at Novedge were super helpful in navigating a somewhat complicated order including software upgrades and serial numbers in various stages of inactivity. They were friendly and helpful throughout the process.."
Ruben Ruckmark
"Quick & very helpful. We have been using Novedge for years and are very happy with their quick service when we need to make a purchase and excellent support resolving any issues."
Will Woodson
"Scott is the best. He reminds me about subscriptions dates, guides me in the correct direction for updates. He always responds promptly to me. He is literally the reason I continue to work with Novedge and will do so in the future."
Edward Mchugh
"Calvin Lok is “the man”. After my purchase of Sketchup 2021, he called me and provided step-by-step instructions to ease me through difficulties I was having with the setup of my new software."
Mike Borzage
Top 5 Advanced Texturing Techniques to Enhance Realism in SketchUp Models
February 17, 2025 5 min read


In the realm of 3D modeling, achieving realistic textures is essential for creating immersive and convincing visualizations. Whether you're designing architectural spaces or crafting detailed product models, the textures you apply can make the difference between a flat rendering and a lifelike image. By employing advanced texturing techniques in SketchUp, you can elevate the visual fidelity of your designs significantly. This article explores the top five texturing methods to help you bring unparalleled realism to your SketchUp models.
Technique 1: Utilizing High-Resolution Textures
Explanation:
High-resolution textures add an incredible level of detail and sharpness to 3D models. Unlike low-resolution textures that can appear pixelated or blurred when viewed up close, high-res textures maintain clarity at various scales. This difference greatly influences the overall rendering quality, ensuring that surfaces look more authentic and materials are convincingly portrayed.
Implementation:
To source high-quality textures, consider reputable libraries such as Texture Haven, Poliigon, or Arroway Textures. These platforms offer a wide range of materials, from natural elements like wood and stone to man-made surfaces like fabrics and metals.
When importing these textures into SketchUp:
- Navigate to the "Materials" panel and select "Create Material."
- Load your high-resolution image file into the texture slot.
- Apply the new material to your model's surfaces using the Paint Bucket tool.
For efficient application, group similar surfaces and apply textures collectively. Utilize SketchUp's sampling tools to replicate textures across different components quickly.
Considerations:
Be mindful of the potential performance impacts when using high-resolution textures, as they can increase file sizes and rendering times. To optimize performance:
- Use textures in formats like JPEG or PNG, which offer good quality-to-size ratios.
- Adjust the texture resolution to balance detail and file size—textures around 2048x2048 pixels often suffice.
- Clean up unused materials from the Materials panel to reduce clutter and resource usage.
Technique 2: Mastering UV Mapping with Extensions
Explanation:
UV mapping is a process that involves projecting a 2D texture onto a 3D model's surface. It determines how textures wrap around complex geometries, ensuring that patterns and details align correctly. While SketchUp offers basic texture positioning tools, extensions like SketchUV enhance these capabilities by providing advanced mapping options.
Implementation:
To apply UV mapping to intricate models:
- Install the SketchUV extension from the SketchUp Extension Warehouse.
- Select the geometry you wish to map and access the SketchUV tools.
- Use the "UV Mapping" feature to unwrap the model's surfaces, allowing for precise texture placement.
- Adjust the texture alignment to ensure patterns flow seamlessly across different faces.
These steps enable you to align textures accurately, especially on curved or organic shapes where standard projection methods may falter.
Best Practices:
To avoid common UV mapping issues:
- Ensure your model's geometry is clean, with properly connected edges and faces.
- Use quads (four-sided polygons) when possible, as they map more predictably than triangles.
- Regularly check your texture alignment by rendering test images.
For seamless texture transitions on intricate surfaces, consider overlapping UV edges slightly and use textures designed for tiling.
Technique 3: Creating Realism with Bump and Normal Maps
Explanation:
Bump and normal maps are grayscale and RGB images, respectively, used to simulate surface details without increasing geometric complexity. They affect how light interacts with a surface, adding the illusion of depth and texture. This technique enhances realism by mimicking fine details like the grooves in wood or the roughness of stone.
Implementation:
To create bump maps from existing textures:
- Use image editing software to convert your texture to grayscale, adjusting contrast to highlight depth variations.
- Alternatively, use tools like CrazyBump or Materialize to generate normal maps directly.
In SketchUp, applying these maps requires rendering plugins such as V-Ray or Enscape:
- Import your model into the rendering plugin environment.
- In the material editor, load your original texture as the diffuse map.
- Add the bump or normal map to the corresponding slot in the material settings.
- Adjust the map intensity to achieve the desired level of detail.
Applications:
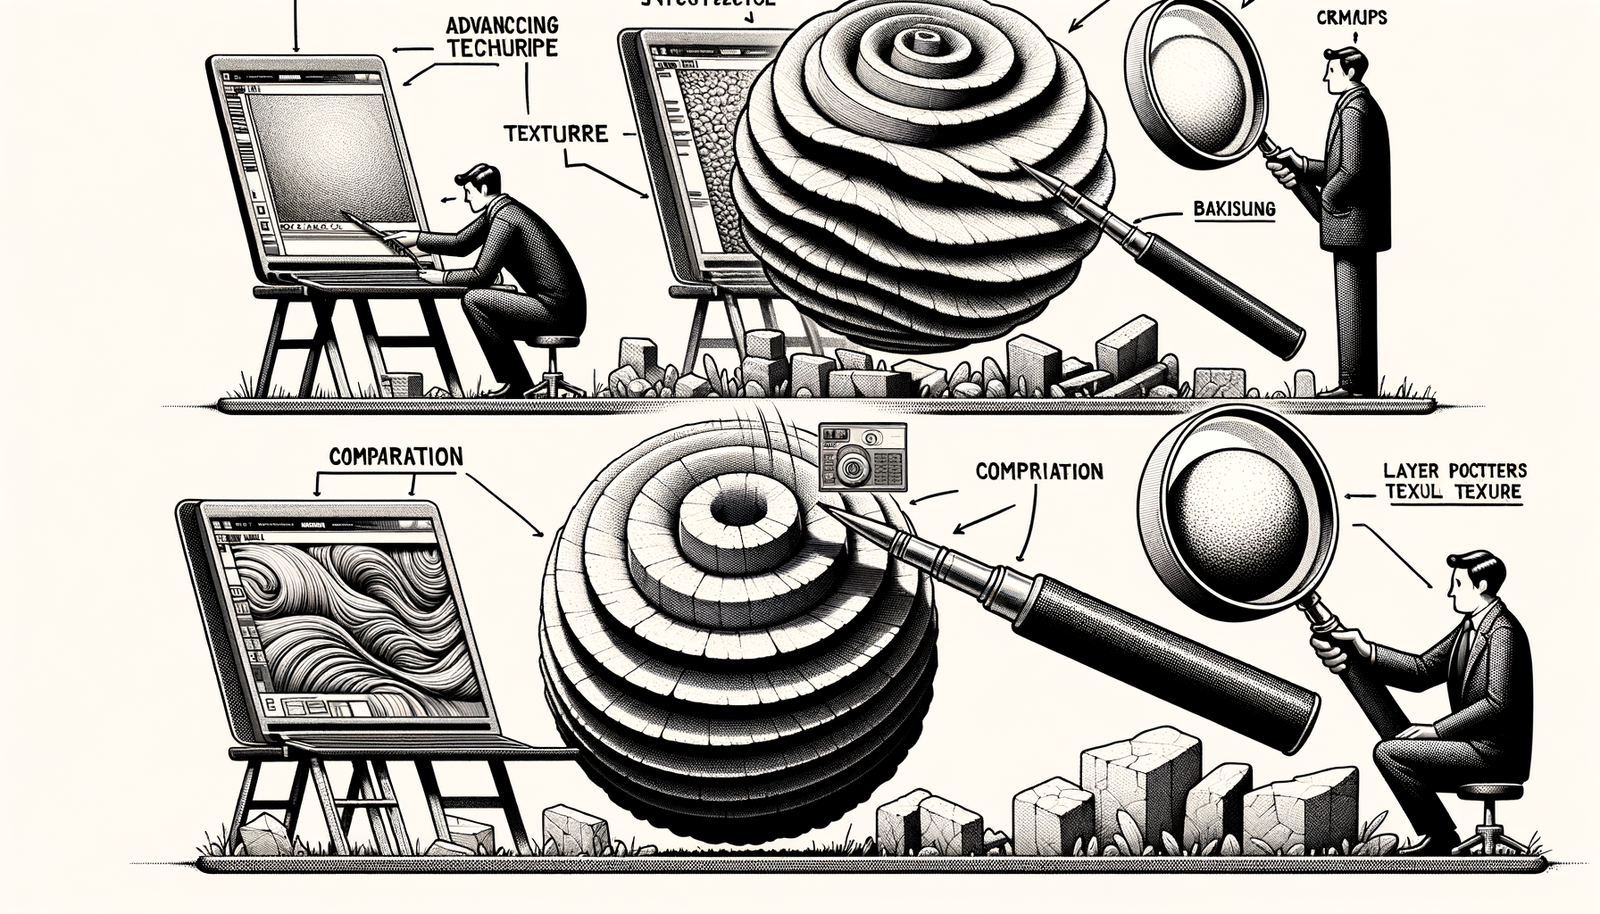
Bump mapping is particularly effective for materials like brick, concrete, and wood grain. By simulating the unevenness of these surfaces, your renderings will exhibit a higher degree of authenticity. Comparative visuals can illustrate the stark difference between models with and without bump mapping, highlighting the added realism.
Technique 4: Leveraging Photorealistic Rendering Plugins
Explanation:
Photorealistic rendering engines like V-Ray and Enscape play a crucial role in enhancing textures within SketchUp. These plugins simulate real-world lighting and material properties, bringing life to your models. They account for factors like light reflection, refraction, and global illumination, which are essential for achieving realism.
Implementation:
To integrate textures within rendering plugins:
- Ensure your model is properly textured within SketchUp before exporting to the rendering plugin.
- In the plugin's material editor, fine-tune settings such as reflectivity, glossiness, and transparency to match real material characteristics.
- Use high-quality HDRI maps for environment lighting to add depth and accurate reflections.
Enhancements:
Utilizing features like global illumination and ambient occlusion can significantly enhance depth and shadow quality. Here are some tips to balance render quality and time:
- Adjust render settings to a medium quality for test renders, increasing to high quality for final outputs.
- Optimize your model by hiding or simplifying unseen geometry to reduce rendering load.
- Leverage denoising features to clean up renders without excessively increasing render times.
Technique 5: Customizing Textures with Material Editor
Explanation:
SketchUp's Material Editor offers powerful tools for customizing textures to suit specific project needs. By modifying default textures, you can achieve unique looks and ensure consistency across your models. Customization includes altering texture scale, orientation, and even combining multiple textures to create composite materials.
Implementation:
To edit texture properties:
- Select the material in the Materials panel.
- Adjust the texture's scale to ensure it aligns correctly with your model's dimensions.
- Use the "Position" tool to change the texture's orientation on a face.
- Modify the hue, saturation, and brightness to match the desired appearance.
Creating composite materials involves layering textures using image editing software and then importing the combined texture back into SketchUp.
Advanced Tips:
Save custom materials for future use by creating a personal library within SketchUp. This practice promotes efficiency and consistency across projects. For team collaborations, share your custom materials by exporting them as material files and providing them to team members, ensuring everyone works with the same resources.
Conclusion
Advanced texturing techniques are instrumental in pushing the boundaries of realism in SketchUp models. By utilizing high-resolution textures, mastering UV mapping, employing bump and normal maps, leveraging rendering plugins, and customizing textures, you can significantly enhance the visual impact of your designs. Embrace experimentation with these methods to discover new possibilities and refine your skills. Staying updated with the latest tools and plugins will keep your work at the forefront of the industry, ensuring your models are not just drawings but immersive experiences.
Also in Design News

Cinema 4D Tip: Advanced Techniques for Enhancing Particle Textures in Cinema 4D
October 16, 2025 2 min read
Read More
Bluebeam Tip: Streamline Document Consistency with Custom Text Styles in Bluebeam Revu
October 16, 2025 2 min read
Read More
ZBrush Tip: Mastering ZRemesher for Optimal Topology in ZBrush
October 16, 2025 2 min read
Read MoreSubscribe
Sign up to get the latest on sales, new releases and more …


