Your Cart is Empty
Customer Testimonials
-
"Great customer service. The folks at Novedge were super helpful in navigating a somewhat complicated order including software upgrades and serial numbers in various stages of inactivity. They were friendly and helpful throughout the process.."
Ruben Ruckmark
"Quick & very helpful. We have been using Novedge for years and are very happy with their quick service when we need to make a purchase and excellent support resolving any issues."
Will Woodson
"Scott is the best. He reminds me about subscriptions dates, guides me in the correct direction for updates. He always responds promptly to me. He is literally the reason I continue to work with Novedge and will do so in the future."
Edward Mchugh
"Calvin Lok is “the man”. After my purchase of Sketchup 2021, he called me and provided step-by-step instructions to ease me through difficulties I was having with the setup of my new software."
Mike Borzage
Rhino 3D Tip: Utilizing the Projected Surface Tool in Rhino 3D for Complex Surface Creation
February 22, 2025 2 min read

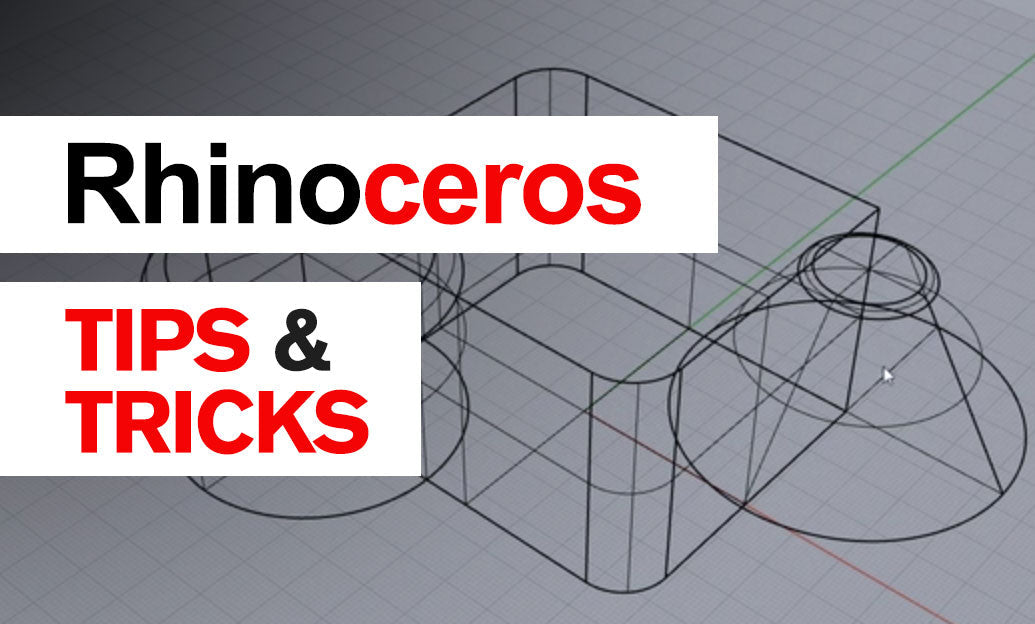
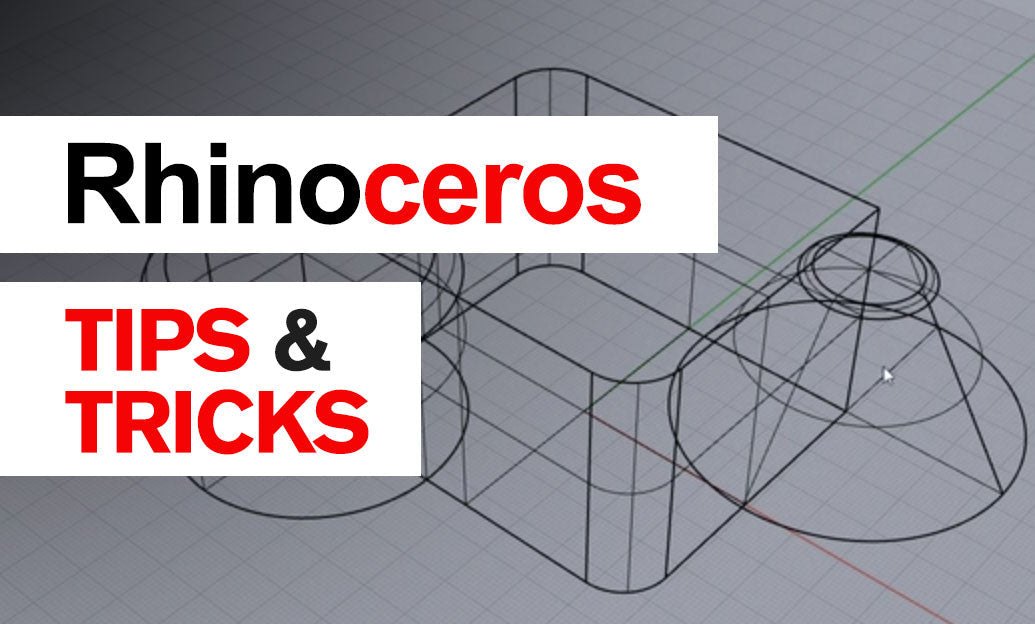
The Projected Surface Tool in Rhino 3D is a powerful feature that allows you to create complex surfaces by projecting curves onto existing surfaces. This is particularly useful when designing objects that require precise surface mapping or when working with complex geometries.
Here's how to effectively use the Projected Surface Tool:
Step-by-Step Guide to Using the Projected Surface Tool
- Select the Curve to Project: Begin by creating or selecting the curve you want to project. This curve represents the shape that will be projected onto your target surface.
- Choose the Target Surface: Identify the surface onto which you want to project the curve. This can be any NURBS surface within your Rhino model.
-
Access the Project Command: Go to the Curve menu, navigate to From Objects, and select Project. Alternatively, you can type
Projectinto the command line. - Set the Projection Direction: Rhino will prompt you to specify the projection direction. You can choose to project the curve along a specific axis or towards the surface normals.
- Complete the Projection: After setting the projection direction, Rhino will project the curve onto the surface, creating a new curve that conforms to the surface's topology.
Tips for Effective Projection
- Ensure Alignment: Before projecting, make sure the curve is properly aligned with the target surface for accurate results.
- Check Surface Complexity: Highly complex surfaces may require refined curves for a clean projection.
- Use Appropriate Viewports: Utilize different viewports to better visualize the projection direction and adjust as necessary.
- Edit Projected Curves: After projection, you can edit the resulting curves to fine-tune the surface details.
Practical Applications
Using the Projected Surface Tool is beneficial in various modeling scenarios:
- Engraving and Embossing: Project text or patterns onto surfaces for engraving effects.
- Aerodynamic Design: Apply airflow lines onto car bodies or aircraft surfaces.
- Product Design: Fit features like buttons or contours onto curved surfaces.
Enhance Your Workflow with NOVEDGE
For more advanced techniques and tools, consider exploring Rhino 3D products available at NOVEDGE. NOVEDGE offers a wide range of resources and software solutions to help you take your Rhino modeling skills to the next level.
Conclusion
Mastering the Projected Surface Tool expands your ability to create intricate and precise models in Rhino 3D. By understanding how to effectively project curves onto surfaces, you can achieve detailed designs that adhere closely to your project's requirements.
Stay updated with the latest tips and tricks by following NOVEDGE on social media and visiting their blog for professional insights and tutorials.
You can find all the Rhino products on the NOVEDGE web site at this page.
Also in Design News

Rhino 3D Tip: AOV-Based Render Pass Workflow for Rapid, Non‑Destructive Compositing
December 28, 2025 2 min read
Read More
Cinema 4D Tip: Consolidate Geometry with Connect Objects + Delete
December 28, 2025 2 min read
Read More
V-Ray Tip: Region Rendering Best Practices for Fast, Seamless Comp Patches
December 28, 2025 2 min read
Read MoreSubscribe
Sign up to get the latest on sales, new releases and more …


