Your Cart is Empty
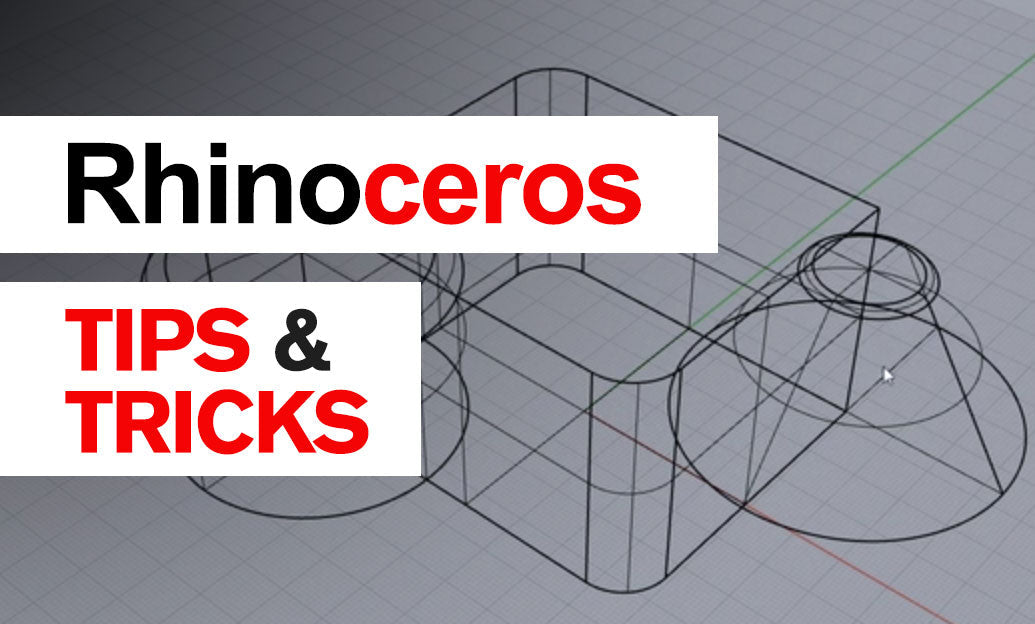
Rhino 3D Tip: Rhino Surface Continuity Analysis Workflow

Surface continuity analysis in Rhino is one of the most valuable habits for anyone building high-quality geometry. Whether you work in product design, transportation, architecture, or fabrication, smooth-looking surfaces are not always truly smooth. Rhino gives you several tools to verify continuity so you can catch issues early and make better modeling decisions.
Instead of relying only on shading, use analysis tools to evaluate how surfaces actually meet.
-
Start by understanding the continuity levels:
- G0 / Position: surfaces touch, but may create a visible crease.
- G1 / Tangency: surfaces meet smoothly in direction.
- G2 / Curvature: surfaces transition more gracefully, with smoother highlights and reflections.
In Rhino, the most practical tools for checking continuity include:
- Zebra – excellent for reading reflected highlight flow across adjacent surfaces.
- Environment Map analysis – helpful for quickly spotting breaks in reflection continuity.
- CurvatureGraph – useful for evaluating the quality of the driving curves behind the surfaces.
- EdgeContinuity – gives direct feedback on how two edges relate mathematically.
A smart workflow is to begin with the curves before blaming the surfaces. Poor continuity often starts with input geometry. If the section, rail, or profile curves have uneven curvature, your resulting lofts, sweeps, and blends will usually inherit those problems.
-
Check your curves first:
- Use CurvatureGraph to spot bumps or flat spots.
- Rebuild or simplify curves when they contain too many control points.
- Make sure adjoining curves are matched intentionally, not just visually close.
Once surfaces are built, inspect their transitions methodically:
- Run Zebra across joined or adjacent surfaces.
- Look for stripe breaks, pinching, or sudden changes in reflection direction.
- Use EdgeContinuity when you need precise confirmation of positional, tangential, or curvature continuity.
- Rotate the model while analyzing. A transition that looks acceptable from one angle may fail from another.
One common mistake is over-focusing on joining surfaces too early. A joined polysurface can hide quality issues during casual inspection. It is often better to evaluate surfaces while they are still separate, especially when refining Class-A style transitions.
-
Helpful modeling habits:
- Keep surfaces unjoined during refinement.
- Analyze often, not just at the end.
- Use MatchSrf carefully and confirm the result with analysis tools.
- Avoid forcing continuity onto geometry that has poor underlying structure.
If you are learning advanced Rhino surfacing workflows, keeping up with professional insights from NOVEDGE Rhino resources is a great way to sharpen your process. NOVEDGE also offers access to Rhino software and related tools at NOVEDGE.
The key takeaway: surface continuity should be verified, not assumed. Good shading can be misleading, while proper analysis reveals the real quality of your model. By checking curves early, using Zebra and EdgeContinuity regularly, and refining transitions with intention, you can produce cleaner, more professional Rhino geometry that performs better in rendering, manufacturing, and downstream editing.
You can find all the Rhino products on the NOVEDGE web site at this page.
Also in Design News