Your Cart is Empty
Rhino 3D Tip: Optimizing Rhino 3D Models for Successful 3D Printing
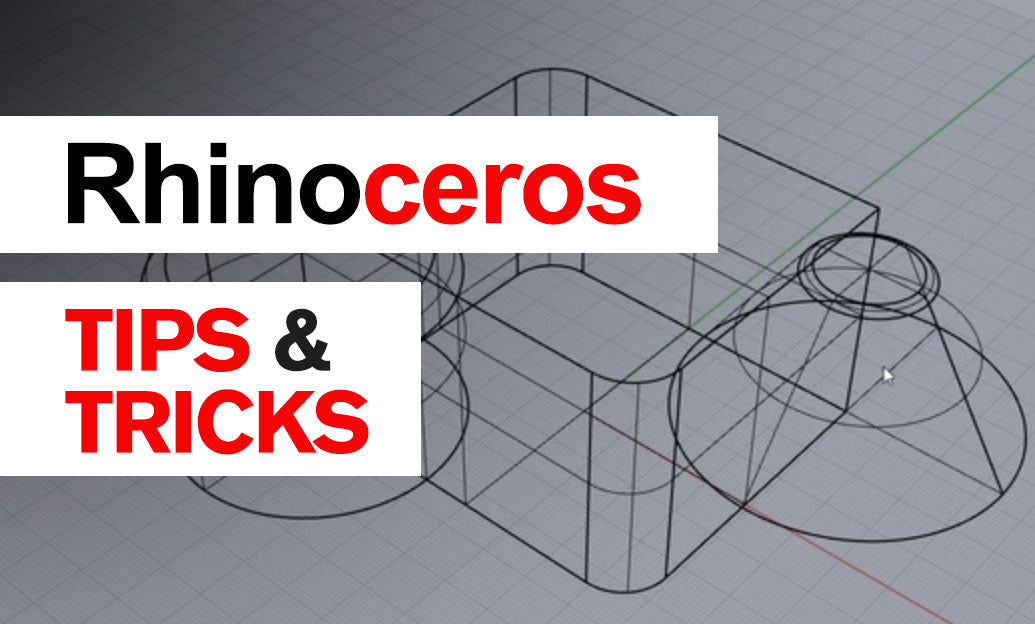

Optimizing your models for 3D printing in Rhino 3D Software is crucial to ensure successful prints and achieve the best possible quality. By preparing your models properly, you can avoid common printing issues and save time and materials. Here are some essential steps and tips to help you optimize your models effectively.
-
Ensure Watertight Geometry
- Confirm that your model is watertight with no holes, gaps, or non-manifold edges that could cause problems during printing.
- Use the
ShowEdgescommand to highlight naked edges and identify open areas. - Close any gaps using tools like
Jointo connect edges,Capto seal planar holes, orFillto patch openings.
-
Solidify Your Model
- Ensure that your model is a solid, closed polysurface, which is necessary for most 3D printing processes.
- Use the
CreateSolidcommand to combine intersecting surfaces into a single solid object. - Check that all surfaces are properly joined and there are no internal overlaps or intersections.
-
Check Mesh Quality
- Convert your NURBS model into a mesh suitable for 3D printing using the
Meshcommand. - Adjust mesh settings to balance detail and file size; finer meshes capture more detail but result in larger files.
- Use the
Checkcommand to analyze the mesh for errors such as non-manifold edges or duplicate vertices. - Repair any issues found using the
MeshRepairtool.
- Convert your NURBS model into a mesh suitable for 3D printing using the
-
Analyze Normals Orientation
- Verify that all face normals are consistently oriented outward to define the outside of your model.
- Use the
Dircommand to display normal directions and flip them if necessary. - Consistent normal orientation is essential for slicer software to correctly interpret the model.
-
Scale Your Model Appropriately
- Set the correct units for your model (e.g., millimeters, inches) to match your printer's requirements.
- Use the
Scalecommand to adjust your model to the desired physical size. - Consider the build volume of your printer and scale accordingly.
-
Simplify Complex Geometry
- Reduce unnecessary complexity in your model to improve printability and reduce print time.
- Simplify overly detailed areas that may not print well at your scale.
- Use the
ReduceMeshcommand to decrease the polygon count while preserving essential details.
-
Ensure Adequate Wall Thickness
- Verify that all parts of your model meet the minimum wall thickness specified by your printer or material guidelines.
- Use the
ThicknessAnalysistool to visually inspect wall thickness throughout your model. - Adjust thin areas by adding material or redesigning features to meet minimum requirements.
-
Repair and Validate Your Model
- Use Rhino's analysis tools to detect any remaining issues that could affect printing.
- Run the
CheckNewObjectscommand to automatically check for bad objects during modeling. - Consider exporting your model to third-party validation software like Netfabb or MeshLab for additional checks.
-
Export in the Correct File Format
- Export your finalized mesh as an STL file, the standard format for 3D printing, using
Exportand selecting STL. - In the STL export options, set appropriate tolerance levels and choose binary format for smaller file sizes.
- Ensure that the exported file accurately represents your model by re-importing it into Rhino or another viewer for verification.
- Export your finalized mesh as an STL file, the standard format for 3D printing, using
By following these steps, you can optimize your Rhino 3D models for 3D printing effectively, reducing the risk of failed prints and ensuring high-quality results. For more advanced tips and professional Rhino 3D tools, consider visiting NOVEDGE, the leading online store for design software.
You can find all the Rhino products on the NOVEDGE web site at this page.
Also in Design News