Your Cart is Empty
Customer Testimonials
-
"Great customer service. The folks at Novedge were super helpful in navigating a somewhat complicated order including software upgrades and serial numbers in various stages of inactivity. They were friendly and helpful throughout the process.."
Ruben Ruckmark
"Quick & very helpful. We have been using Novedge for years and are very happy with their quick service when we need to make a purchase and excellent support resolving any issues."
Will Woodson
"Scott is the best. He reminds me about subscriptions dates, guides me in the correct direction for updates. He always responds promptly to me. He is literally the reason I continue to work with Novedge and will do so in the future."
Edward Mchugh
"Calvin Lok is “the man”. After my purchase of Sketchup 2021, he called me and provided step-by-step instructions to ease me through difficulties I was having with the setup of my new software."
Mike Borzage
Rhino 3D Tip: Optimizing Object Rotation with the Rotate3D Command in Rhino 3D
September 06, 2025 3 min read

Mastering transformations in Rhino often comes down to having complete control over how your objects move. One particularly powerful way to achieve this is by using Rotate3D. This command allows you to revolve any shape around a designated axis with precision, a fundamental technique in Rhino-based modeling workflows. Below are a few practical pointers to help you extract the most value out of this versatile tool.
-
Define the Axis Carefully
Always be clear about the axis around which you want to revolve your object. Typing the command “Rotate3D,” then picking your start and end points for the rotation axis is typically straightforward. However, if you need to rotate around a specific geometric feature (like a center line on your model), use object snaps to ensure complete accuracy. -
Take Advantage of Snaps
Object snaps are invaluable when positioning your axis endpoints. For instance, snapping to a midpoint or an endpoint on a line guarantees your rotation aligns perfectly with key reference geometry in your scene. This practice can save hours of post-rotation adjustments. -
Use the Gumball for Quick Adjustments
The Gumball can be a great complement to Rotate3D. Although it might not replace the command entirely, it can handle quick changes, especially if you just need small tweaks along a specific axis. If your design requires more nuanced rotation, proceed with Rotate3D for full control. -
Embrace Keyboard Entry for Precision
When Rotate3D prompts you to specify an angle, consider typing an exact numeric value. This eliminates guesswork and provides consistent, repeatable results. If you suspect your angle might need an adjustment later, history-enabled transformations can keep the rotation flexible for future modifications. -
Combine Rotate3D with Other Commands
Rotate3D is rarely used in isolation. For instance, after creating a surface from a 2D profile, apply Rotate3D to position it properly for additional operations like Trim or Boolean. This approach allows complex shapes to come together systematically in the right orientation. -
Establish Clear Construction Planes
Before rotating, ensure you have a suitable construction plane (CPlane) set. If your axis needs to align with a specific surface or customized plane, setting a dedicated CPlane will keep your transformations consistent and visually intuitive. -
Experiment with Multiple Rotation Stages
Complex geometry sometimes calls for a multi-step rotation. For example, an object might need to pivot 30 degrees around one axis and then rotate 15 degrees around another. Executing mechanical assemblies or architectural features in separate, controlled stages often yields better accuracy. -
Use the Command Line Options
Keep an eye on the command line while performing Rotate3D. Options like Copy help you preserve the original object in place, which can be incredibly convenient for testing multiple orientations quickly before committing to a final position.
With these guidelines in mind, Rotate3D becomes a robust tool for positioning your designs just right before proceeding with the next steps. From manipulating heavy assemblies to refining a single detail in a product concept, understanding how to revolve geometry effectively can be a significant time-saver and quality booster in Rhino.
Looking for more ways to optimize your workflow? Check out NOVEDGE for a wide range of Rhino 3D solutions and resources that can supercharge your design projects. Whether you’re just getting started or aiming to broaden your expertise, the right tools and tips can turn intricate modeling tasks into efficient, streamlined processes.
Once you get accustomed to how Rotate3D interacts with your objects, you’ll see how vital it is in bringing complex, multi-axis designs to life—whether they’re conceptual prototypes, architectural layouts, or highly specialized machinery. Keep perfecting these rotation techniques alongside other Rhino commands, and don’t hesitate to explore new functionalities from NOVEDGE as your modeling challenges evolve. A more refined, accurate, and adaptable modeling style will soon become second nature.
You can find all the Rhino products on the NOVEDGE web site at this page.
Also in Design News

Design Software History: Visualizing Engineering Intent: Feature Histories, Constraints, and Semantic PMI in CAD
December 29, 2025 16 min read
Read More
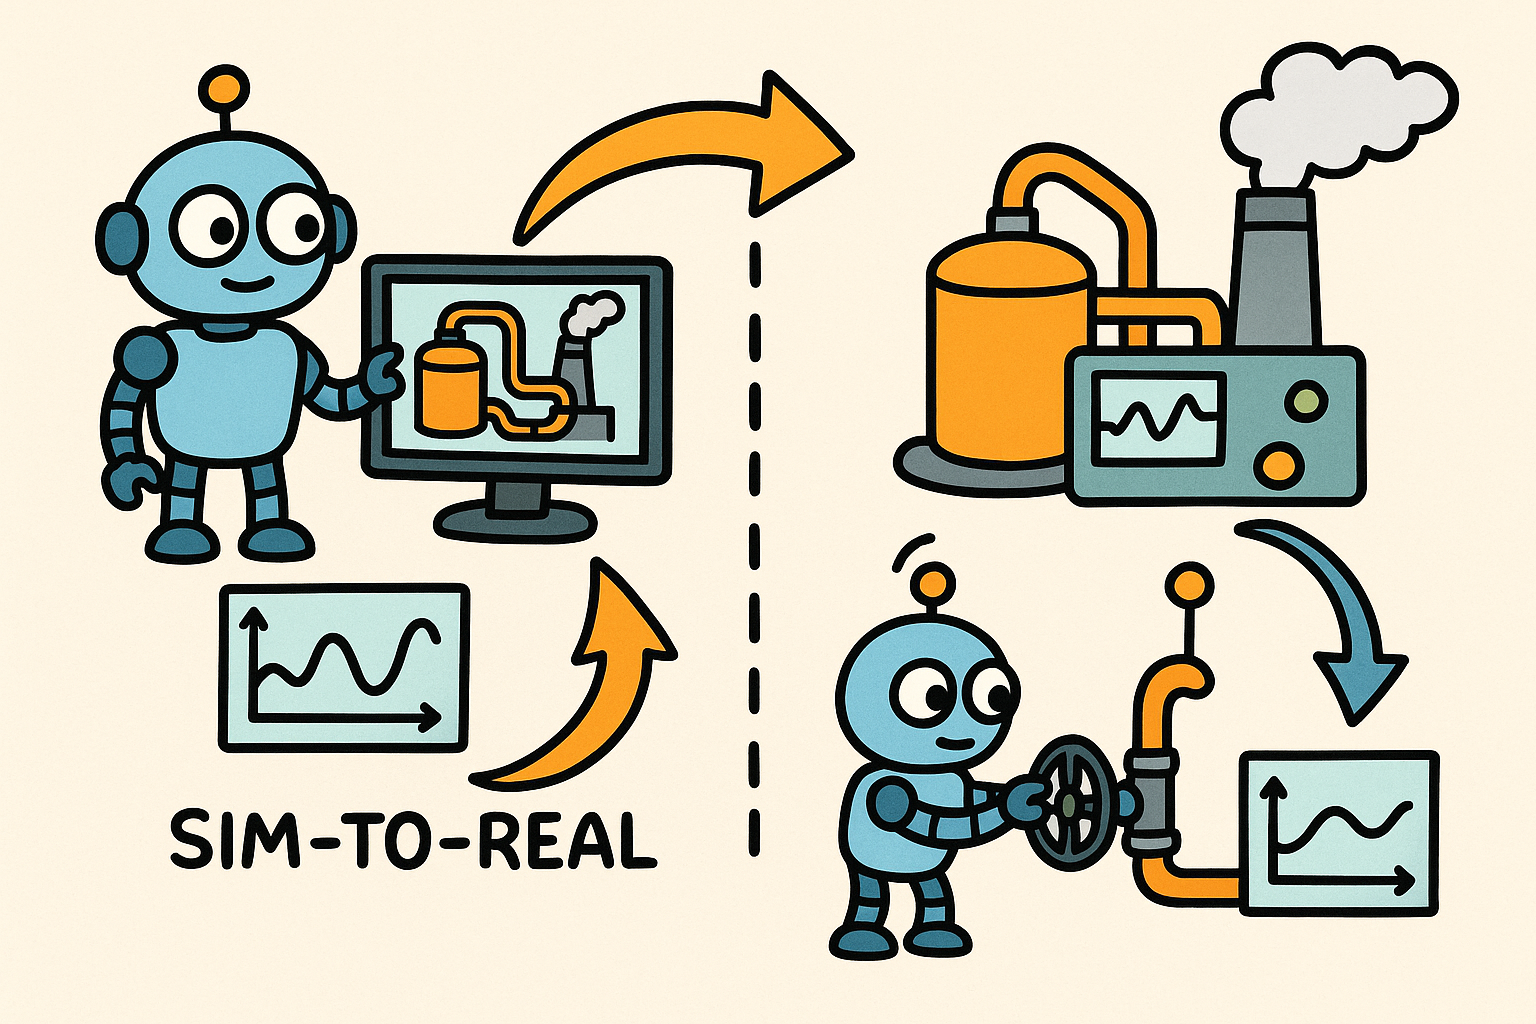
Sim-to-Real Transfer for Closed-Loop Process Calibration and Control
December 29, 2025 12 min read
Read More
Cinema 4D Tip: Cineware Best Practices for Cinema 4D to After Effects
December 29, 2025 2 min read
Read MoreSubscribe
Sign up to get the latest on sales, new releases and more …


