Your Cart is Empty
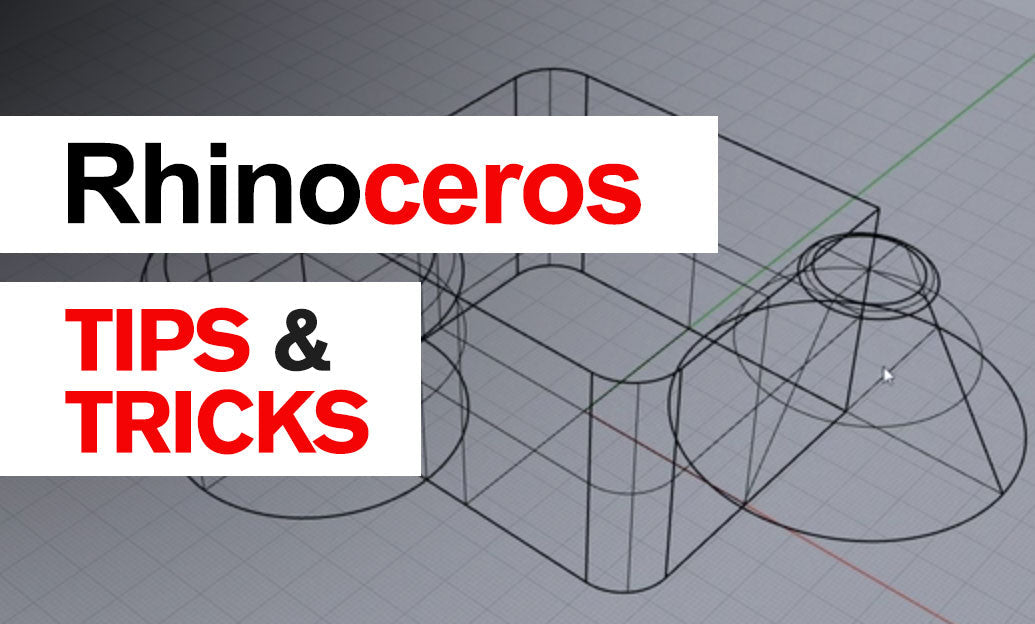
Rhino 3D Tip: Optimizing 2D Line Drawing Creation with Rhino 3D's Make2D Command


The Make2D command in Rhino 3D is an essential tool for converting 3D models into 2D line drawings, which is particularly useful for creating technical drawings and documentation. Here's how to effectively utilize the Make2D tool to enhance your workflow:
Understanding the Make2D Command
The Make2D command projects visible edges of your 3D geometry onto a defined plane, generating two-dimensional curves that represent your model from a specific viewpoint. This is invaluable for architects, engineers, and designers who need to produce plans, elevations, sections, or detailed schematics.
Steps to Use Make2D Effectively
-
Select the Appropriate View:
- Set your viewport to the desired angle—Top, Front, Right, or a custom perspective.
- Ensure that the view displays the exact projection you want to capture.
-
Prepare Your Model:
- Clean up any unnecessary geometry to simplify the output.
- Organize your model using layers for better control.
-
Execute the Make2D Command:
- Type
Make2Din the command line or find it under Curve > Curve From Objects > Make2D. - Select the objects you wish to project when prompted.
- Adjust the settings in the Make2D options dialog:
- Projection: Choose between current view, four views, or specific planes.
- Show Hidden Lines: Opt to include hidden lines for a complete technical drawing.
- Maintain Source Layers: Keep the generated curves on their original layers for organization.
- Click OK to generate the 2D drawing.
- Type
-
Refine the Generated Drawing:
- Review the output for any overlapping lines or artifacts.
- Use editing commands like
Trim,Join, andDeleteto clean up. - Organize the curves onto specific layers if not done automatically.
-
Enhance with Annotations and Dimensions:
- Add text annotations for notes and labels.
- Use the
Dimcommands to include accurate measurements.
-
Export or Print Your Drawing:
- Export the drawing to formats like DWG or DXF for use in other CAD programs.
- Print directly from Rhino using the Layout feature for scaled drawings.
Best Practices
- Layer Management: Keep your model and Make2D output organized with consistent layer naming conventions.
- Line Types and Weights: Define different line types and weights for visible, hidden, and center lines to enhance clarity.
- Scaling: Ensure your model is created at the correct scale to avoid discrepancies in dimensions.
- Views: Use named views to save specific camera angles for consistent outputs, especially when updates are frequent.
- Automation: Consider scripting repetitive Make2D tasks using RhinoScript or Grasshopper for efficiency.
Additional Resources
For more advanced techniques and tools to complement your Rhino 3D workflow, check out NOVEDGE for a wide selection of software and plugins.
Conclusion
By mastering the Make2D command, you can seamlessly bridge the gap between 3D modeling and 2D documentation, ensuring your technical drawings are accurate and professionally presented. Implement these practices to optimize your design process and enhance your project's communication.
You can find all the Rhino products on the NOVEDGE web site at this page.
Also in Design News