Your Cart is Empty
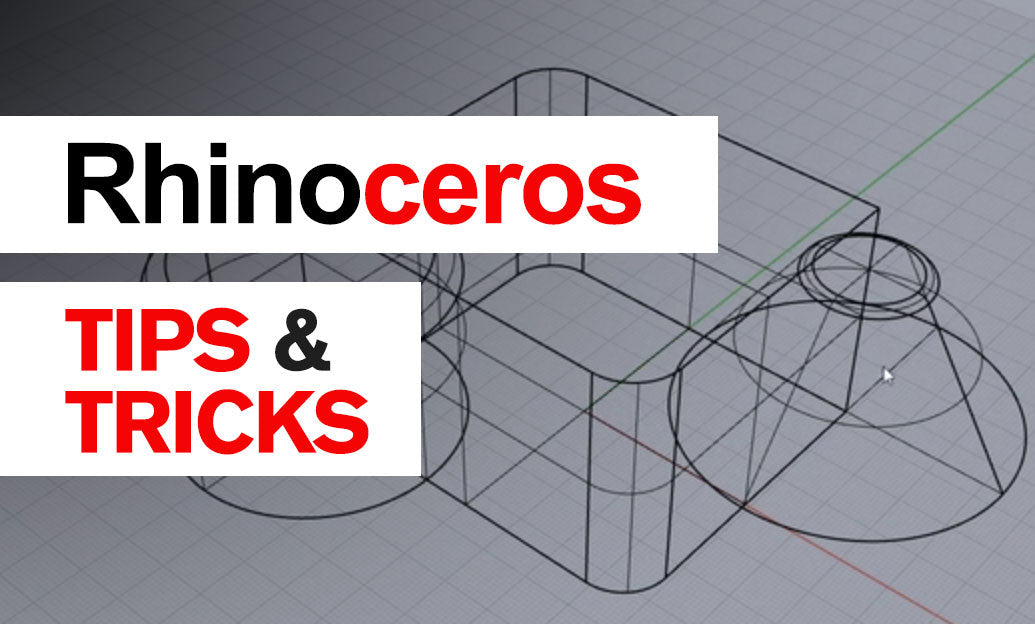
Rhino 3D Tip: Maximizing Surface Creation with the Curve Network Command in Rhino 3D

The Surface from Curve Network command in Rhino 3D is an essential tool for creating complex surfaces with precision and control. It allows you to generate surfaces from a network of intersecting curves, which can be incredibly powerful for designing intricate models. Here are some tips to help you understand and effectively use this command:
- Organize Your Curves: Before using the command, ensure all your curves are well-organized and properly intersecting. The network should consist of curves that intersect at common points, forming a grid-like pattern. Use layers and colors to differentiate between different sets of curves if necessary.
- Check Curve Continuity: The quality of the resulting surface heavily depends on the continuity of the input curves. Aim for at least G1 (tangent) continuity between curves for smoother transitions. Utilize Rhino's Match and Blend Curves commands to adjust continuity where needed.
- Simplify Where Possible: Overly complex curve networks can lead to unpredictable surfaces. Simplify your curves by reducing unnecessary control points and ensuring they are as clean as possible. Use the Rebuild command to refine curves without altering their overall shape.
- Use the Command Options: When you activate the Surface from Curve Network command, pay attention to the options available in the command line. You can adjust settings such as Edge Tolerance, Interior Curves Influence, and Smoothness to fine-tune the resulting surface.
- Select Curves in Order: Select the curves methodically. Start by selecting all the curves in one direction (U direction), followed by the curves in the perpendicular direction (V direction). This helps Rhino accurately interpret the network and generate a better surface.
- Analyze the Surface: After creating the surface, use analysis tools like Zebra and Environment Map to check for continuity and smoothness. This will help you identify any areas that may need further adjustment.
- Edit Input Curves as Needed: If the surface isn't meeting your expectations, consider editing the input curves. Small adjustments to the curve positions or control points can significantly impact the resulting surface. Don't hesitate to go back and refine your curves.
- Utilize History Recording: Enable History before creating the surface so that changes to the input curves automatically update the surface. This non-destructive workflow allows you to tweak curves and instantly see the effect on the surface.
- Practice with Different Configurations: Experiment with various curve network configurations to understand how they influence the surface. Try creating surfaces with different numbers of curves and varying degrees of complexity to build your proficiency.
- Seek Expert Resources: For more in-depth tutorials and expert guidance, visit NOVEDGE, the leading online store for design software. NOVEDGE offers a wealth of resources and support to help you enhance your Rhino 3D skills.
By mastering the Surface from Curve Network command, you can unlock new possibilities in your 3D modeling projects. This tool is invaluable for creating surfaces that are both complex and precisely controlled, making it a staple in any Rhino user's toolkit.
Remember, the key to success with this command lies in the quality of your input curves and a clear understanding of how they define the surface. With practice and attention to detail, you'll be able to create sophisticated models with ease.
For more tips and professional-grade software solutions, connect with NOVEDGE. Their extensive catalog and expert support make them an ideal partner for all your 3D design needs.
You can find all the Rhino products on the NOVEDGE web site at this page.
Also in Design News