Your Cart is Empty


Rhino 3D Tip: Customizing Rhino’s Shaded Display Mode for Form and Geometry Review
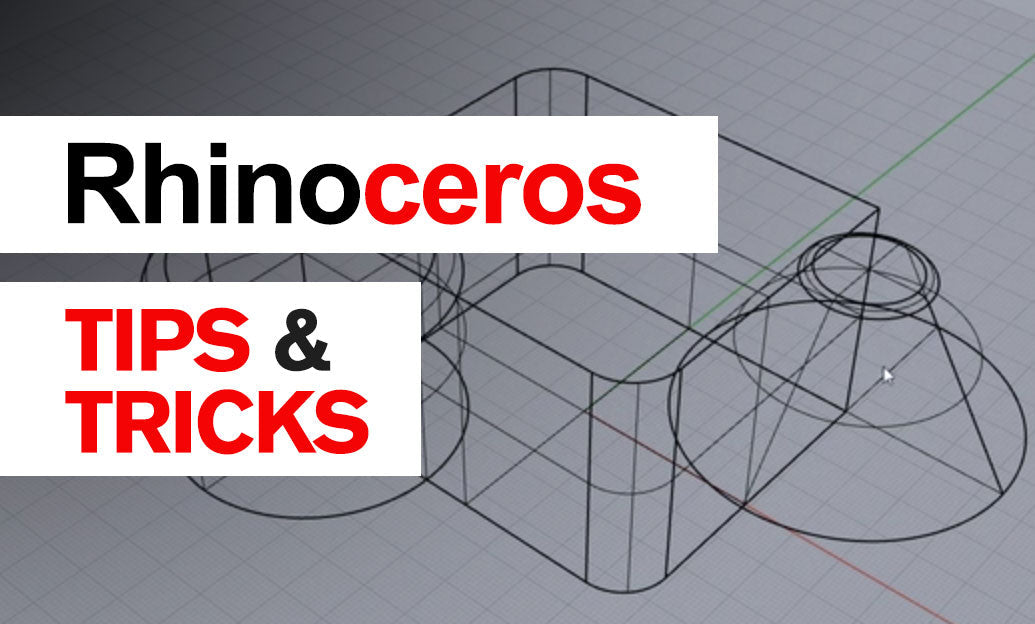

Rhino’s Shaded display mode is often the fastest way to evaluate form, proportion, edge quality, and assembly relationships without waiting for a full render. A carefully customized Shaded mode can make everyday modeling clearer, more consistent, and easier to review.
Start by opening Options and navigating to View > Display Modes. Select Shaded, but consider creating a duplicate first. Keeping Rhino’s default mode unchanged gives you a reliable fallback while allowing a project-specific setup for product design, architecture, jewelry, or fabrication work.
- Duplicate before editing. Name the new mode clearly, such as “Shaded—Product Review” or “Shaded—Design Check.” This makes it easy to assign the mode to selected viewports without disrupting your standard workspace.
- Use a neutral background. Mid-gray or subtly graduated backgrounds help silhouettes read clearly and reduce eye strain during long sessions. Avoid highly saturated backgrounds that distort your perception of material and color.
- Control surface edges deliberately. In the display-mode settings, enable surface edges when you need to inspect separate faces, trims, fillets, and joins. For client-facing screenshots, reduce edge thickness or disable edges entirely to emphasize the overall form.
- Adjust edge color for contrast. Black edges can look harsh on dark objects; light gray edges may disappear on bright models. Choose a contrasting but restrained edge color that remains visible without dominating the design.
- Enable shadows when evaluating depth. Ground-plane and object shadows make floating geometry, clearance issues, and spatial relationships easier to identify. Keep shadow intensity moderate so shadows support the model rather than obscure details.
- Use transparency selectively. Transparent shaded objects are useful for reviewing internal components, wall thickness, mechanical assemblies, and overlapping volumes. Too much transparency, however, makes dense models visually confusing.
For product and industrial design, a Shaded mode with soft lighting, a neutral background, visible silhouettes, and subtle ambient occlusion can reveal changes in curvature and transitions between surfaces. This is especially useful before moving on to reflections-based inspection tools or a final render.
For architectural modeling, consider a different variation: enable shadows and ambient occlusion, keep edges light, and set backfaces to a noticeable color. A contrasting backface color quickly exposes reversed surfaces, which can cause problems in visualization, export workflows, and downstream applications.
Mesh wires are another useful option. Displaying mesh wires can help diagnose overly dense imported meshes, faceting, and irregular triangulation. Leave them off for most design reviews, but turn them on temporarily when investigating viewport performance or preparing geometry for export.
Remember that display modes are not only visual preferences; they are inspection tools. Switch between a clean presentation-oriented shaded mode and a diagnostic shaded mode as your task changes. One can hide technical clutter, while the other can expose isocurves, surface edges, mesh wires, and backfaces.
Save time by assigning your preferred mode to a viewport and saving the file or template with that viewport layout. A consistent visual environment helps teams evaluate models in the same way and produces clearer screenshots for design discussions.
For Rhino software, training resources, and workflow tools, explore Rhino products at NOVEDGE. A customized Shaded display mode may seem like a small adjustment, but it can make every modeling session faster, more legible, and more professional.
You can find all the Rhino products on the NOVEDGE web site at this page.
Also in Design News