Your Cart is Empty
Customer Testimonials
-
"Great customer service. The folks at Novedge were super helpful in navigating a somewhat complicated order including software upgrades and serial numbers in various stages of inactivity. They were friendly and helpful throughout the process.."
Ruben Ruckmark
"Quick & very helpful. We have been using Novedge for years and are very happy with their quick service when we need to make a purchase and excellent support resolving any issues."
Will Woodson
"Scott is the best. He reminds me about subscriptions dates, guides me in the correct direction for updates. He always responds promptly to me. He is literally the reason I continue to work with Novedge and will do so in the future."
Edward Mchugh
"Calvin Lok is “the man”. After my purchase of Sketchup 2021, he called me and provided step-by-step instructions to ease me through difficulties I was having with the setup of my new software."
Mike Borzage
Rhino 3D Tip: Creating Effective Animations in Rhino 3D: A Step-by-Step Guide
January 19, 2025 2 min read

Animating your models in Rhino 3D can enhance presentations and help communicate design concepts more effectively. Here's a step-by-step guide to creating animations in Rhino.
Setting Up Your Animation
- Prepare Your Model: Ensure your model is complete and optimized. Remove unnecessary geometry to improve performance.
- Determine the Animation Type: Decide whether you want to animate objects, the camera (fly-through), or both.
Animating the Camera (Fly-Through)
- Create a Path Curve: Draw a curve representing the camera's path through the model.
-
Use the SetPathAnimation Command:
- Type
SetPathAnimationin the command line. - Select the path curve when prompted.
- Adjust settings like frames per second and total number of frames.
- Type
- Preview the Animation: Use the PreviewAnimation command to check the camera movement before rendering.
Animating Objects
- Create Movement Paths: Draw curves that represent the movement paths for the objects you wish to animate.
-
Assign Objects to Paths:
- Select the object.
- Type
SetObjectDisplayModeand choose the desired display mode. - Use the OrientOnCrv command to align the object along the path curve.
- Set Keyframes: Although Rhino doesn't use traditional keyframes, you can define positions at specific frames using the RecordAnimation command.
Rendering the Animation
-
Adjust Render Settings:
- Open the Render settings panel.
- Select the desired resolution, quality, and output format.
- Choose the output directory for the rendered frames.
-
Use the RecordAnimation Command:
- Type
RecordAnimationin the command line. - Specify the range of frames you wish to render.
- Start the rendering process. Rhino will save each frame as an image file.
- Type
- Compile Frames into a Video: Use video editing software to assemble the image sequence into a video file.
Enhancing Your Animation with Plugins
For more advanced animations, consider using plugins like Bongo 2.0 available from NOVEDGE. Bongo integrates seamlessly with Rhino and offers features like:
- Traditional Keyframe Animation: Easily control object transformations over time.
- Constraint-Based Animation: Define relationships between objects for more complex movements.
- Real-Time Playback: Preview animations directly within the Rhino viewport.
Tips for a Successful Animation
- Optimize Model Complexity: Simplify your model where possible to reduce rendering times.
- Use Layers: Organize objects on different layers to easily control visibility during animation.
- Test Renders: Render short segments to check lighting and materials before committing to a full render.
- Backup Your Work: Regularly save versions of your project to prevent data loss.
Additional Resources
For more detailed tutorials and tips, visit the NOVEDGE website. NOVEDGE offers a wide range of resources and products to enhance your Rhino 3D experience.
You can find all the Rhino products on the NOVEDGE web site at this page.
Also in Design News

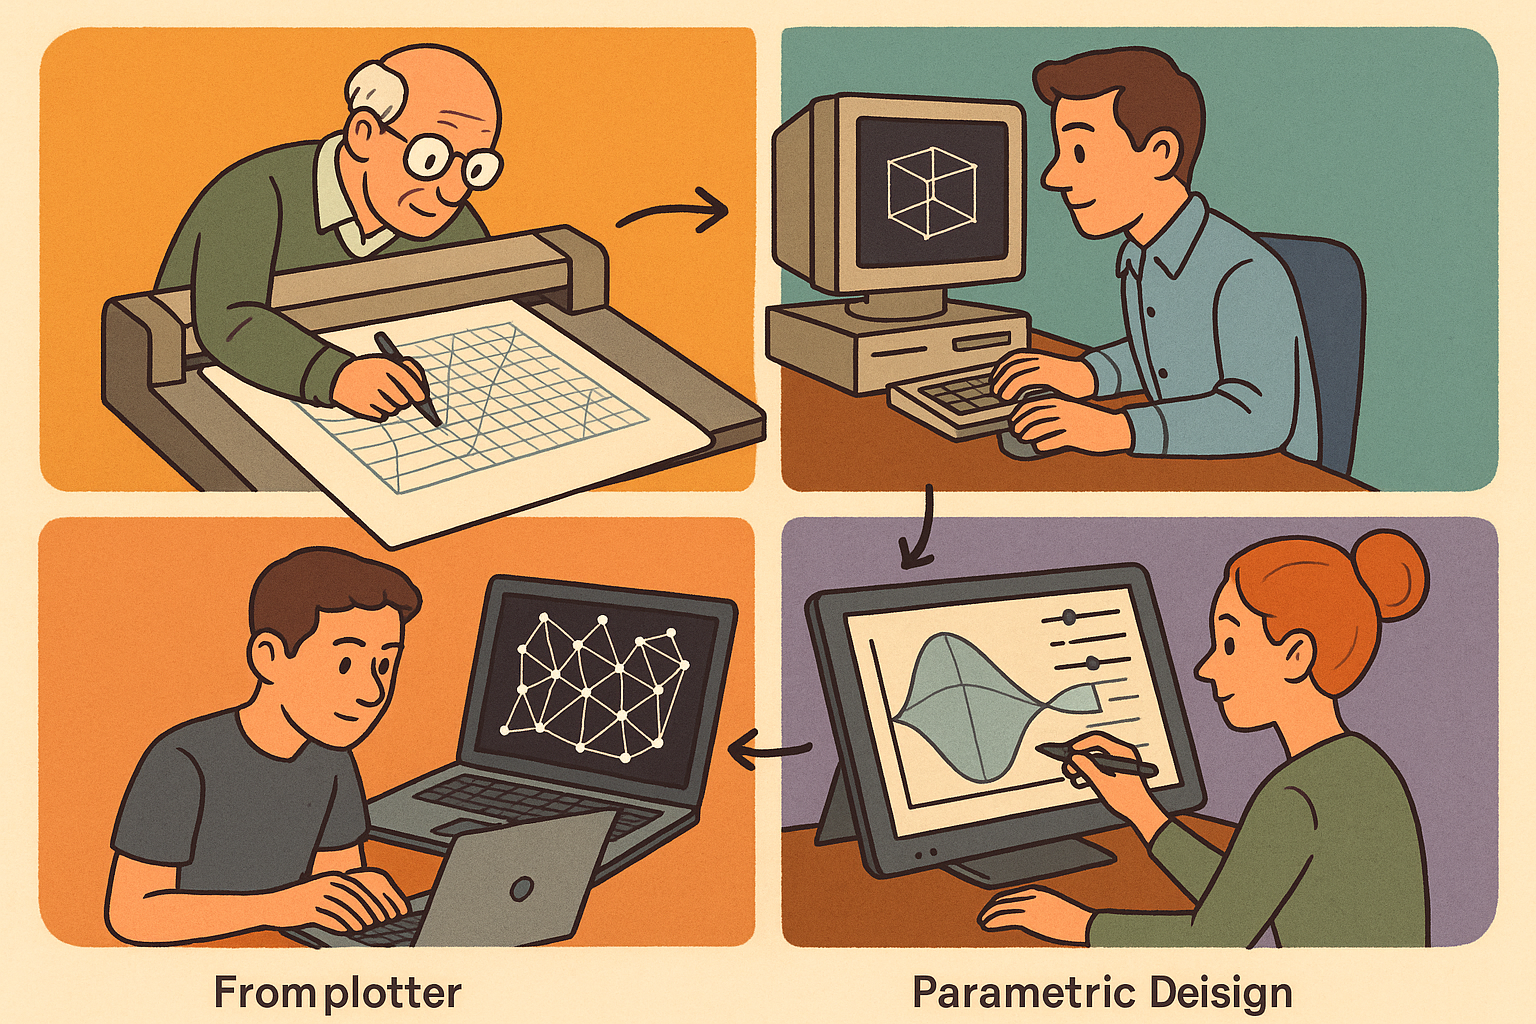
Design Software History: From Plotters to Procedural Intent: A Technical History of Generative and Parametric Design Software
January 04, 2026 13 min read
Read More
Semantic Meshes: Enabling Analytics-Ready Geometry for Digital Twins
January 04, 2026 12 min read
Read MoreSubscribe
Sign up to get the latest on sales, new releases and more …


