Your Cart is Empty
Rhino 3D Tip: Creating Custom Materials in Rhino for Enhanced 3D Realism
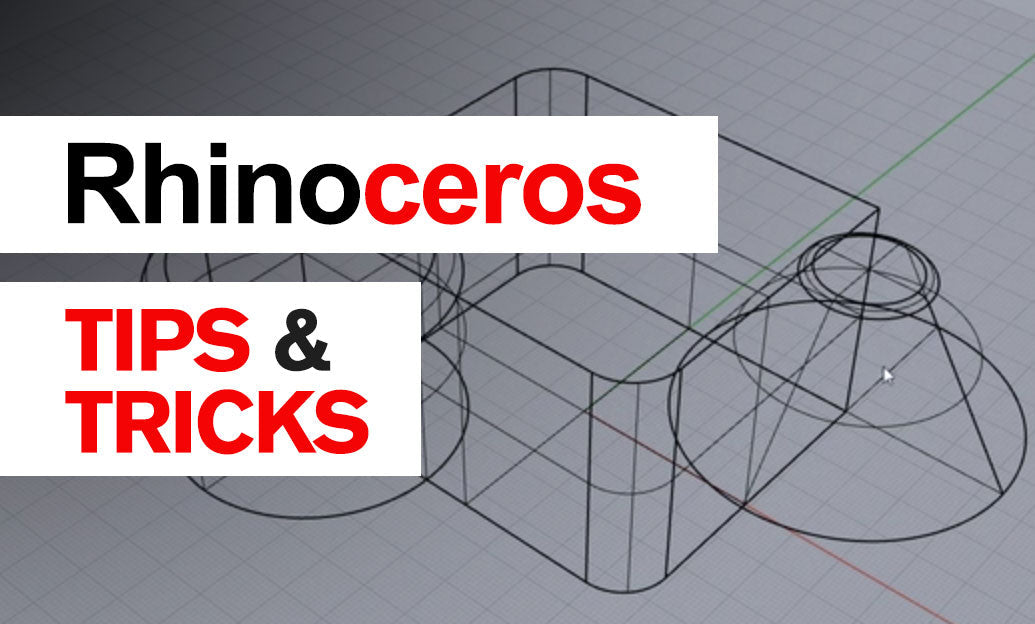

To enhance the realism of your 3D models in Rhino, creating custom materials is essential. Custom materials allow you to simulate a wide range of textures and finishes, giving your designs a professional and polished look.
Steps to Create Custom Materials in Rhino:
- Open the Material Editor: In Rhino, navigate to the Materials panel. If it's not visible, go to Panels > Materials to display it.
- Create a New Material: Click the Plus (+) icon and select New Material. Choose the material type that best fits your needs (e.g., Custom, Metal, Glass).
- Name Your Material: Assign a descriptive name to your material for easy identification later.
- Adjust Material Properties: Customize the properties to achieve the desired look:
- Color: Set the base color by clicking the color swatch.
- Texture: Add a texture by clicking on the Texture button next to the color swatch and selecting Bitmap Texture. Browse and load your image file.
- Transparency: Adjust the transparency slider for materials like glass or water.
- Reflectivity: Modify the reflectivity settings to simulate glossy or matte surfaces.
- Bump Map: Apply a bump map to add surface details without increasing geometry complexity.
- Apply the Material: Select the object(s) you want to assign the material to. Right-click on your custom material and choose Assign to Objects.
- Adjust Texture Mapping: If using textures, you may need to adjust mapping coordinates. Select the object, go to the Properties panel, and use Texture Mapping tools to fine-tune the placement and scale of your texture.
- Preview Your Material: Switch to a Rendered viewport or use Render Preview to see the material applied to your model. Make any necessary adjustments for optimal results.
Additional Tips:
- Use High-Quality Textures: High-resolution images enhance realism and prevent pixelation when rendering.
- Create a Material Library: Save your custom materials by right-clicking on them and selecting Save As. Build a personal library for future projects.
- Experiment with Advanced Settings: Explore options like Emission for glow effects or Subsurface Scattering for materials like skin or wax.
- Consistent Lighting: Remember that lighting affects material appearance. Ensure your scene's lighting complements your materials.
For more insights on material creation and rendering techniques, explore resources available at NOVEDGE, your go-to source for Rhino 3D software and plugins.
Enhance your designs by mastering custom materials, and bring your 3D models to life with stunning realism!
You can find all the Rhino products on the NOVEDGE web site at this page.
Also in Design News