Your Cart is Empty
Customer Testimonials
-
"Great customer service. The folks at Novedge were super helpful in navigating a somewhat complicated order including software upgrades and serial numbers in various stages of inactivity. They were friendly and helpful throughout the process.."
Ruben Ruckmark
"Quick & very helpful. We have been using Novedge for years and are very happy with their quick service when we need to make a purchase and excellent support resolving any issues."
Will Woodson
"Scott is the best. He reminds me about subscriptions dates, guides me in the correct direction for updates. He always responds promptly to me. He is literally the reason I continue to work with Novedge and will do so in the future."
Edward Mchugh
"Calvin Lok is “the man”. After my purchase of Sketchup 2021, he called me and provided step-by-step instructions to ease me through difficulties I was having with the setup of my new software."
Mike Borzage
Rhino 3D Tip: Creating Custom Animation Sequences in Rhino 3D
January 15, 2025 2 min read

Creating a custom animation sequence in Rhino 3D allows you to bring your designs to life and present them dynamically. Here's a step-by-step guide to help you craft engaging animations using Rhino's capabilities.
Step 1: Prepare Your Model
Before starting the animation process:
- Organize your layers: Ensure all objects are appropriately layered for easy manipulation.
- Set up materials and textures: Apply any necessary visuals to your model for a polished look.
- Save your project: Keep a backup before making significant changes.
Step 2: Install Necessary Plugins
Rhino's native animation tools are limited. For advanced animation features, consider using the Bongo plugin available at NOVEDGE:
- Download Bongo 2.0 for enhanced animation capabilities.
- Install the plugin and restart Rhino to access new tools.
Step 3: Understand the Timeline
The animation timeline is crucial for sequencing:
- Open the timeline via Bongo > Timeline.
- Set the total frames and frame rate to define the animation's length and smoothness.
Step 4: Animate Objects
To animate objects within your scene:
- Select the object you wish to animate.
- At frame 0, position the object at its starting point.
- Move the timeline slider to the desired frame number.
- Transform the object (move, rotate, scale) to its new position.
- Bongo records these changes as keyframes automatically.
Step 5: Animate the Camera
Enhance your animation by animating the camera view:
- Create a new camera view or use an existing one.
- At different frames, adjust the camera position and target.
- Keyframes will capture these adjustments, creating smooth camera movements.
Step 6: Utilize Constraints and Expressions
For more complex animations:
- Constraints: Link object movements for synchronized animations.
- Expressions: Use mathematical expressions to define object behavior over time.
Step 7: Preview Your Animation
Regularly preview to ensure everything moves as intended:
- Use the Play button in the timeline to watch the animation.
- Adjust keyframes and timings as necessary for a smooth result.
Step 8: Render the Animation
Once satisfied with the animation:
- Set up rendering options (resolution, quality, output format).
- Choose Bongo > Render Animation.
- Specify the output destination and file type.
- Start the rendering process.
Note: Rendering can be time-consuming; ensure your system is prepared for the workload.
Additional Tips
- Keep it simple: Start with basic animations before tackling complex sequences.
- Test frequently: Regular previews help catch issues early.
- Use resources: Tutorials and guides are available on NOVEDGE to enhance your skills.
By following these steps, you can create captivating custom animation sequences in Rhino 3D. For more tools and resources, visit NOVEDGE's Rhino collection.
You can find all the Rhino products on the NOVEDGE web site at this page.
Also in Design News

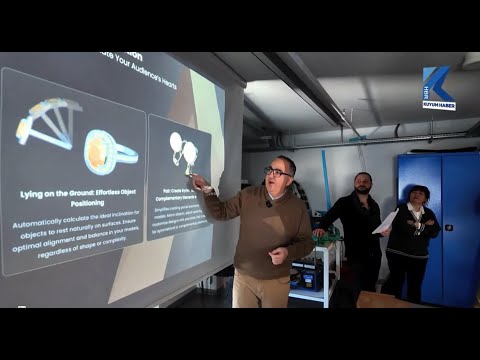
💎 Rhino Artisan Arrives in Turkey: Revolutionizing Jewelry Design
February 27, 2025 1 min read
Read More
ZBrush Tip: Mastering Curve Surface for Unique Textures in ZBrush
February 27, 2025 2 min read
Read MoreSubscribe
Sign up to get the latest on sales, new releases and more …


