Your Cart is Empty
Revit Tip: Symbolic vs Model-Only Geometry in Revit: Best Practices


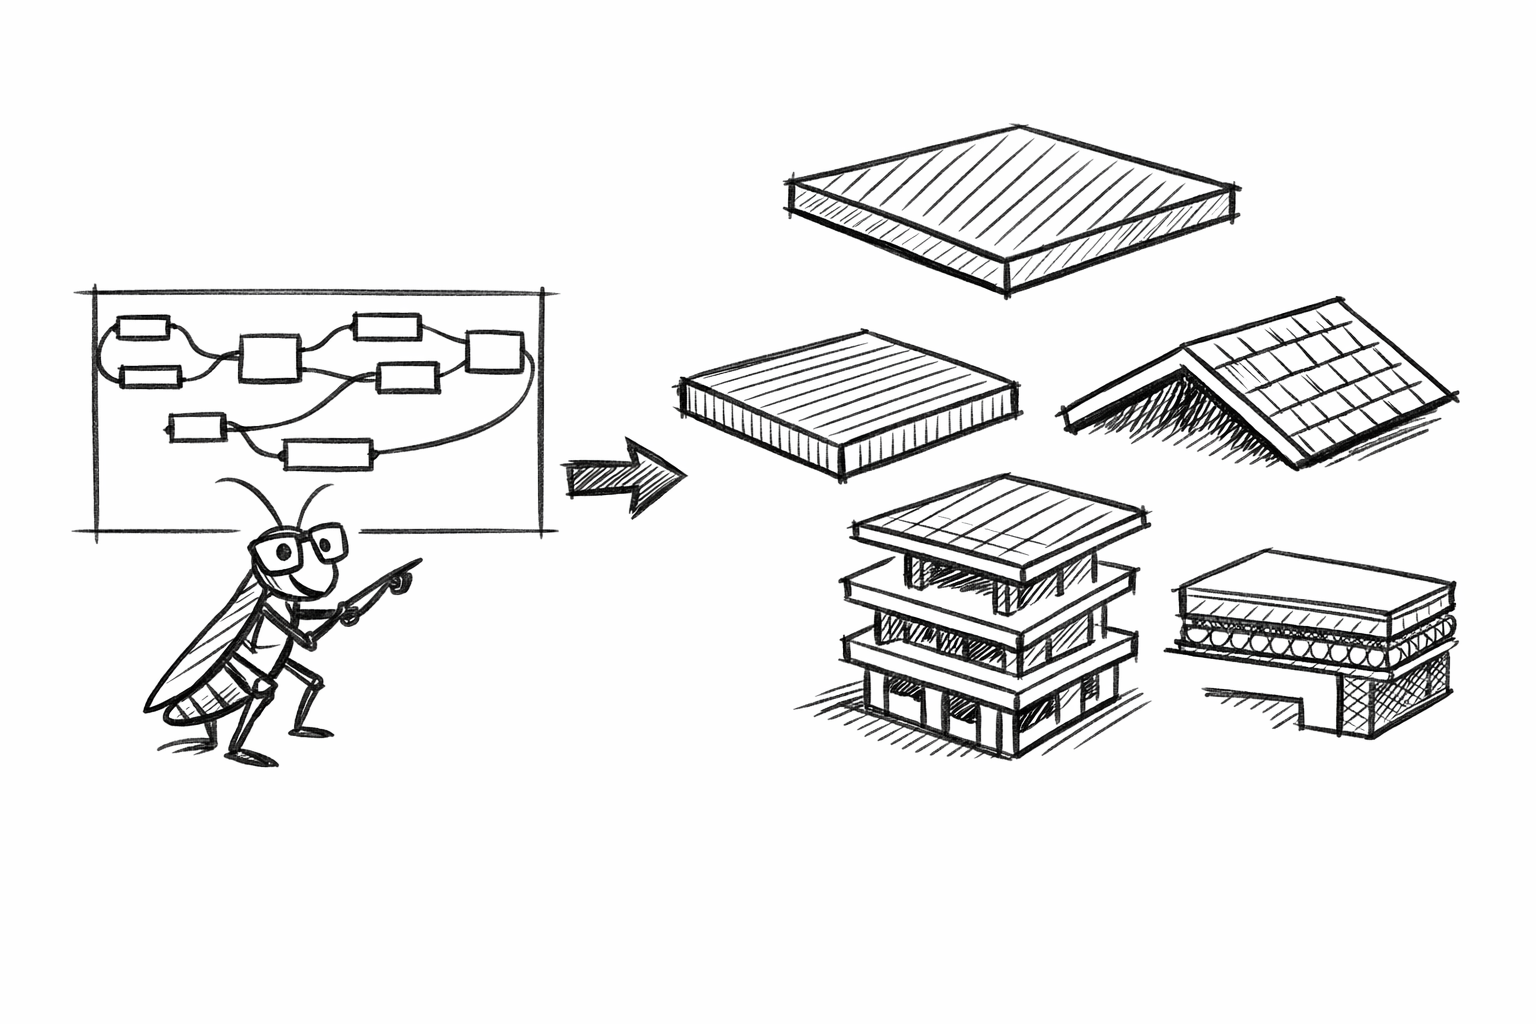
Clarity in documentation often depends on showing different representations of the same element. In Revit, use symbolic (2D) and model-only (3D) geometry deliberately to keep views readable and coordinated.
What’s the difference?
- Symbolic geometry: View-specific lines and masking regions in families that appear in orthographic views (plan/elevation/section) but not in 3D. Ideal for door swings, schematic equipment symbols, simplified fixtures, and diagrammatic annotations.
- Model-only geometry: True 3D solids/voids and model lines that appear in all model views. Ideal for coordination, quantities, and clash detection. Control their visibility per view, detail level, and subcategory.
Why it matters
- Improves readability in plans and RCPs without overloading drawings with complex 3D edges.
- Reduces view regeneration time by showing simplified 2D at Coarse while keeping accurate 3D at Fine.
- Enforces consistent graphic standards across your office. If you source Revit via NOVEDGE, standardize these rules in your templates and family library.
Family Editor setup (recommended pattern)
- Model geometry accurately and assign meaningful Subcategories (Object Styles). This allows view templates to control visibility globally.
- Add Symbolic Lines for plan/elevation cut graphics. Use masking regions sparingly to clean up intersects.
- Control visibility by detail level (Coarse/Medium/Fine) and by view type (Plan/RCP, Elevation, 3D) in the Visibility/Graphics dialog for each element.
- Create Yes/No parameters (e.g., Show_Symbolic, Show_3D) and tie element visibility to them. This enables quick type-based switches.
- Use subcategory lineweights to differentiate symbolic graphics from model edges without per-view overrides.
In the project environment
- Prefer family-based symbolic graphics over Detail Lines drawn in views. It’s more reliable and reusable.
- Use View Templates to control subcategory visibility so symbols read properly across all sheets.
- For doors/windows: keep 3D leaf/panel model-only; show swings and clearances with symbolic lines that follow door handing and type.
- For equipment: show a clean plan symbol at Coarse, reveal connectors and precise 3D at Fine for coordination.
Quality checks before publishing
- Test each family in Plan, RCP, Elevation, Section, and 3D. Verify what appears at each detail level.
- Confirm cut-plane behavior with the family’s “Cuttable” category and view range. Adjust symbolic cut graphics as needed.
- Verify tags and schedules still read parameters correctly after visibility changes.
Performance and maintenance tips
- Keep coarse-level model geometry simple; push linework to symbolic where appropriate.
- Avoid overusing masking regions; replace with clean symbolic linework and correct subcategory weights.
- Centralize subcategories and line styles in your template. If you manage standards through NOVEDGE-supplied deployments, bake these into your office Revit template for consistency.
Common pitfalls to avoid
- 3D door swings or complex edge visibility in plan—use symbolic arcs/lines instead.
- Unassigned subcategories for symbolic lines—makes global control difficult.
- Forgetting RCP: define separate symbolic graphics for plan and ceiling plan where needed.
Adopt a “symbolic for communication, model for coordination” mindset. You’ll deliver cleaner drawings, faster views, and more predictable documentation. For licenses, add-ons, and expert guidance, check NOVEDGE.
You can find all the Revit products on the NOVEDGE web site at this page.
Also in Design News