Your Cart is Empty
Customer Testimonials
-
"Great customer service. The folks at Novedge were super helpful in navigating a somewhat complicated order including software upgrades and serial numbers in various stages of inactivity. They were friendly and helpful throughout the process.."
Ruben Ruckmark
"Quick & very helpful. We have been using Novedge for years and are very happy with their quick service when we need to make a purchase and excellent support resolving any issues."
Will Woodson
"Scott is the best. He reminds me about subscriptions dates, guides me in the correct direction for updates. He always responds promptly to me. He is literally the reason I continue to work with Novedge and will do so in the future."
Edward Mchugh
"Calvin Lok is “the man”. After my purchase of Sketchup 2021, he called me and provided step-by-step instructions to ease me through difficulties I was having with the setup of my new software."
Mike Borzage
Revit Tip: Streamlining Topographic Modeling Techniques in Autodesk Revit
April 03, 2024 2 min read

When it comes to modeling land surfaces in Revit, efficiency is key. Whether you're laying out a site for a new building or integrating landscape design into your BIM workflow, here are some tips to help you work smarter with topography in Revit Software.
Efficient Topography Modeling in Revit
- Start with Clean Data: Before importing topographic information into Revit, ensure that the source data is clean and accurate. This can come from a CAD file, a point cloud, or a CSV file with point coordinates. The cleaner the data, the smoother the import process will be.
- Use the 'Create from Import' Feature: If you’re starting with a DWG file, use the 'Create from Import' tool to generate a surface directly from the imported CAD data. This saves you from having to manually input elevation points.
- Simplify Complex Surfaces: If the imported topography is too detailed, it can slow down your model. Use Revit's 'Simplify Surface' tool to reduce complexity while maintaining the overall shape and essential characteristics of the terrain.
- Subregions for Detailed Areas: For areas that require detailed modeling, such as a parking lot or a landscaped area, use subregions. This allows you to define a higher level of detail where it matters without overcomplicating the entire topographic model.
- Build Pad for Building Sites: Use the 'Building Pad' tool to define where buildings sit on the topography. This automatically cuts and fills the terrain for you, making it easier to visualize how the structure interacts with the landscape.
- Graded Regions for Slopes: When working with slopes, graded regions are your best friend. They help to create terraces or other sloped elements in the topography, and Revit will automatically calculate the cut and fill volumes for you.
- Topography by Points: In some cases, you might have specific elevation points you want to use. The 'Toposurface by Points' feature lets you input these points manually or by importing a CSV file, giving you precise control over the topography.
- Edit Topography: Don't be afraid to edit your topography after it's been created. Use the 'Edit Surface' tool to manipulate points, add new points, or redefine the surface. This is useful for customizing the terrain for specific design needs.
- Use Phasing: If your project involves changes over time, use Revit’s phasing tools to show how the topography will change throughout the project's development.
- Link to Civil Engineering Software: For complex sites, consider linking Revit with civil engineering software like AutoCAD Civil 3D. This allows for advanced terrain modeling and analysis.
Modeling topography in Revit can seem daunting, but with these tips and the powerful tools provided by the software, you can create accurate, detailed land surfaces efficiently. Be sure to check out the options available from NOVEDGE to enhance your Revit toolkit for even more functionality.
You can find all the Revit products on the NOVEDGE web site at this page.
Also in Design News

Bluebeam Tip: Maximize PDF Security and Efficiency with Bluebeam Revu's Flatten Tool
December 02, 2024 1 min read
Read More
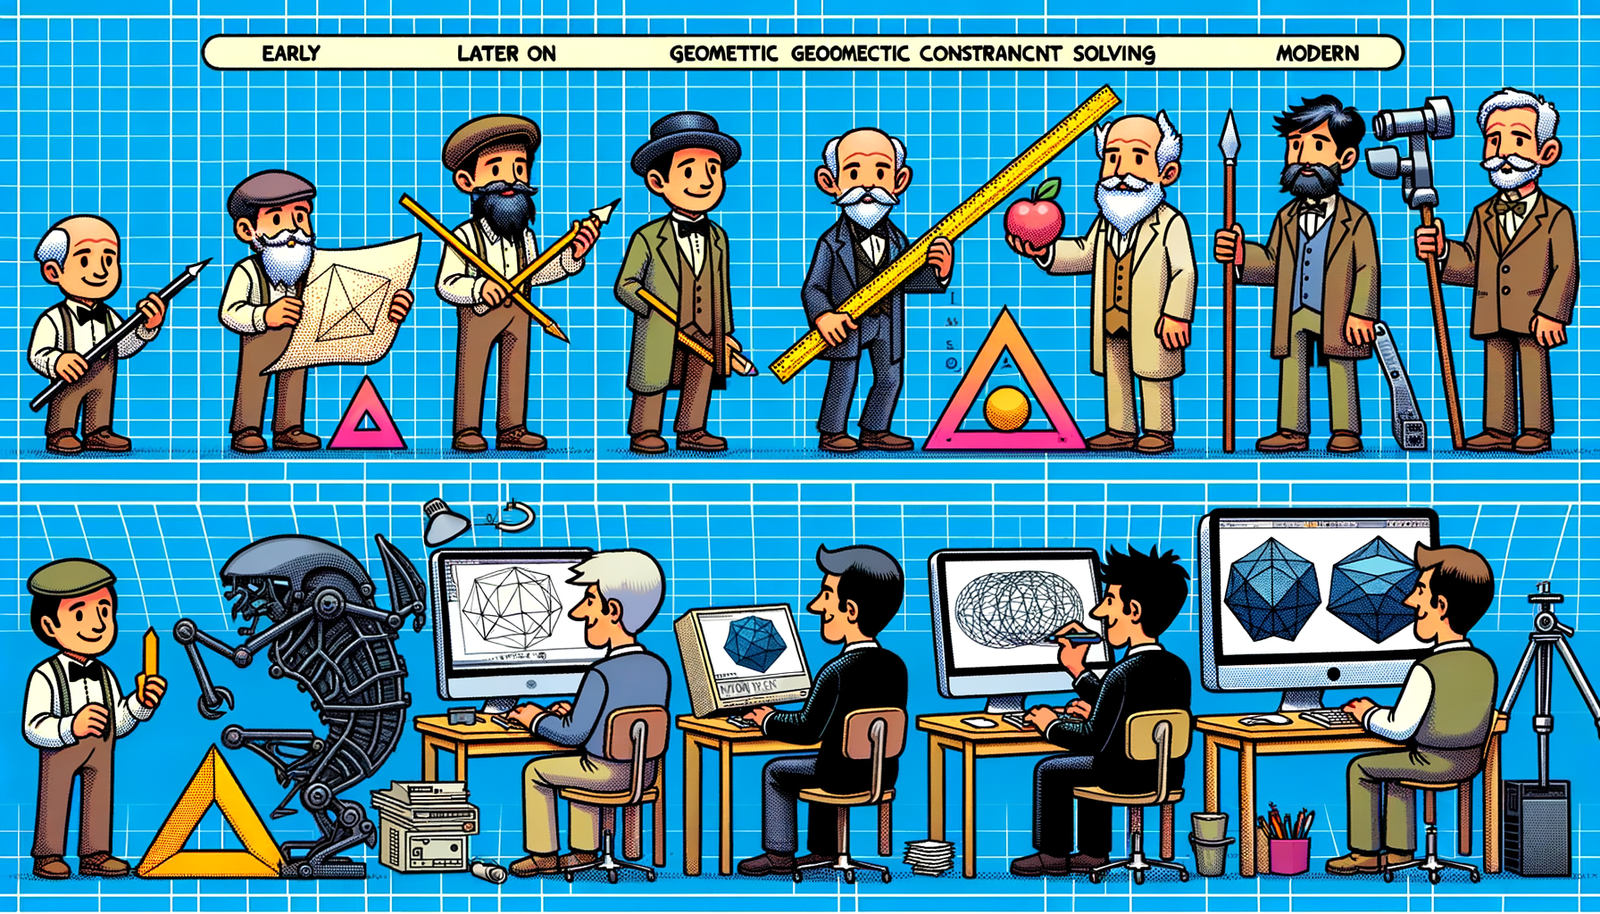
Design Software History: Evolution and Impact of Geometric Constraint Solving in CAD History
December 02, 2024 2 min read
Read More
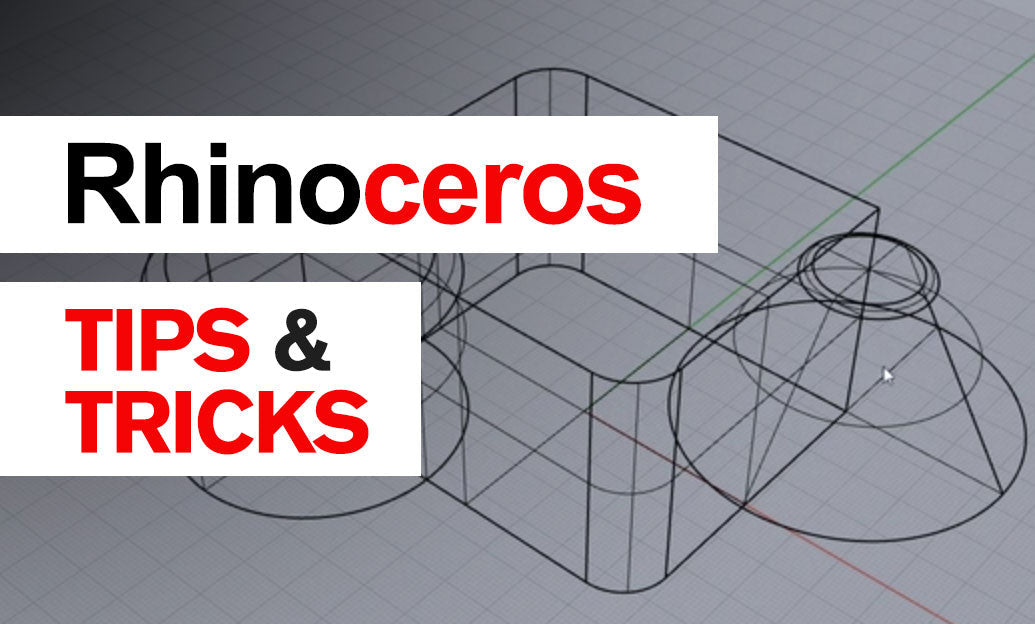
Rhino 3D Tip: Enhancing Scale Modeling Accuracy in Rhino 3D: Essential Tips for Designers and Engineers
December 02, 2024 2 min read
Read MoreSubscribe
Sign up to get the latest on sales, new releases and more …


