Your Cart is Empty
Customer Testimonials
-
"Great customer service. The folks at Novedge were super helpful in navigating a somewhat complicated order including software upgrades and serial numbers in various stages of inactivity. They were friendly and helpful throughout the process.."
Ruben Ruckmark
"Quick & very helpful. We have been using Novedge for years and are very happy with their quick service when we need to make a purchase and excellent support resolving any issues."
Will Woodson
"Scott is the best. He reminds me about subscriptions dates, guides me in the correct direction for updates. He always responds promptly to me. He is literally the reason I continue to work with Novedge and will do so in the future."
Edward Mchugh
"Calvin Lok is “the man”. After my purchase of Sketchup 2021, he called me and provided step-by-step instructions to ease me through difficulties I was having with the setup of my new software."
Mike Borzage
Revit Tip: Maximizing Revit Project Visualization with Advanced Rendering Techniques
October 21, 2025 2 min read

Enhancing your Revit projects with high-quality renders can significantly improve visualization, communication, and client presentations. By leveraging rendering tools effectively, you can transform your designs into realistic images that convey the intended aesthetic and functional aspects. Here are key strategies to maximize the use of renders in Revit:
- Choose the Right Render Engine: Revit offers built-in rendering capabilities, but integrating third-party render engines like NOVEDGE can provide superior quality and faster results. Explore options such as V-Ray or Enscape for enhanced realism.
- Optimize Lighting Settings: Proper lighting is crucial for realistic renders. Utilize natural lighting by setting up solar studies and adjusting the sun path. Additionally, incorporate artificial lighting elements within your model to highlight key features and create ambiance.
- Use High-Quality Materials: Apply detailed and accurate materials to your model components. Revit's material library can be expanded with custom textures and finishes to achieve a more authentic look. NOVEDGE offers extensive material libraries that can be integrated seamlessly.
- Set Up Camera Views: Define specific camera angles that showcase your design effectively. Use the Camera tool to create perspective views that highlight important aspects of your project. Consider multiple viewpoints to provide a comprehensive understanding of the space.
- Adjust Render Settings: Fine-tune render settings to balance quality and performance. Parameters such as resolution, quality levels, and output formats should be adjusted based on the project requirements. Higher settings yield better quality but may increase render times.
- Add Environmental Elements: Incorporate surrounding environments like landscapes, skies, and neighboring structures to provide context. Environmental elements contribute to the realism of the render and help in visualizing the project within its actual setting.
- Post-Processing Enhancements: After rendering, utilize post-processing software like Adobe Photoshop to enhance images further. Adjusting brightness, contrast, and adding effects can elevate the visual appeal and professionalism of your renders.
- Utilize Render Layers: Organize your renders by using layers for different elements such as lighting, materials, and backgrounds. This approach allows for more control during the rendering process and makes it easier to make adjustments without starting from scratch.
- Collaborate with Professionals: Partnering with rendering specialists can enhance the quality of your visuals. Services provided by NOVEDGE can offer expert insights and high-end renderings that align with your project goals.
- Incorporate Interactive Elements: For dynamic presentations, use interactive renderings or virtual reality (VR) walkthroughs. These tools provide an immersive experience, allowing stakeholders to explore the design from various perspectives.
- Maintain Consistency: Ensure that all rendered images maintain a consistent style and quality. Consistency helps in creating a cohesive narrative and presents a unified vision of the project to clients and team members.
By effectively leveraging renders in Revit, you can enhance the visualization of your projects, making it easier to communicate ideas and secure client approvals. Integrating resources like NOVEDGE can provide the tools and expertise needed to produce stunning visualizations that elevate your architectural designs.
You can find all the Revit products on the NOVEDGE web site at this page.
Also in Design News

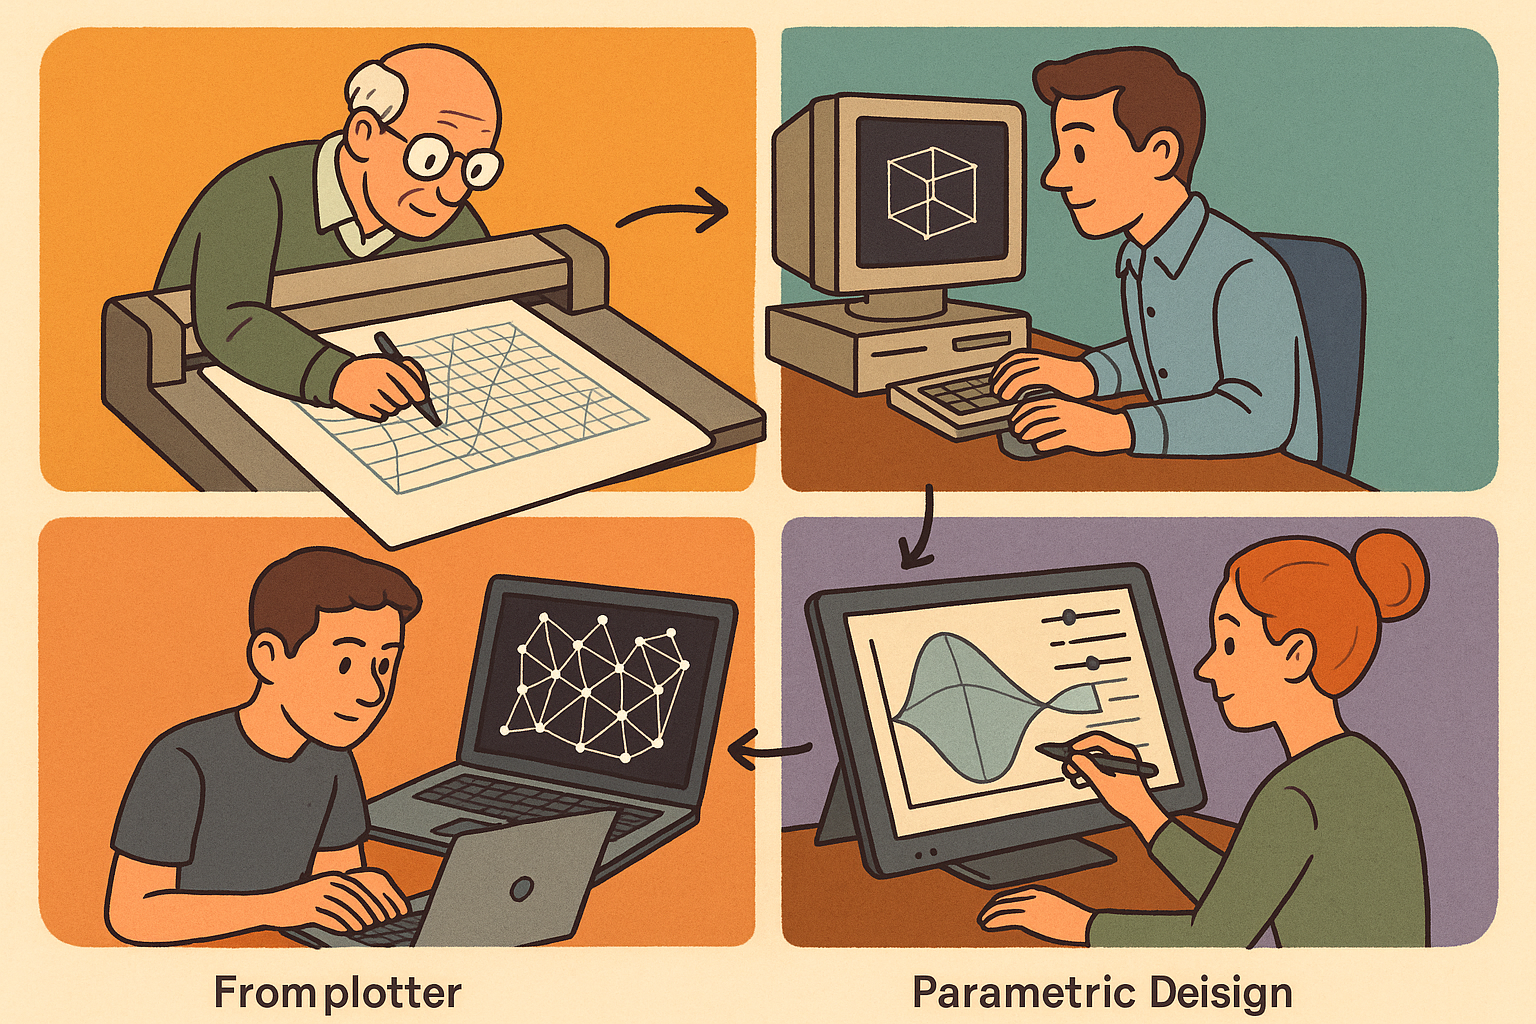
Design Software History: From Plotters to Procedural Intent: A Technical History of Generative and Parametric Design Software
January 04, 2026 13 min read
Read More
Semantic Meshes: Enabling Analytics-Ready Geometry for Digital Twins
January 04, 2026 12 min read
Read MoreSubscribe
Sign up to get the latest on sales, new releases and more …


