Your Cart is Empty
Customer Testimonials
-
"Great customer service. The folks at Novedge were super helpful in navigating a somewhat complicated order including software upgrades and serial numbers in various stages of inactivity. They were friendly and helpful throughout the process.."
Ruben Ruckmark
"Quick & very helpful. We have been using Novedge for years and are very happy with their quick service when we need to make a purchase and excellent support resolving any issues."
Will Woodson
"Scott is the best. He reminds me about subscriptions dates, guides me in the correct direction for updates. He always responds promptly to me. He is literally the reason I continue to work with Novedge and will do so in the future."
Edward Mchugh
"Calvin Lok is “the man”. After my purchase of Sketchup 2021, he called me and provided step-by-step instructions to ease me through difficulties I was having with the setup of my new software."
Mike Borzage
Revit Tip: Mastering Dimensioning Techniques in Revit for Enhanced Architectural Documentation
March 06, 2024 2 min read

Dimensioning in Revit is a critical component of the design and documentation process, providing clarity and precision to architectural drawings. By mastering dimensioning, you can ensure your Revit projects are detailed accurately and convey the necessary information to all stakeholders. Here are some insightful tips to enhance your dimensioning skills:
- Use Temporary Dimensions: Before permanently placing dimensions, utilize Revit's temporary dimensions that appear when selecting elements. These can be adjusted by clicking and dragging to the desired reference point.
- Permanent Dimensions: For documentation, it’s essential to place permanent dimensions. You can do this by going to the Annotate tab and selecting the Dimension tool. Remember to select the correct dimension type from the Properties panel to match your documentation standards.
- Dimension Styles: Customize and create dimension styles that suit your project needs. This includes text size, arrowheads, and dimension lines. Access the Manage tab and click on Additional Settings to find Dimensions for modifications.
- Associative Dimensions: Ensure dimensions are associative, meaning they are connected to the model geometry. This ensures that if the model changes, the dimensions will automatically update to reflect the new size.
- Multiple Dimensions: Use the Continue and Baseline options to create strings of dimensions from one reference point or along the same baseline. This helps maintain consistency and reduces the need for multiple dimensioning efforts.
- Dimensioning to Intersections: Sometimes, you might need to dimension to an intersection that isn't physically there, such as an implied corner. You can use the Place Intersection feature inside the dimensioning tool to accurately place these dimensions.
- Equality Constraints: When you have multiple elements that need to be equally spaced, use the Equality Text feature to show equal dimensions. This is particularly useful when distributing objects like windows or columns.
By applying these practices consistently, your Revit dimensional drawings will communicate more effectively, reducing errors and ensuring that project teams have accurate information for construction. For more resources and tools to advance your skills, consider visiting NOVEDGE, where you can find a wide array of Revit-related products and plugins.
Remember, precise dimensioning is not just about placing lines and numbers on a drawing; it is about conveying the right information clearly and efficiently to everyone involved in the building process. Invest time in mastering dimensioning in Revit and watch your documentation quality reach new heights.
You can find all the Revit products on the NOVEDGE web site at this page.
Also in Design News

Bluebeam Tip: Maximize PDF Security and Efficiency with Bluebeam Revu's Flatten Tool
December 02, 2024 1 min read
Read More
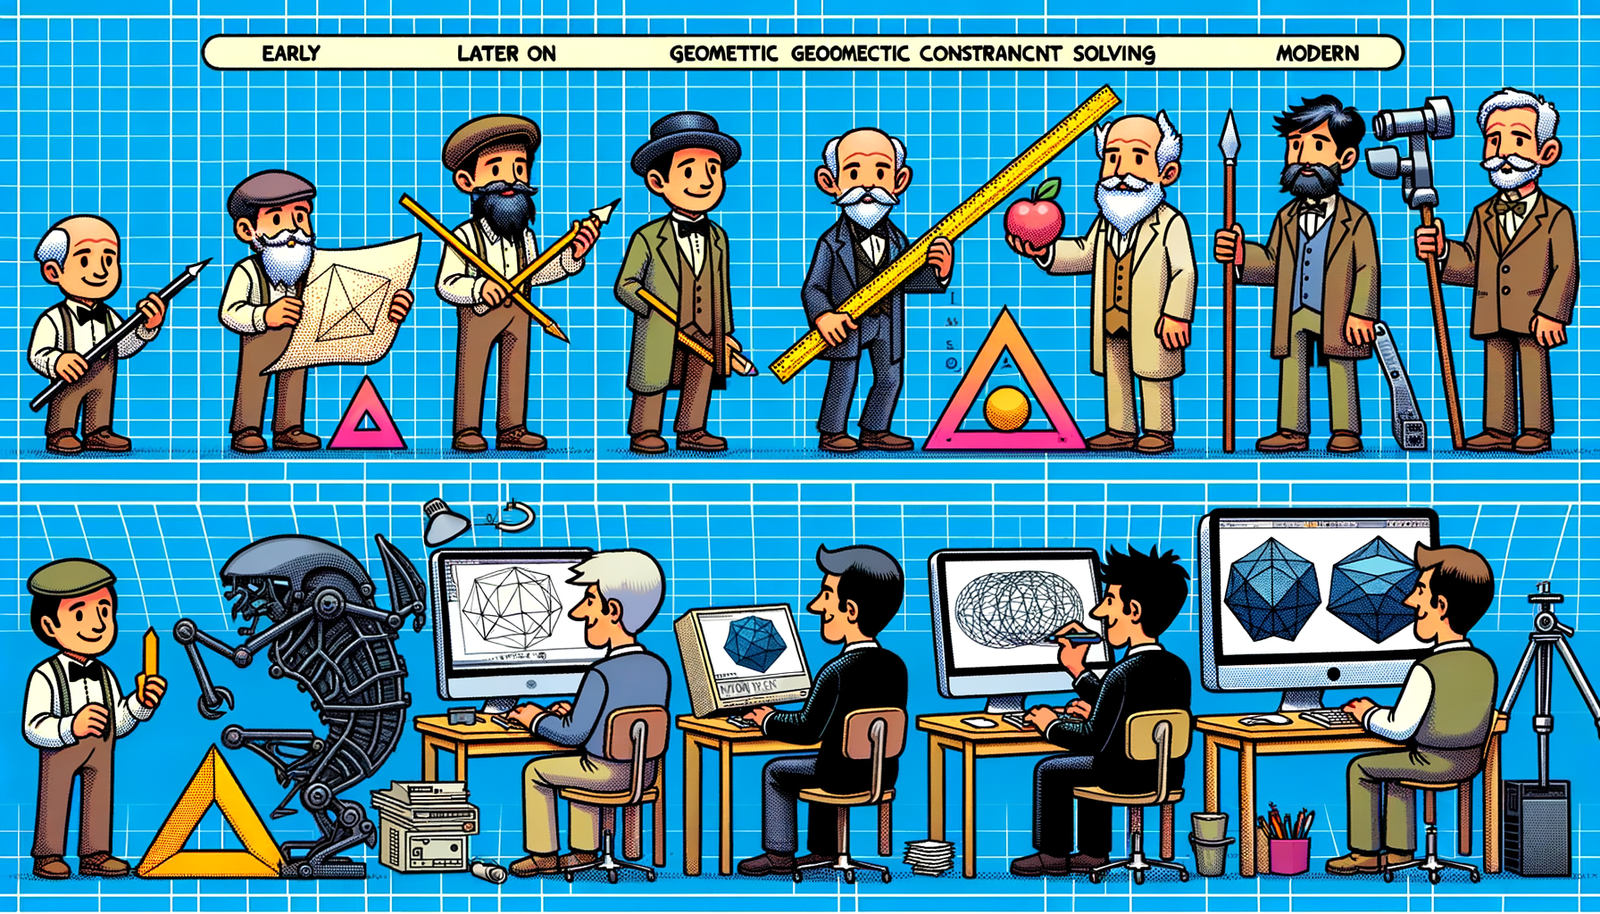
Design Software History: Evolution and Impact of Geometric Constraint Solving in CAD History
December 02, 2024 2 min read
Read More
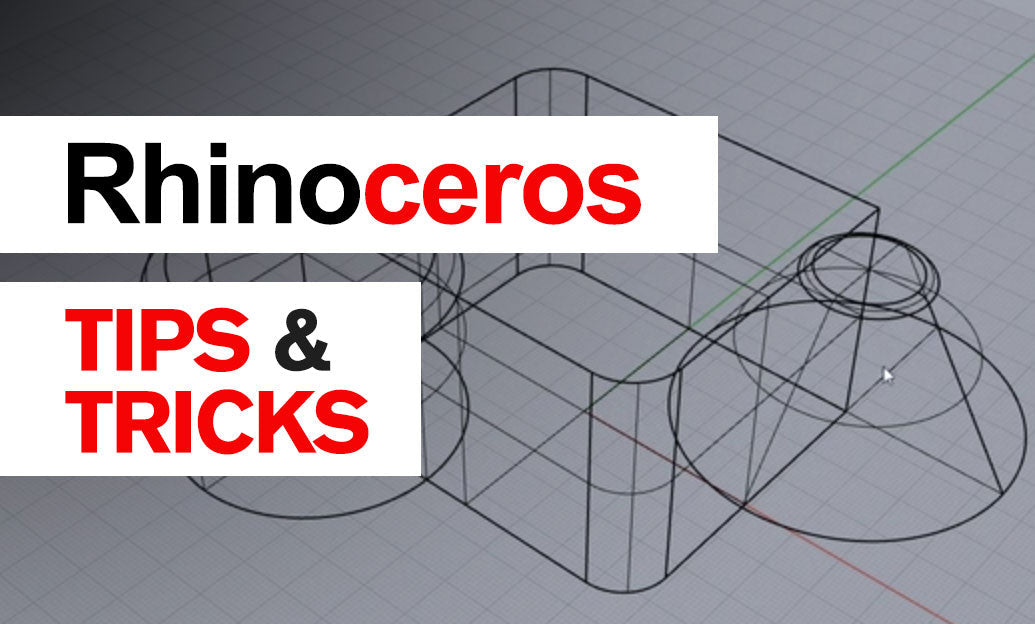
Rhino 3D Tip: Enhancing Scale Modeling Accuracy in Rhino 3D: Essential Tips for Designers and Engineers
December 02, 2024 2 min read
Read MoreSubscribe
Sign up to get the latest on sales, new releases and more …


