Your Cart is Empty
Customer Testimonials
-
"Great customer service. The folks at Novedge were super helpful in navigating a somewhat complicated order including software upgrades and serial numbers in various stages of inactivity. They were friendly and helpful throughout the process.."
Ruben Ruckmark
"Quick & very helpful. We have been using Novedge for years and are very happy with their quick service when we need to make a purchase and excellent support resolving any issues."
Will Woodson
"Scott is the best. He reminds me about subscriptions dates, guides me in the correct direction for updates. He always responds promptly to me. He is literally the reason I continue to work with Novedge and will do so in the future."
Edward Mchugh
"Calvin Lok is “the man”. After my purchase of Sketchup 2021, he called me and provided step-by-step instructions to ease me through difficulties I was having with the setup of my new software."
Mike Borzage
Revit Tip: Expert Tips for Creating and Managing Topography in Revit
December 22, 2024 2 min read

In Revit, creating and managing topography is essential for accurately integrating your building model within its site context. Proper topography modeling enables better visualization, analysis, and coordination with other disciplines.
Here are some expert tips to effectively create and manage topography in Revit:
-
Using the Toposurface Tool:
- Navigate to the Massing & Site tab and select Toposurface to initiate topography creation.
- You can manually place points by clicking in the drawing area, assigning specific elevation values to represent the site's terrain accurately.
- Ensure that the placement of points reflects significant changes in elevation for a more precise surface.
-
Importing Survey Data:
- Utilize existing survey data to streamline topography creation.
- Import CAD files (.dwg) or point data (.csv) containing contour lines or points with elevation information.
- After importing, use the Create from Import function within the Toposurface tool to generate a topographic surface based on the imported data.
- Verify the units and coordinate systems to ensure accurate alignment with your project.
-
Editing Topography:
- Use the Edit Surface mode to add, remove, or adjust points on the toposurface.
- For large areas, consider using Splitting and Merging surfaces to manage complexity.
- Employ the Simplify Surface tool to reduce the number of points and improve model performance without significantly impacting accuracy.
-
Adjusting Contour Display:
- Access Site Settings to customize the display of contour lines.
- Set primary and secondary contour intervals to enhance the readability of your topography.
- Adjust contour line colors and labels for better differentiation in complex terrains.
-
Creating Building Pads:
- Use Building Pads to create flat areas where your building interacts with the topography.
- Building Pads automatically cut the toposurface, accommodating foundations and basements.
- Specify the pad's offsets and slopes to match design requirements.
-
Graded Regions for Earthwork Calculations:
- Implement Graded Regions to show proposed site modifications.
- This feature creates a duplicate of the existing toposurface, allowing you to modify it without altering the original.
- Revit calculates cut and fill volumes between existing and proposed surfaces, aiding in earthwork estimations.
-
Managing Phases:
- Assign topography elements to different phases to represent site changes over time.
- Use phase filters to control the visibility of existing and new topography in your views.
-
Collaboration with Shared Coordinates:
- Set up shared coordinates to align your topography with linked models and other consultants' data.
- This ensures consistency across architectural, structural, and civil models.
-
Enhancing Visualization:
- Apply materials to the toposurface for realistic renderings.
- Use the Paint tool to assign different materials to specific areas, such as grass, pavement, or water.
- Consider adding site components like trees, plants, and site furniture to enrich the model.
-
Leveraging NOVEDGE Resources:
- For advanced Revit techniques and software solutions, explore NOVEDGE, your go-to source for professional design software.
- NOVEDGE offers expert advice and a wide range of products to enhance your BIM workflow.
By mastering the creation and management of topography in Revit, you can improve the accuracy of your site models, facilitate better design integration, and enhance interdisciplinary collaboration.
You can find all the Revit products on the NOVEDGE web site at this page.
Also in Design News

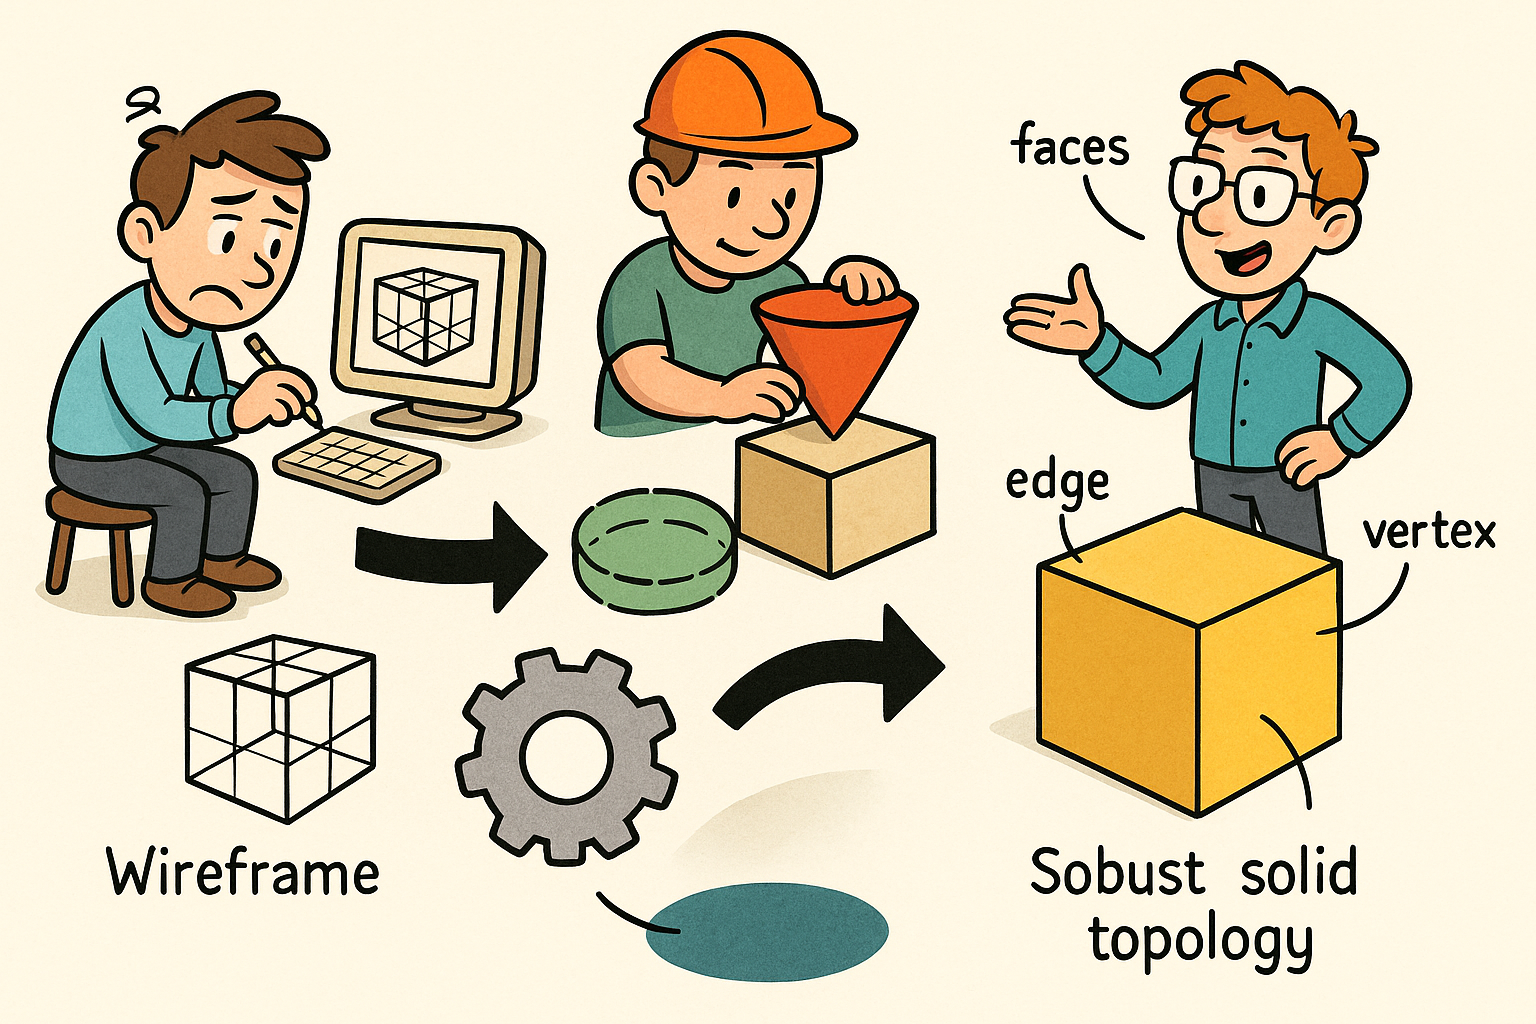
Design Software History: Why B-rep Was Invented: From Wireframe and CSG to Kernels, Topology, and Robust Solid Modeling
January 22, 2026 13 min read
Read More
Tamper-Evident Design Histories: Cryptographic Provenance, Append-Only Logs, and Deterministic Rebuilds
January 22, 2026 11 min read
Read More
Cinema 4D Tip: MatCap Shading for Rapid Form and Topology Feedback
January 22, 2026 2 min read
Read MoreSubscribe
Sign up to get the latest on sales, new releases and more …


