Your Cart is Empty
Mastering the Revit and Enscape Material Editors: 9 Essential Tips


Mastering the Revit and Enscape Material Editors: 9 Essential Tips
For architects and designers, mastering material editors is paramount to achieve realistic renderings and virtual reality experiences. Two of the leading software for architectural design and visualization are Revit and Enscape. Both offer robust material editors that allow users to create and fine-tune the appearance of materials in their designs. Here are nine essential tips to help you conquer the Revit and Enscape material editors.
Understand the Basics
Before diving into advanced features, it's crucial to understand the basics of the material editors in Revit and Enscape. Spend time learning how to navigate the interfaces, add new materials, and adjust basic properties like color, texture, and reflectivity.
Master the Use of Texture Maps
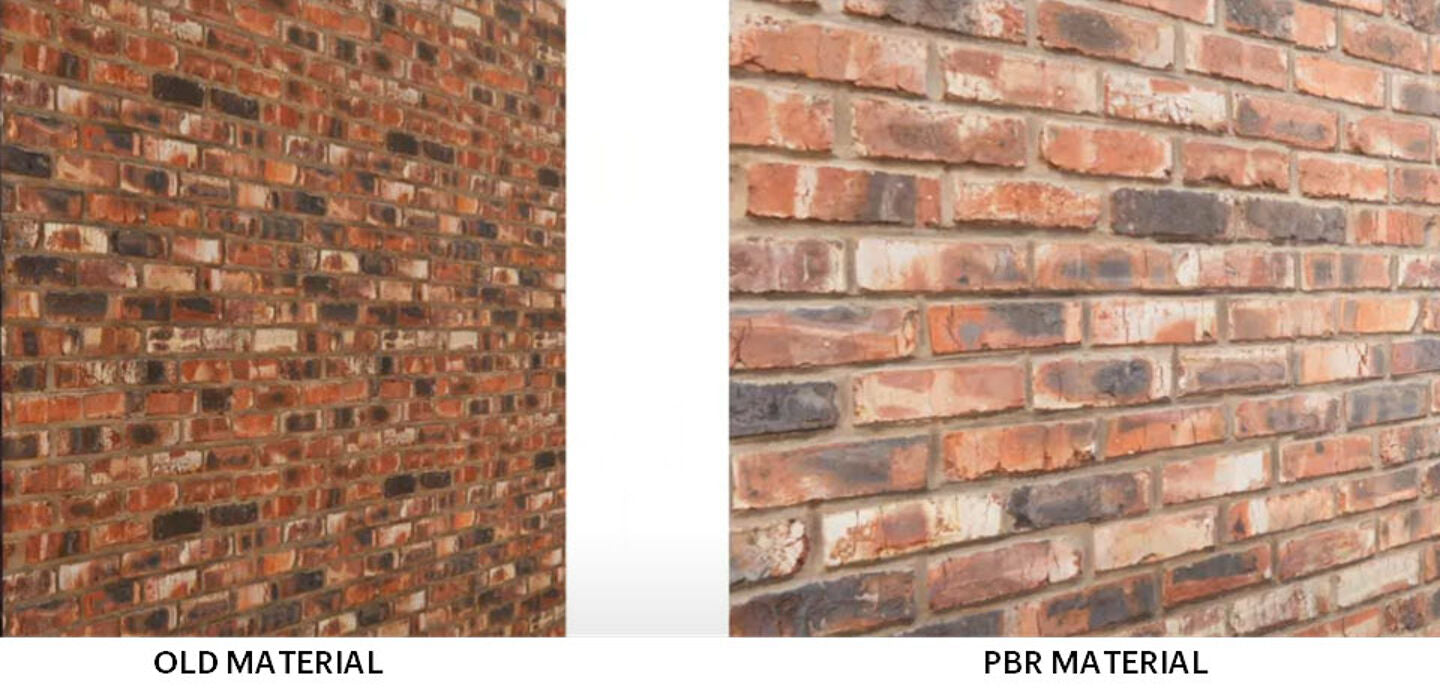
Texture maps are integral to creating realistic materials. They add detail and variation to surfaces that can't be achieved with simple color and reflectivity settings. Both Revit and Enscape support several types of texture maps, including diffuse, bump, and specular maps. Learn how to use these effectively to enhance the realism of your materials.
Utilize Libraries
Both Revit and Enscape come with extensive material libraries that can save you considerable time. Instead of creating materials from scratch, you can start with a pre-existing material and then customize it to your needs.
Master the Art of Layering
Layering can add depth and complexity to your materials. In Revit, you can layer different materials to create complex surfaces like aged wood or peeling paint. Enscape also supports layered materials, allowing you to use different texture maps for each layer.
Experiment With Advanced Settings
Once you've mastered the basics, don't be afraid to experiment with advanced settings. In Revit, you can adjust settings like glossiness, transparency, and self-illumination to achieve unique effects. Enscape also offers advanced material settings, including displacement mapping and translucency, which can take your materials to the next level.
Use Real-World Units
When creating materials, it’s important to use real-world units for properties like size and reflectivity. This will ensure that your materials look realistic when rendered or viewed in virtual reality.
Test Your Materials
Always test your materials in different lighting conditions to see how they behave. Enscape makes this easy with its real-time rendering capabilities. You can instantly see how changes to your materials affect the final rendering.
Stay Updated
Both Revit and Enscape are constantly being updated with new features and improvements. Stay updated with the latest versions to take full advantage of their capabilities.
Learn From Others
There are many online resources and communities where you can learn from other Revit and Enscape users. Take advantage of these to learn new techniques and improve your skills.
In conclusion, mastering the material editors in Revit and Enscape requires a combination of understanding the basics, experimenting with advanced features, and continuous learning. With these nine tips, you should be well on your way to creating stunning and realistic materials for your designs. For more information about the newest and most advanced design software technology, contact our sales team at NOVEDGE.
Also in Design News