Your Cart is Empty
Customer Testimonials
-
"Great customer service. The folks at Novedge were super helpful in navigating a somewhat complicated order including software upgrades and serial numbers in various stages of inactivity. They were friendly and helpful throughout the process.."
Ruben Ruckmark
"Quick & very helpful. We have been using Novedge for years and are very happy with their quick service when we need to make a purchase and excellent support resolving any issues."
Will Woodson
"Scott is the best. He reminds me about subscriptions dates, guides me in the correct direction for updates. He always responds promptly to me. He is literally the reason I continue to work with Novedge and will do so in the future."
Edward Mchugh
"Calvin Lok is “the man”. After my purchase of Sketchup 2021, he called me and provided step-by-step instructions to ease me through difficulties I was having with the setup of my new software."
Mike Borzage
Mastering Layer Management in Worksheet View with Envisioneer
February 03, 2024 3 min read


Layer management is a critical aspect of any CAD software, and Envisioneer by Cadsoft is no exception. This robust architectural design tool allows users to create detailed 3D models while simultaneously managing how these components translate into 2D representations for printing. In this exploration, we’ll delve into how to master layer management within the Worksheet View of Envisioneer, ensuring that your designs are not only meticulously crafted but also accurately and efficiently documented for presentation or construction purposes.
Envisioneer's seamless integration of 3D modeling with 2D layer management provides a streamlined workflow. When you transition your model to the Worksheet View, you are presented with a realm where control over each element's printability is at your fingertips.
To initiate this process, navigate to the 1 Floor Plan sheet tab. This is where you can begin to insert views of your model into the worksheet. The pathway is straightforward: select Insert > Smartviews > Define Smartviews, or use the Define Smartview icon for quick access.
With the Insert View dialog box open, you are offered a preview of the model based on the current insert settings. Any necessary adjustments can be made here, ensuring that the view perfectly aligns with your requirements. Once satisfied, simply select Insert, and a copy of the floorplan will be ready to place on your drawing sheet.
Upon selecting the inserted floor plan, Envisioneer reveals that it is composed of a singular entity, a block. This block is a composite of all individual 2D lines that symbolize the floor plan. By choosing to edit the Definition property, we can dissect this block to view and edit the individual lines and text that constitute it. For instance, selecting a wall line immediately displays the associated layer within the Properties dialog box, such as the exterior wall sheathing layer named Walls-Exterior Surface or the core of a stud wall aptly named Walls – Core.
In practice, this granularity affords you the opportunity to manipulate each line individually by leveraging the Layer Properties. This dialog box, accessible at the bottom of the screen, lists every layer in alphabetical order, providing a comprehensive overview of your project's organization.
Within the Layer Properties, you are equipped with a suite of controls. You can toggle the Display option to hide or reveal layers, ensuring only relevant details like Walls-Core are visible. The Selectable column governs whether elements on the layer can be manipulated, while the Plot column dictates if a layer will be included during printing. This distinction is particularly useful for managing internal notes or guidelines that are essential on-screen but unnecessary on the printed page.
Additional columns like Priority, Color, Line Types, and Line Weight offer further customization. These settings determine the visual hierarchy, aesthetic, and physical attributes of the lines, respectively. For example, altering the Color of the wall core to black can enhance contrast and readability.
Upon confirming your layer properties adjustments, the view will refresh, reflecting your tailored configurations. This level of control ensures that your 2D illustrations derived from the 3D model accurately represent your intent on both the screen and in print.
Understanding and mastering the layer management in Envisioneer's Worksheet View is essential for producing high-quality documentation of your designs. Not only does it streamline the design process, but it also ensures precision in the presentation and the eventual construction phases. For those who are looking to incorporate advanced CAD features into their workflow, exploring compatible software options can further enhance your design capabilities.
To complement Envisioneer’s capabilities, consider integrating visualization tools such as V-Ray for rendering, or perhaps enhance your project management with BlueBeam. For comprehensive 3D modeling, Rhino 3D is an excellent companion, and its compatibility with Envisioneer through plugins like xNURBS can significantly expand your design capabilities. Furthermore, integrating BIM tools such as Autodesk Revit can provide additional layers of information management and collaboration.
In conclusion, the ability to manage layers efficiently in the Worksheet View is an integral part of the design process in Envisioneer. It allows for precise control over how your 3D models are represented in 2D form, ensuring accuracy and clarity in your documentation. For more information about the newest and most advanced design software technology, do not hesitate to contact our sales team at NOVEDGE to assist with your software needs and to guide you through the plethora of options that can complement your use of Envisioneer.
Also in Design News

Bluebeam Tip: Maximize PDF Security and Efficiency with Bluebeam Revu's Flatten Tool
December 02, 2024 1 min read
Read More
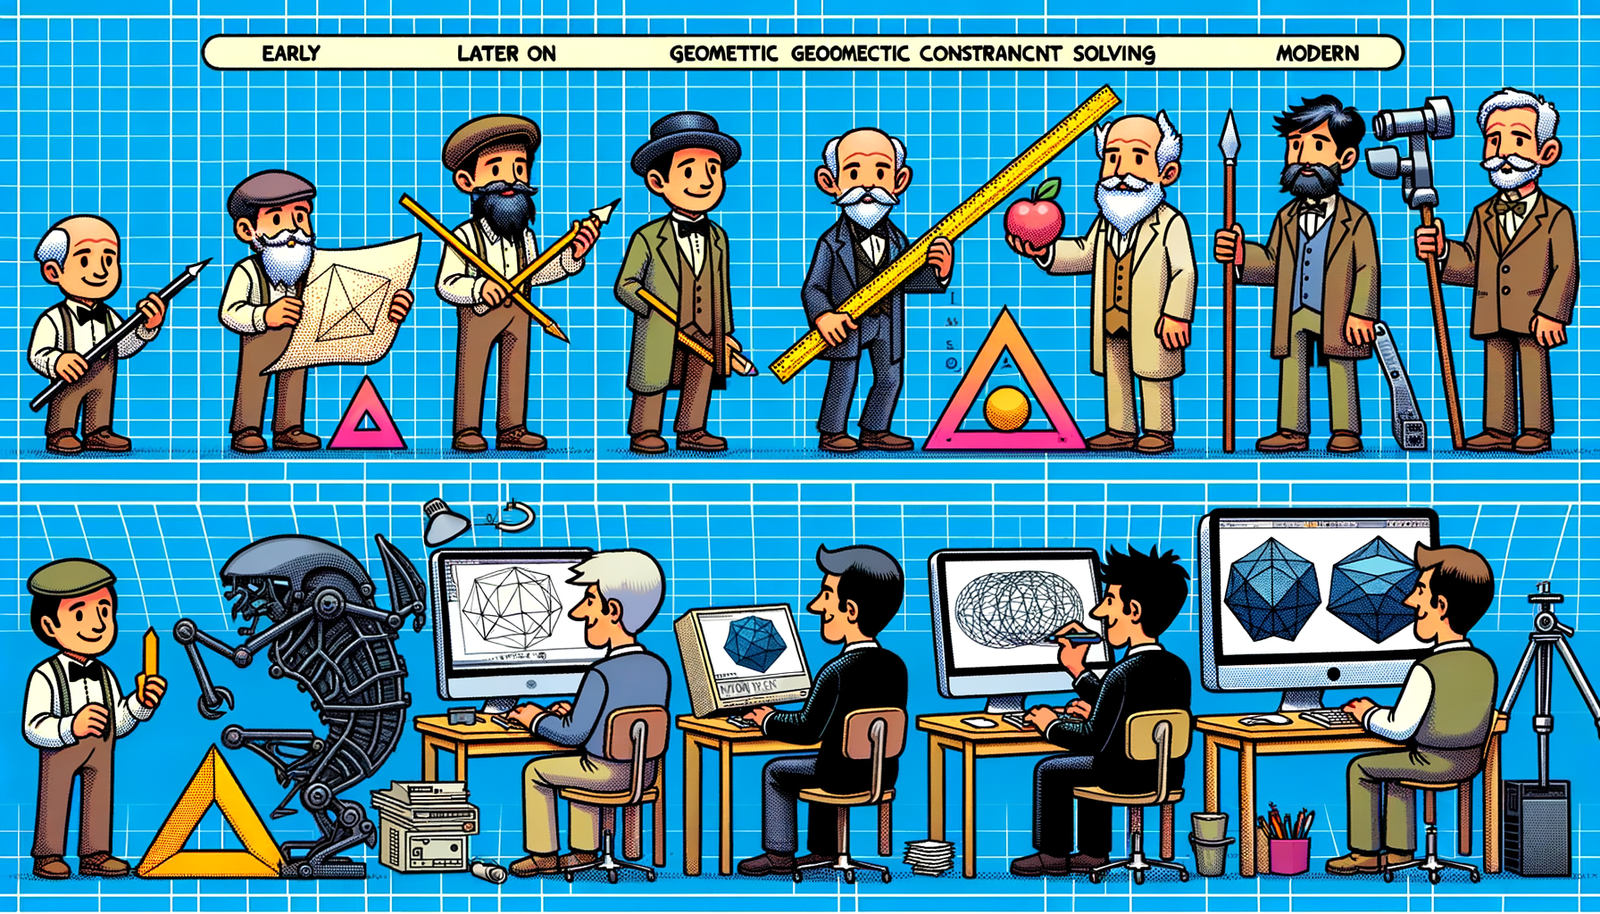
Design Software History: Evolution and Impact of Geometric Constraint Solving in CAD History
December 02, 2024 2 min read
Read More
Rhino 3D Tip: Enhancing Scale Modeling Accuracy in Rhino 3D: Essential Tips for Designers and Engineers
December 02, 2024 2 min read
Read MoreSubscribe
Sign up to get the latest on sales, new releases and more …


