Your Cart is Empty
Customer Testimonials
-
"Great customer service. The folks at Novedge were super helpful in navigating a somewhat complicated order including software upgrades and serial numbers in various stages of inactivity. They were friendly and helpful throughout the process.."
Ruben Ruckmark
"Quick & very helpful. We have been using Novedge for years and are very happy with their quick service when we need to make a purchase and excellent support resolving any issues."
Will Woodson
"Scott is the best. He reminds me about subscriptions dates, guides me in the correct direction for updates. He always responds promptly to me. He is literally the reason I continue to work with Novedge and will do so in the future."
Edward Mchugh
"Calvin Lok is “the man”. After my purchase of Sketchup 2021, he called me and provided step-by-step instructions to ease me through difficulties I was having with the setup of my new software."
Mike Borzage
Cinema 4D Tip: Streamlining Workflow in Cinema 4D Through Custom Icon Creation
August 19, 2025 3 min read

One effective way to streamline your workflow in Cinema 4D is by creating and using custom icons. This technique provides immediate visual cues for tools, commands, or scripts you use frequently, saving you time and effort when switching between tasks. Custom icons let you design a personalized interface that resonates with your own project routines, effectively reducing clutter and making essential commands more accessible. The result is a more efficient workspace and a smoother creative process, especially when dealing with complex scenes. For more information on maximizing your 3D pipeline, consider visiting NOVEDGE and exploring their extensive knowledge base, where professionals share insights on optimizing Cinema 4D settings and layouts.
To begin customizing your icons, you will need to gather or create the graphics you want to use. Some artists prefer to design icons in external software like Photoshop or Illustrator, ensuring each icon has a clear, minimalistic look. When selecting or designing these graphics, remember that legibility is key—your goal is to have quick visual recognition without sacrificing clarity. Once you have your icon files ready, they can be easily integrated into your Cinema 4D environment.
- Open Cinema 4D and go to the “Customize” menu (commonly found by right-clicking in your interface or by navigating through the main menu).
- Select “Customize Commands” to access the list of tools and commands where icons can be edited or replaced.
- Locate the corresponding command whose icon you wish to change, then load your custom graphic.
Once you assign custom icons to various commands, reposition them within your interface to create a logical structure. You can drag and drop these commands into your preferred layout, grouping similar features together for quick access. If you work with multiple projects requiring different sets of commands, consider saving separate layouts—each with its own specialized icons. Storing these layouts can be a great way to switch between different pipelines or tasks, such as modeling, texturing, and animation, each time with instantly recognizable icons suited to that workflow. To discover more tips on customizing interfaces for specific creative tasks, explore the resources available at NOVEDGE, where you can also find official Cinema 4D licenses and plugins to elevate your projects.
- Choose high-contrast icons for better visibility within Cinema 4D’s interface.
- Keep file sizes small and dimensions consistent to maintain interface speed.
- Utilize descriptive icon imagery that clearly represents each tool’s function.
- Organize icons in a predictable manner to avoid confusion during intensive sessions.
By thoughtfully combining custom icons with an efficient arrangement of tools, you enhance both form and function in your Cinema 4D workspace. A layout tailored to your specific needs provides a more intuitive experience overall, reducing the time spent hunting down frequently used commands. This approach not only boosts productivity but also encourages you to explore additional customizations, such as unique color themes and rearranged palettes. For an even deeper dive into advanced customization or other Cinema 4D essentials, be sure to visit NOVEDGE and tap into their vast selection of software and expert insights. With the right set of tools at your fingertips, you can unlock new levels of speed and creativity, allowing you to focus on bringing your visions to life.
You can find all the Cinema 4D products on the NOVEDGE web site at this page.
Also in Design News

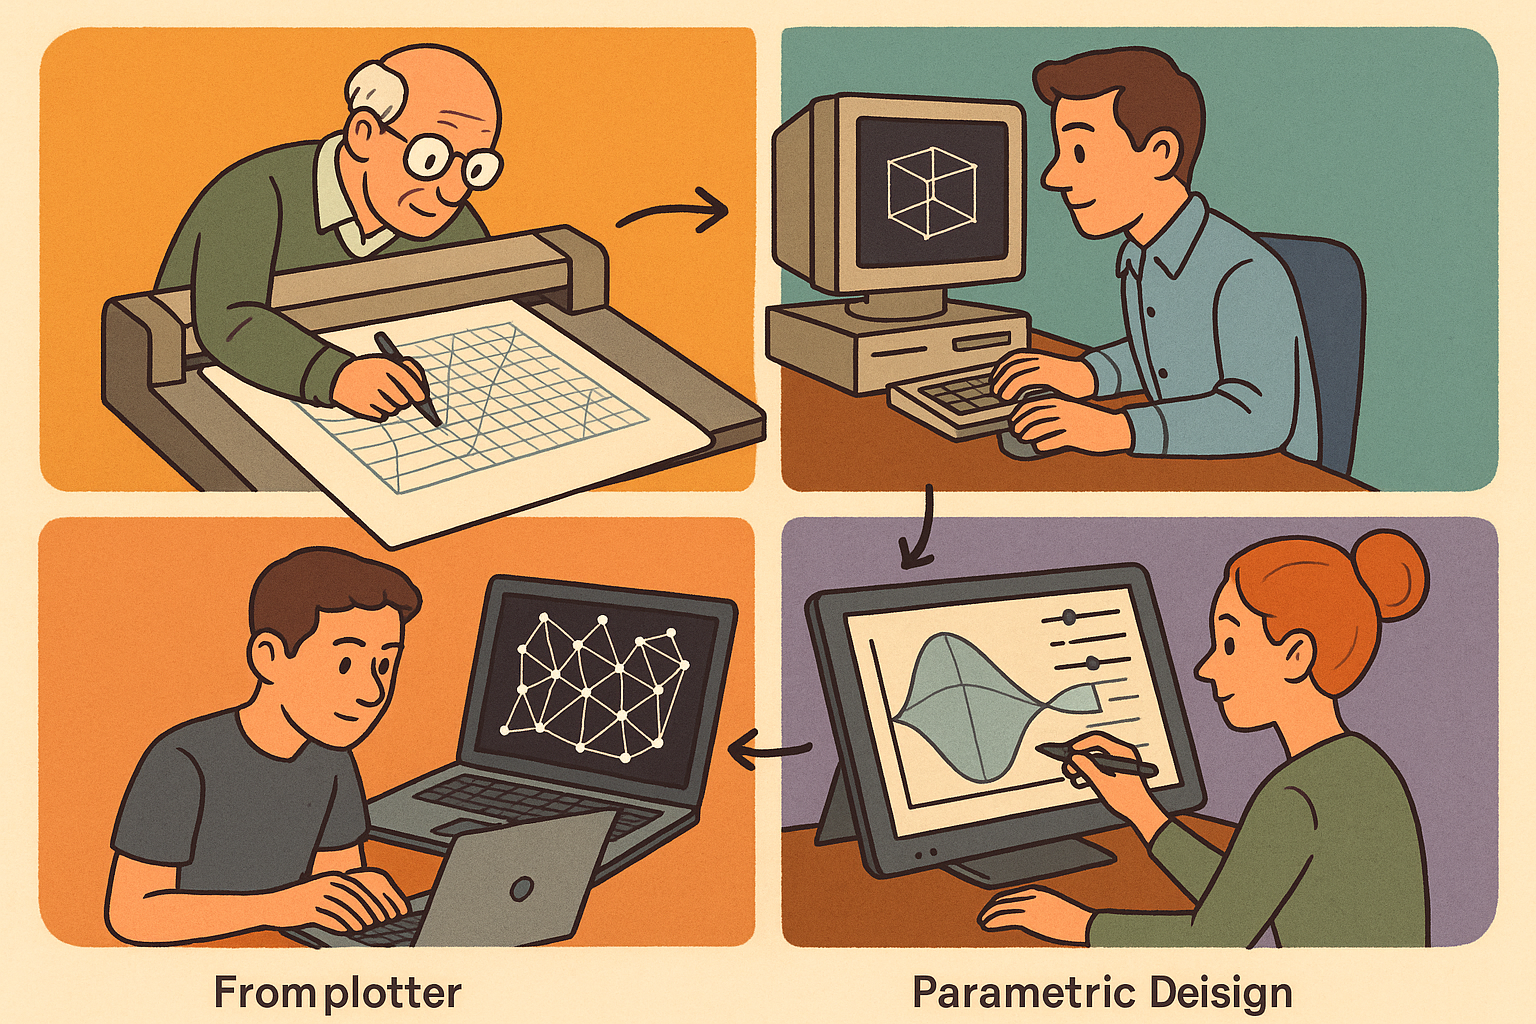
Design Software History: From Plotters to Procedural Intent: A Technical History of Generative and Parametric Design Software
January 04, 2026 13 min read
Read More
Semantic Meshes: Enabling Analytics-Ready Geometry for Digital Twins
January 04, 2026 12 min read
Read MoreSubscribe
Sign up to get the latest on sales, new releases and more …


