Your Cart is Empty
Customer Testimonials
-
"Great customer service. The folks at Novedge were super helpful in navigating a somewhat complicated order including software upgrades and serial numbers in various stages of inactivity. They were friendly and helpful throughout the process.."
Ruben Ruckmark
"Quick & very helpful. We have been using Novedge for years and are very happy with their quick service when we need to make a purchase and excellent support resolving any issues."
Will Woodson
"Scott is the best. He reminds me about subscriptions dates, guides me in the correct direction for updates. He always responds promptly to me. He is literally the reason I continue to work with Novedge and will do so in the future."
Edward Mchugh
"Calvin Lok is “the man”. After my purchase of Sketchup 2021, he called me and provided step-by-step instructions to ease me through difficulties I was having with the setup of my new software."
Mike Borzage
ZBrush Tip: Optimizing UV Mapping in ZBrush Using UV Master
August 30, 2024 2 min read

ZBrush Tip of the Day
When working on complex models in ZBrush, managing UVs efficiently is crucial for texturing and rendering. Let's dive into a few essential tips for effectively using UV Master in ZBrush to streamline your workflow:
- Start with a Low Poly Mesh: Before using UV Master, it’s highly recommended to work with a low polygon version of your model. This helps in generating cleaner UV maps and reduces computational load.
- Enable Symmetry: If your model has symmetrical topology, make sure to enable the "Use Existing UV Seams" and "Enable Control Painting" options to maintain symmetry in your UV layout.
- Protect and Attract: Use the "Protect" and "Attract" painting features to guide UV Master on where to place seams. This is particularly useful for avoiding seams in critical areas and placing them in less noticeable regions.
- Flatten and Adjust: Once you’ve unwrapped your model, use the "Flatten" option to display the UV layout. This allows for manual adjustments to optimize UV space and minimize distortion.
- Check for Overlapping UVs: Always ensure that there are no overlapping UVs. Overlapping can cause texturing issues and artifacts. Use the "Check Seams" feature to verify your UV layout.
- Export UVs: After creating the UVs, you can export them for use in other 3D applications or for further detailing in texturing software. Go to NOVEDGE for a comprehensive guide on exporting UVs.
By following these tips, you can make the most out of UV Master and ensure that your models have clean, efficient, and distortion-free UV maps. For more in-depth tutorials and professional advice, visit NOVEDGE.
You can find all the ZBrush products on the NOVEDGE web site at this page.
Also in Design News

Rhino 3D Tip: Rhino Material Optimization: Nesting, Lightweighting, and Cut-Length Reduction
December 31, 2025 2 min read
Read More
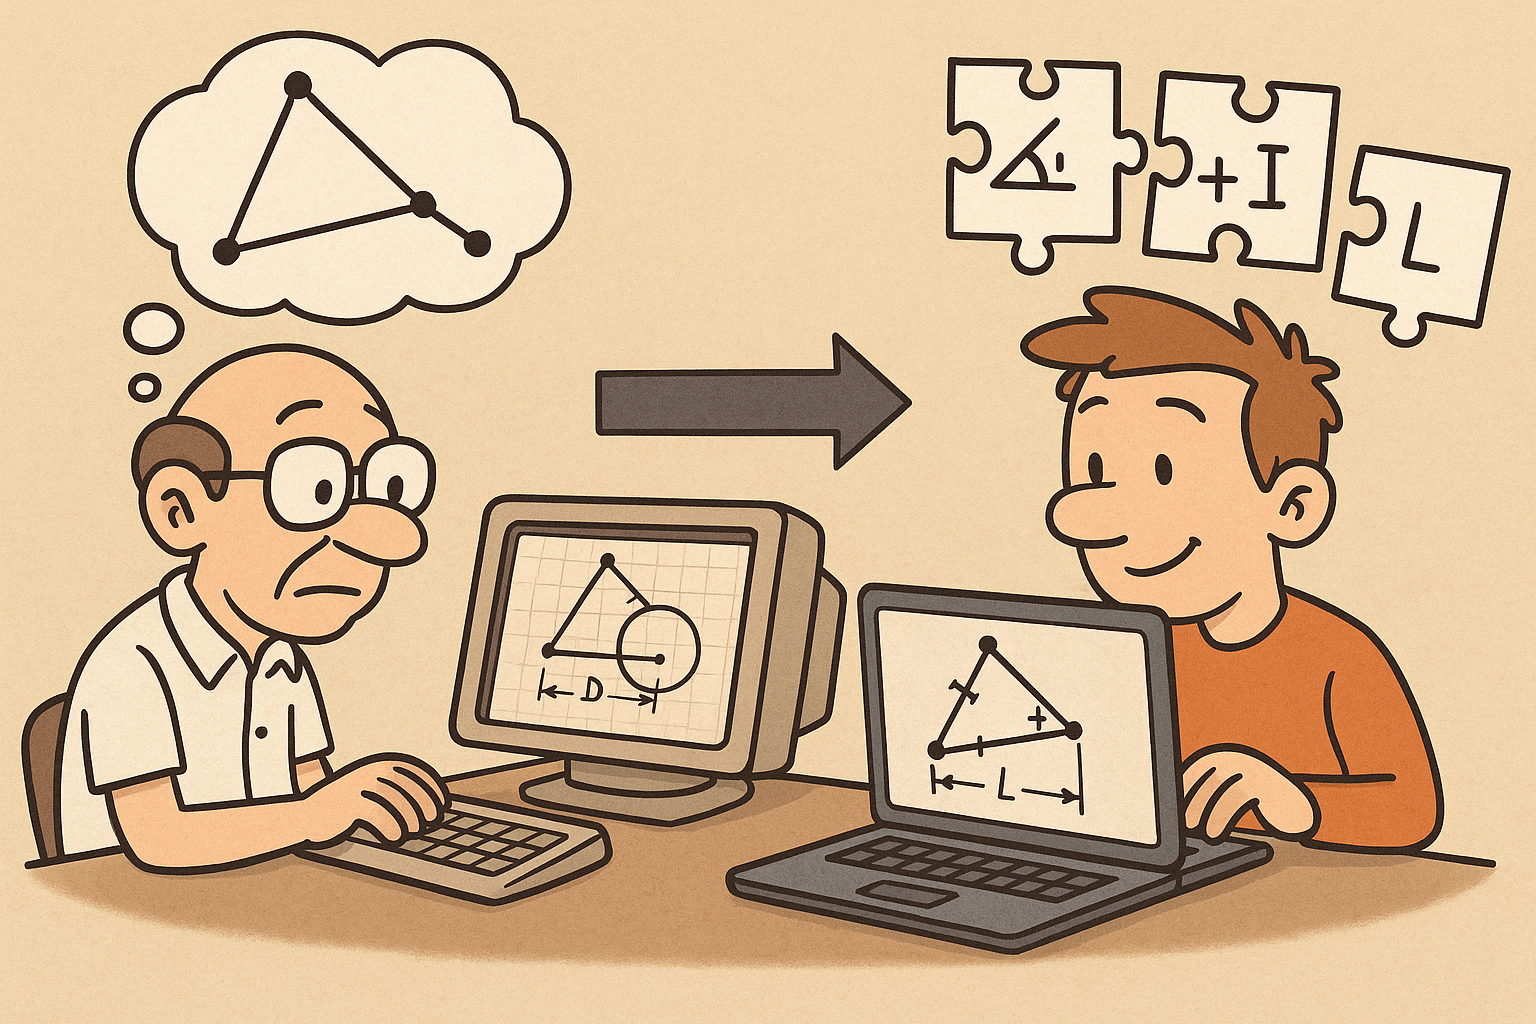
Design Software History: Constraint Solving in CAD: From Sketchpad to Modern Parametric Engines
December 31, 2025 12 min read
Read More
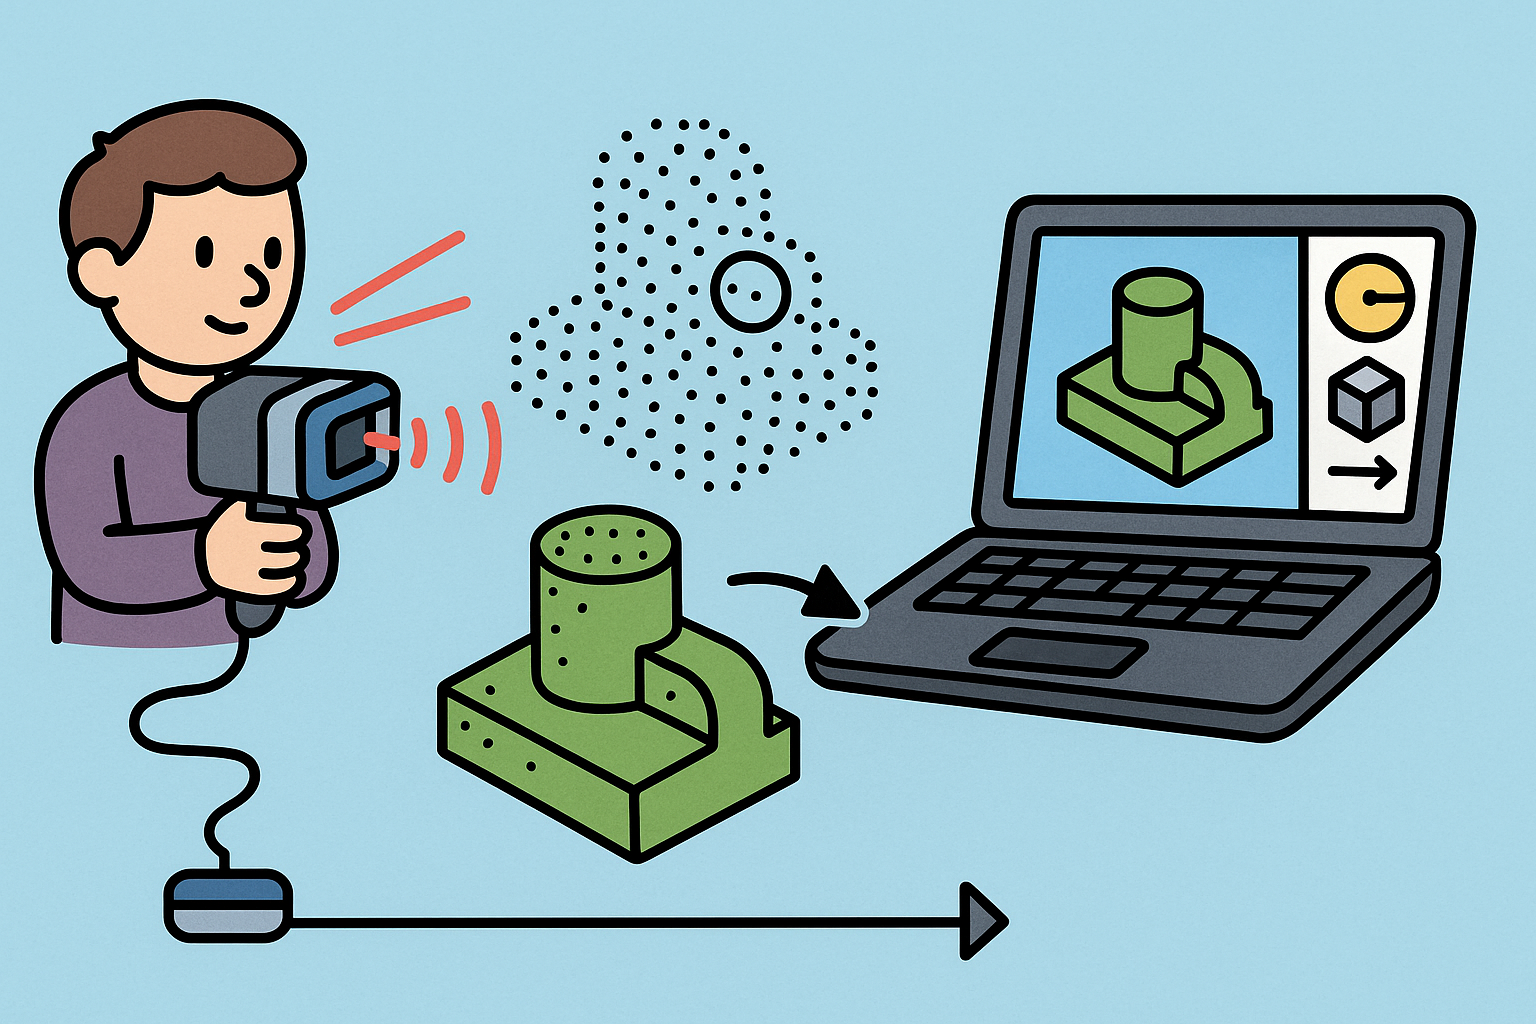
Intent-Aware Scan-to-BRep: Integrating LiDAR Point Clouds into Solid Modeling Pipelines
December 31, 2025 12 min read
Read MoreSubscribe
Sign up to get the latest on sales, new releases and more …


