Your Cart is Empty
Customer Testimonials
-
"Great customer service. The folks at Novedge were super helpful in navigating a somewhat complicated order including software upgrades and serial numbers in various stages of inactivity. They were friendly and helpful throughout the process.."
Ruben Ruckmark
"Quick & very helpful. We have been using Novedge for years and are very happy with their quick service when we need to make a purchase and excellent support resolving any issues."
Will Woodson
"Scott is the best. He reminds me about subscriptions dates, guides me in the correct direction for updates. He always responds promptly to me. He is literally the reason I continue to work with Novedge and will do so in the future."
Edward Mchugh
"Calvin Lok is “the man”. After my purchase of Sketchup 2021, he called me and provided step-by-step instructions to ease me through difficulties I was having with the setup of my new software."
Mike Borzage
ZBrush Tip: Optimizing Detailed Sculptures with Vector Displacement Maps in ZBrush
October 01, 2024 2 min read

For today's tip, let's delve into creating and using Vector Displacement Maps in ZBrush. This powerful feature allows you to add intricate details to your models with precision and flexibility.
Vector Displacement Maps extend the capabilities of traditional displacement maps by storing directional information. This means that details can protrude in any direction from the surface, not just along the normal. Here's a step-by-step guide to effectively create and use Vector Displacement Maps in ZBrush:
Creating Vector Displacement Maps
- Prepare your Model: Start with a well-defined model that has sufficient polygon density to capture the details you intend to create.
- Sculpt the Details: Use the standard sculpting tools in ZBrush to add intricate details to your model. Pay attention to the direction and depth of your sculpt to make the most out of vector displacement.
- Subdivision Levels: Ensure your model is subdivided adequately to support the fine details. Typically, higher subdivision levels yield more accurate and detailed maps.
- Store Morph Target: Before generating the map, store a morph target of your base mesh. This allows you to revert to the original state if needed.
- GoZ: If you're using ZBrush via NOVEDGE, you can use GoZ to seamlessly transfer your model to other applications for further processing.
- Create the Map: Navigate to the 'Tool' palette, then to 'Displacement Map' and click on 'Create DispMap'. Ensure 'Adaptive' and 'Smooth UV' are turned on for better results.
- Export the Map: Once the map is created, you can export it by clicking on 'Clone Disp'. The map will appear in the 'Alpha' palette, where you can then export it in various formats.
Using Vector Displacement Maps
- Loading the Map: To use the map, load it into the 'Alpha' palette and then apply it to a high-resolution mesh for the best results.
- Applying the Map: Use the 'Apply DispMap' button in the 'Tool' palette under 'Displacement Map'. Adjust the 'Intensity' slider to control the effect of the map on your mesh.
- Preview Adjustments: Preview the displacement in real-time by toggling 'Mode' in the 'Displacement Map' section. This helps in making necessary adjustments before finalizing.
- Fine-Tuning: Use the 'Deformation' tools to further fine-tune and smooth out any artifacts or irregularities that may appear after applying the displacement map.
Mastering Vector Displacement Maps can significantly enhance your modeling workflow, allowing for more detailed and complex designs. For more tips and tricks, be sure to visit NOVEDGE.
You can find all the ZBrush products on the NOVEDGE web site at this page.
Also in Design News

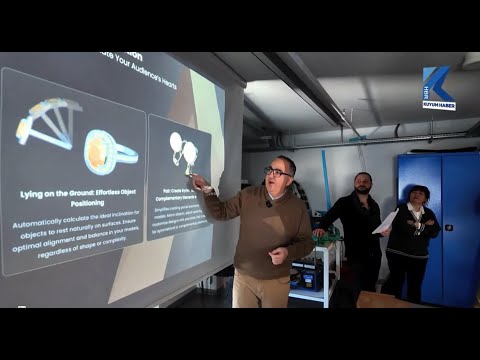
💎 Rhino Artisan Arrives in Turkey: Revolutionizing Jewelry Design
February 27, 2025 1 min read
Read More
ZBrush Tip: Mastering Curve Surface for Unique Textures in ZBrush
February 27, 2025 2 min read
Read MoreSubscribe
Sign up to get the latest on sales, new releases and more …


