Your Cart is Empty
Customer Testimonials
-
"Great customer service. The folks at Novedge were super helpful in navigating a somewhat complicated order including software upgrades and serial numbers in various stages of inactivity. They were friendly and helpful throughout the process.."
Ruben Ruckmark
"Quick & very helpful. We have been using Novedge for years and are very happy with their quick service when we need to make a purchase and excellent support resolving any issues."
Will Woodson
"Scott is the best. He reminds me about subscriptions dates, guides me in the correct direction for updates. He always responds promptly to me. He is literally the reason I continue to work with Novedge and will do so in the future."
Edward Mchugh
"Calvin Lok is “the man”. After my purchase of Sketchup 2021, he called me and provided step-by-step instructions to ease me through difficulties I was having with the setup of my new software."
Mike Borzage
V-Ray Tip: Optimizing Image Quality with V-Ray Denoiser: Techniques for Cleaner Renders
June 24, 2024 2 min read

As a V-Ray Software application engineer, I'm excited to share with you a valuable tip that helps produce cleaner images with the help of the V-Ray Denoiser. Efficiently reducing noise in your renders can significantly enhance the final image quality while also potentially reducing render times.
- Understand the V-Ray Denoiser: V-Ray includes a powerful denoiser feature that uses algorithms to reduce noise in rendered images, enabling you to produce cleaner results without increasing render times excessively.
- Location of Denoiser Settings: You can find the Denoiser settings within the Render Setup dialog. It's available as a separate denoising render element that can be adjusted post-render for added flexibility.
- Choose the Right Denoiser: V-Ray offers multiple denoising options, including its own V-Ray Denoiser, NVIDIA's AI-based denoiser, and Intel's Open Image Denoise. Select the one that best fits your workflow and hardware capabilities.
- NVIDIA AI Denoiser: For users with NVIDIA graphics cards, the NVIDIA AI Denoiser can quickly provide a preview of the denoised image, which can be especially useful during the early stages of scene setup.
- Post-Render Denoising: Apply denoising after rendering to retain flexibility. You can adjust the strength of the effect without the need to re-render the whole scene.
- Use Render Elements: Denoising render elements separately can give you more control over the final image. By treating different elements like reflections, refractions, and shadows individually, you can achieve a more refined result.
- Balance Between Detail and Cleaning: The key is to find a balance where noise is removed without losing vital details of the scene. Over-denosing can result in a loss of texture and realism.
- Consider the Scene Content: Adjust the denoising settings based on the scene's content. For example, scenes with a lot of textures and details might require less aggressive denoising.
- Denoising Animation: When denoising animations, ensure consistent settings across all frames to avoid flickering. This may also involve using temporal denoising features if available.
- Test Renders: Always perform test renders with different denoising settings to evaluate their impact on the image quality and render times.
By fine-tuning the V-Ray Denoiser, you can achieve the perfect blend of speed and quality in your renders. Explore the denoising options to find the right fit for your project and enjoy noise-free images without compromising on detail. For the best software solutions and expert advice, don't forget to check out NOVEDGE, your go-to resource for all your professional software needs.
You can find all the V-Ray products on the NOVEDGE web site at this page.
Also in Design News

Bluebeam Tip: Maximize PDF Security and Efficiency with Bluebeam Revu's Flatten Tool
December 02, 2024 1 min read
Read More
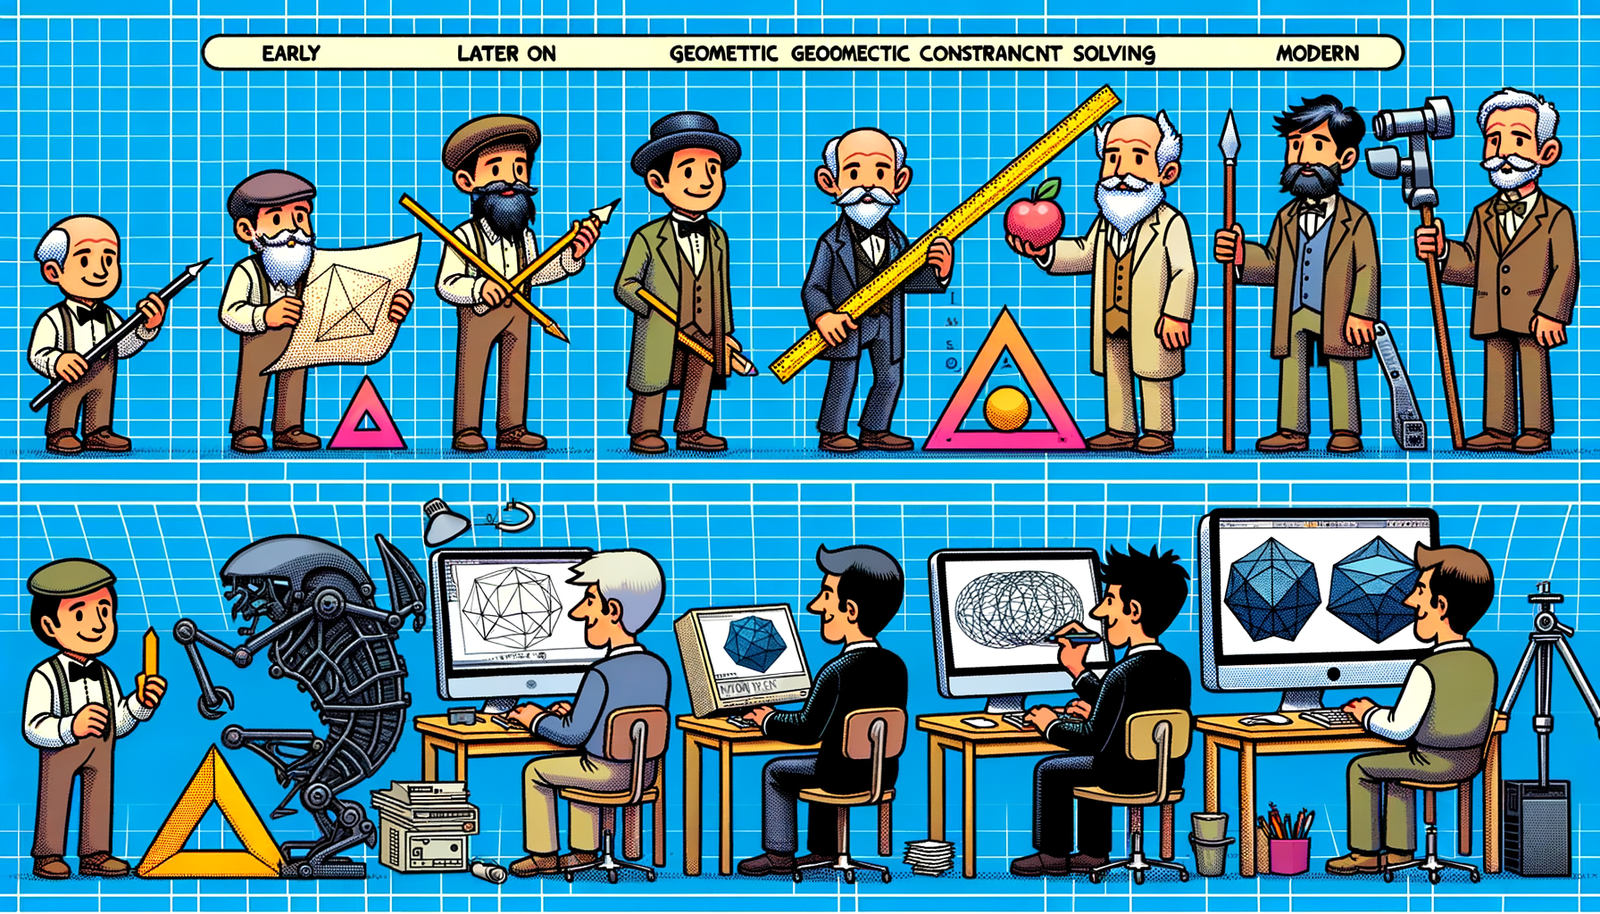
Design Software History: Evolution and Impact of Geometric Constraint Solving in CAD History
December 02, 2024 2 min read
Read More
Rhino 3D Tip: Enhancing Scale Modeling Accuracy in Rhino 3D: Essential Tips for Designers and Engineers
December 02, 2024 2 min read
Read MoreSubscribe
Sign up to get the latest on sales, new releases and more …


